


Cream Cheese Recipe
-

Yield
2 Pounds
-

Aging Time
None
-

Skill Level
Beginner
-

Author
Jim Wallace


Cream Cheese Recipe Info
About Cream Cheese
Origins of Cream Cheese
Commercial vs. Homemade Cream Cheese
Texture and Flavor Balance
Ingredients
Total price for selected items: Total price:

Instructions
You will also find the process and instructions are a rough guide for ripening and draining time, but more importantly, I have provided descriptions and visual cues to:
- Accommodate the differences in milk quality as well as milk/cream content
- Allow you to produce exactly the style of cream cheese you want
-

About the Milk & Cream
The milk I have chosen to use here is a local milk, but it is also one of the milks that has been pasteurized at higher than normal temperatures (172°F as opposed to 161°F).
I have selected this to use here because this is a milk that is becoming more and more common on store shelves.
As you will see in the following photos this does form a very wonderful cream cheese with super flavor and texture.
The cream is ultra-pasteurized, as you can see by the label here. This is not a problem, though, because the cream portion is just for the butterfat.
The milk portion will provide the proteins for curd formation and should not be ultra-pasteurized.
Some of our customers have tried using just half and half for their cream cheese but this often tends to be ultra-pasteurized and will not form a good solid curd since all of the proteins have been damaged in the process. If you do find half and half that is not ultra-pasteurized, that will work for a very rich cheese since it has a higher fat content than the recipe I provide. This may also be more difficult to drain since the butterfat holds the moisture.
If you do have access to raw milk, you will find that you may need to use less culture and that your ripening times are less. Your curd may also be firmer and you may find that the cheese drains faster. If you pay attention to the ripening and draining cues in the following process, you should be well on track to making a great cheese from your raw milk.
If you care to make up a different milk/fat ratio, this chart may help:
Cream % Content in Dairy Products Heavy Whipping Cream 36-40% Light Whipping Cream 30-36% Light or Coffee Cream 18-30% Single Cream 20% Half and Half 10.5% (10-18%) Whole Pasteurized milk 3.25% -


Heat, Acidify & Coagulate Milk
Pour the milk into your pot and slowly heat to 86°F. Many recipes for this cheese suggest starting at room temperature, but the culture works best at 86F and I prefer to start it there. Happy culture always makes a better cheese. It is OK to allow the temperature to drop to room temperature over time.
- Add 1/4 tsp calcium chloride solution and stir into the milk.
- Add 1 packet of buttermilk culture (or 1/8 tsp of our MM100 culture). Allow this to rehydrate on the surface before stirring into the milk (keeps it from clumping).
- Add 4 drops of single strength rennet (animal or vegetable).
Note: C101 Mesophilic Culture and MA011 Mesophilic cultures will also work but their ripening strains will not provide the added flavor or the lighter texture.
-


Ripen Milk
Cover the pot and set aside for ripening. The milk now needs to sit quiet for 12-24 hours while the culture works and the rennet coagulates the curd. It is OK if the temperature drops to a temperature of 68-72°F. The thermal mass of this milk should keep it warm for a while though.
This is where your natural flavor is developed from the complex strains of lactic bacteria as they convert the milk sugars (lactose) to lactic acid. These cultures will produce a buttery flavored compound (Diacetyl) which is a natural byproduct of fermentation. Also a small amount of tiny gas holes (CO2) will be formed causing a lighter texture in the final cheese.
Note - Our C101 or MA011 cultures will not provide the added flavor from their ripening strains nor the lighter texture.
The higher process temperatures and thickener additions of commercial producers are needed for their shorter process and do not allow the use of this longer beneficial ripening time (this is the flavor development time).
Ripening may take 12-24 hours depending on the milk quality and room temperature. My conditions here show this ripening phase in about 14-16 hours but you should watch for the proper ripening of your own milk. I encourage you to watch for this final ripening phase as described below.
The final ripening can be determined visually because when the proper amount of acid has been produced, you will notice first small droplets of whey forming on the surface, then these will collect as small pools and then finally a thin layer of whey will cover the entire surface.
I usually determine the readiness by watching for small pools about 2-3” in size. You may also see the curd mass pull slightly away from the sides of the pot.
If you have a pH meter, the proper ripe state will measure about 5.1-4.9 pH or a titrateable acidity of .5% but there is no need to get that technical here.
Too long a ripening may result in an over acid cheese. Some acid production will continue during the draining stage so expect a bit more acid flavor while the whey drains off.
Too short a time may result in a weak curd that may be hard to drain and may even run off through the cloth. Make sure the curd holds a good clean break when cut before transferring to the cloth for draining.
-


Transfer Curd into a Colander
Once the final ripening of the milk has been reached, the curd mass should now be firm enough to be transferred with a slotted spoon to the draining cloth.
Prepare a sanitized colander. You need either 1 large or 2 medium sized since this will be a lot of curd to be drained. Line this with a double layer of the butter muslin. Make sure you have a container to collect the whey in. This can be used for cooking, drinking, etc. but not for making ricotta due to high acid.
Transfer the curd to the cloth for draining (be careful since this is quite fragile at this point and may break)
Allow this to drain for 1-2 hours to release much of the whey.
-


Drain Curds
Gather all 4 corners of the cloth up and tie them off with a string. Hang this in an area 68-74°F to drain into a pot or sink for another 10-20 hours.
During the draining time you should open the cloth every 3-4 hours and scrape the curd from the cloth- mixing the curds to encourage better whey drainage. If your schedule does not permit this it may just take longer to drain.
Also, at the last mixing of the curds 1 tsp. salt can be added for flavor and to encourage the final whey release.
The final draining time will depend on your preference for texture. The longer it drains, the drier and stiffer (less spreadable) the final cheese. I drain mine here about 16-20 hours for a nice firm cream cheese but still quite spreadable.
If you find your cream cheese with too much moisture, then simply drain it a bit longer next time. Remember that warmer draining temperatures will drain moisture more quickly. Also, the rate of draining will depend on different milk qualities and higher fat milks will drain more slowly.
-


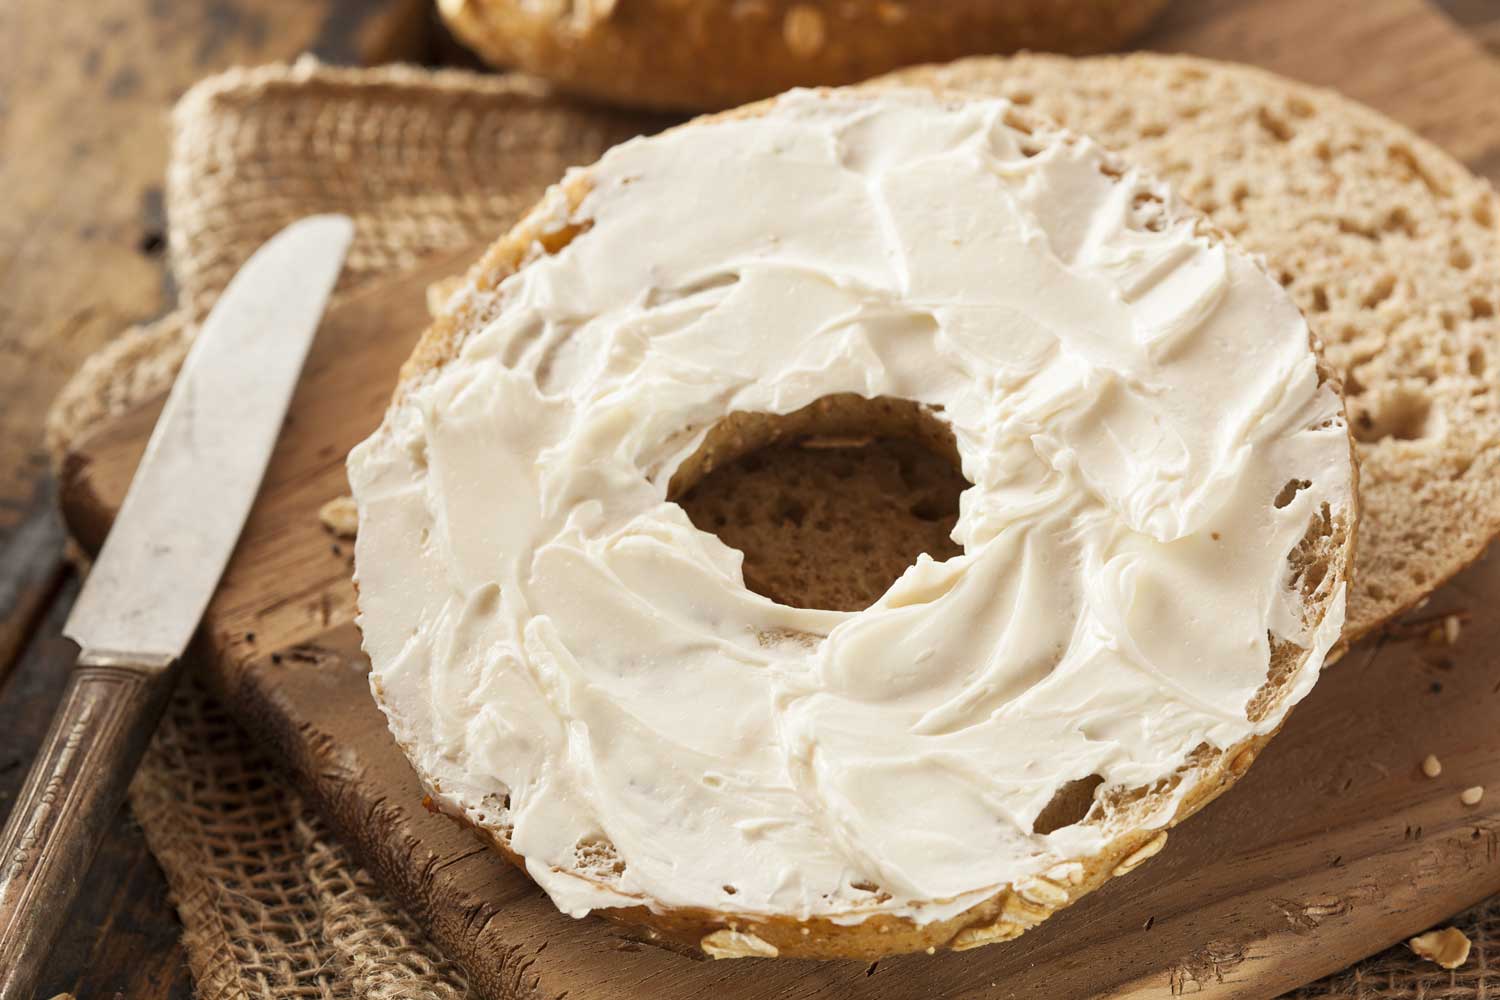
Finishing The Cream Cheese
When the cheese has reached its final consistency, you can then use a spoon to blend it well in a bowl for a more homogenous cheese. This would be the time to add any herbs, spices, etc. and to adjust the salt to your taste. You may even use fresh herbs in this because it should all be eaten fresh within a few days.
I transfer mine to small clean and sanitized plastic tubs with lids and store at fridge temps. Freshness is never a problem here because it's gone in just a few days. You should easily get 8-10 days or even more of storage for this cheese.
My yield is normally about 1.5-2 pints of cream cheese from the original 9 pints of milk/cream.
Tips:
- If your curd is too soft at the end of the initial ripening time, wait a few more hours (up to another 4-6 hrs). If this does not help, try keeping the milk 3-5°F warmer on the next try. Also, you can increase the rennet up to double the recommendation.
- If your final cheese is too acid, then use less time in the initial ripening phase or use a bit less culture.
- If your final cheese is too dry, use less draining time in the cloth. If too moist use more.
That's it for this recipe, now it's time to enjoy some amazing cream cheese.
Cheese Making Supplies
Related Products
You May Also Like


