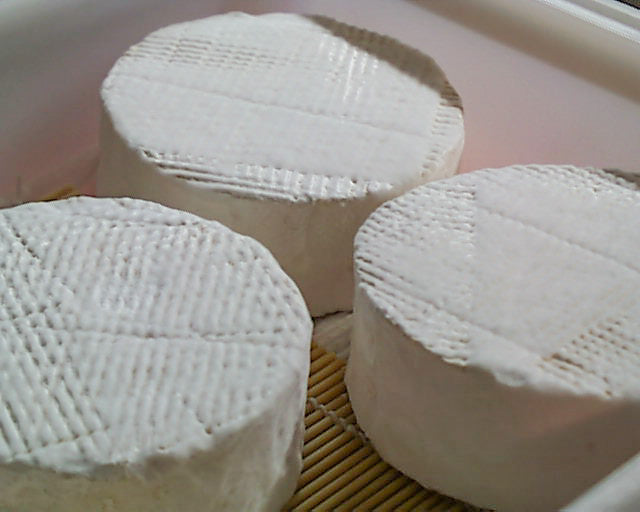
This is a rather modern style of cheese and is a great opportunity for us to experience making a hybrid cheese by combining two separate styes.
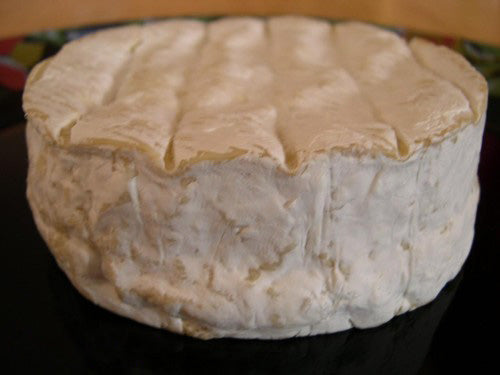
- A Camembert with its mushroomy rind and soft paste
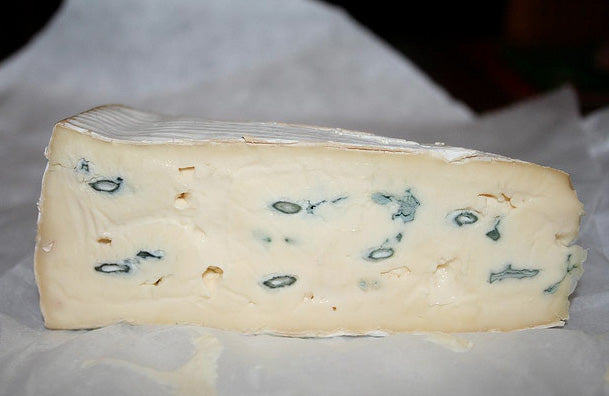
- Plus a bit of mild Blue Cheese inside.
- The Blue will just melt into that creamy Camembert when it is ripe.
What inspired this recipe?
- I have been fascinated by it and wanted to make it since I tried my first Bresse Blue in France.
- I took a workshop with Roland Perin from Poligney, France (INRA). He is a true master of cheese making and one of the most sought after technicians in the world of cheese today. The workshop focused on blues and we brought up the challenges of this cheese, which he addressed.
- I have had many folks ask about making it, so it has been on my list for awhile.
- January is a long cold month up here in the Northeast and so, plenty of time in the cheese lab.
I thought it high time to put some of my research and experience on a page to share with you. but before I go on, I have to lay down the warning that this should be a cheese for the adventurous and somewhat experienced cheese makers. So, if you have made a few successful surface ripened cheeses such as Camembert, you should be ready for it. Don't you just love a challenge!
This cheese has it's roots as a modern industrial produced cheese developed around:
- 1900, as Cambazola in Germany and revived in the 1970's. A similar cheese is being made under the name of Blue Brie (makes sense!) in other parts of the world today. This cheese maintains a more Brie-like low form shape.
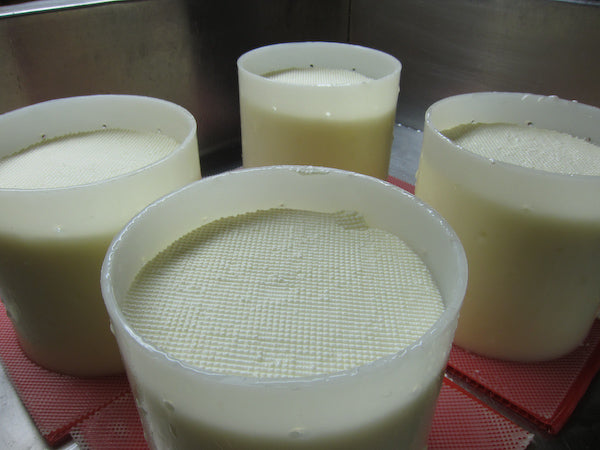
- 1950, as Bleu de Bresse in France as a taller form of Camembert. The form for this cheese is similar to Camembert, but narrower in width and taller.
Today we can find many artisan produced cheeses of great quality being produced both in Europe and the US.
This is truly a very unique cheese, combining the best of both Brie/Camembert style cheese along with the character of Blue Cheese which is on the mild side.
The milk used can be anything from a rich fat whole milk to a triple creme (over 5.25%).
Like the Camembert, the cheese ripens slowly from the edge to the center as the protein structure changes. The Blue develops internally and is somewhat mild due to the issue of keeping open spaces inside the cheese for the blue mold to develop. This does limit the growth of the blue and thus the effects of the enzymes produced in ripening.
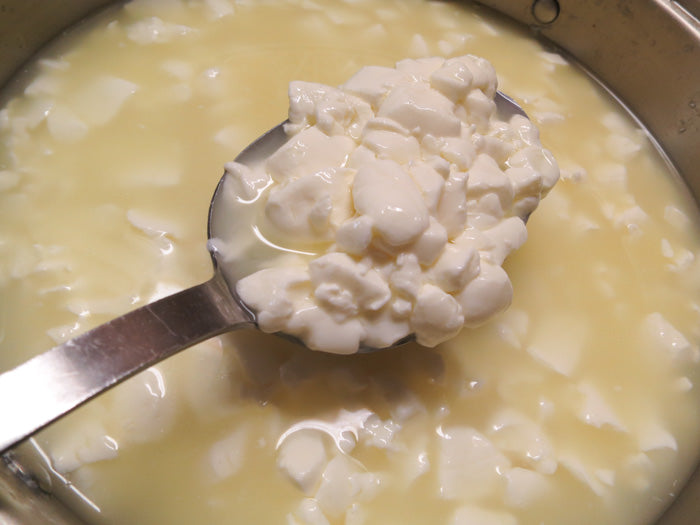
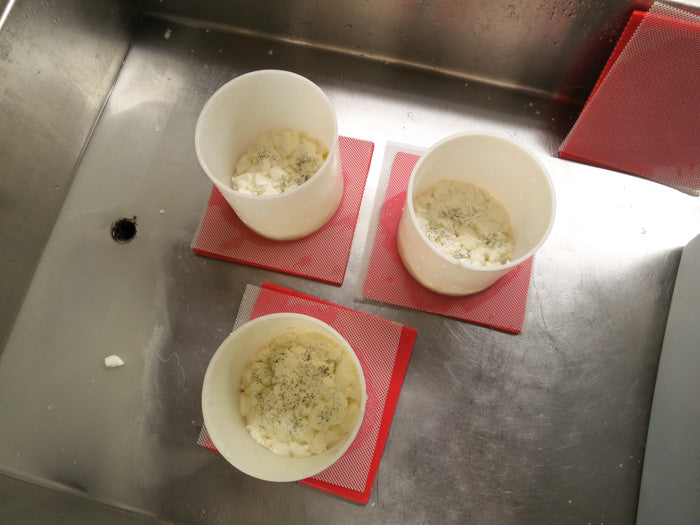
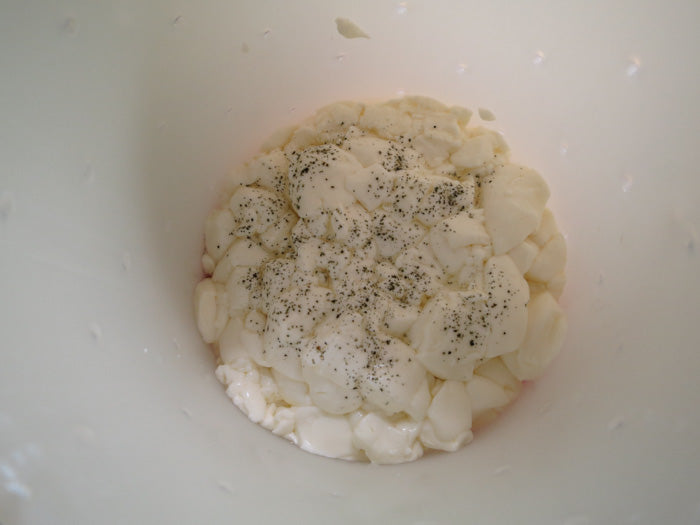
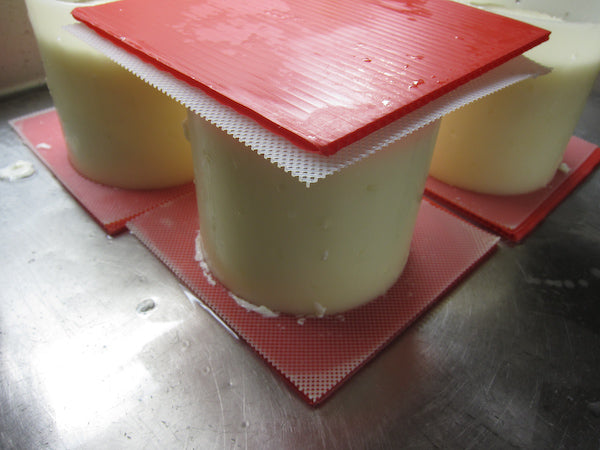
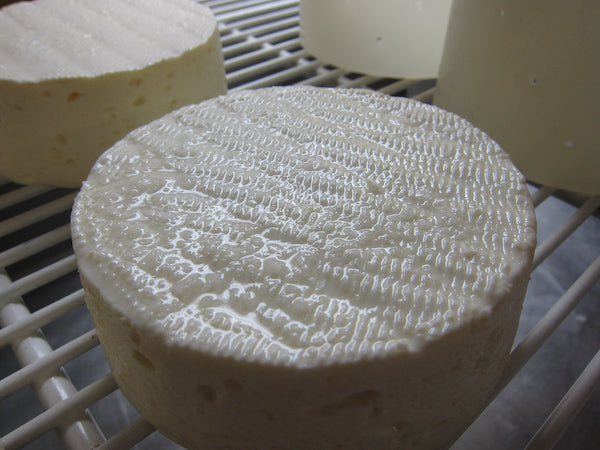
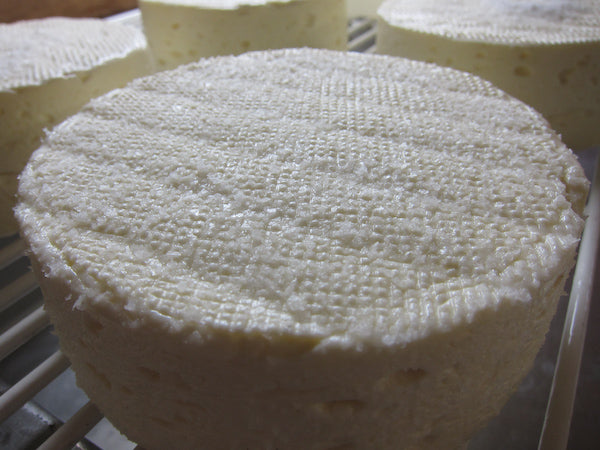
A key difference from the traditional Camembert or Brie is the drying of the curd surface before molding to try to keep some interior air spaces for blue development.
All in all, it is a great combo of smooth mouth-feel, mushroomy aromatics, the ripeness of the Brie/Camembert, and the distinctive flavor of Blue. Do I have your attention yet?
All in all, it is an amazing cheese and surprises me that it has taken this long to catch on.
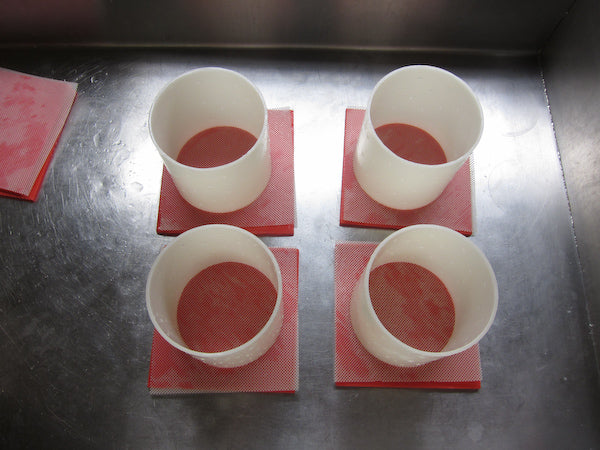
You may find this style of cheese today in 1 of 2 formats:
- The Cambazola style tends to be more of a Brie format with a low profile being much wider than height.
- The Bresse Blue style which is like a tall Camembert style, being much taller but smaller in diameter
What makes Camblu cheese different from a normal Camembert or Brie:
- The addition of cream or use of a naturally high cream milk will make the curds a bit moister and more difficult to dry out. This cheese is best made as a double or triple creme.
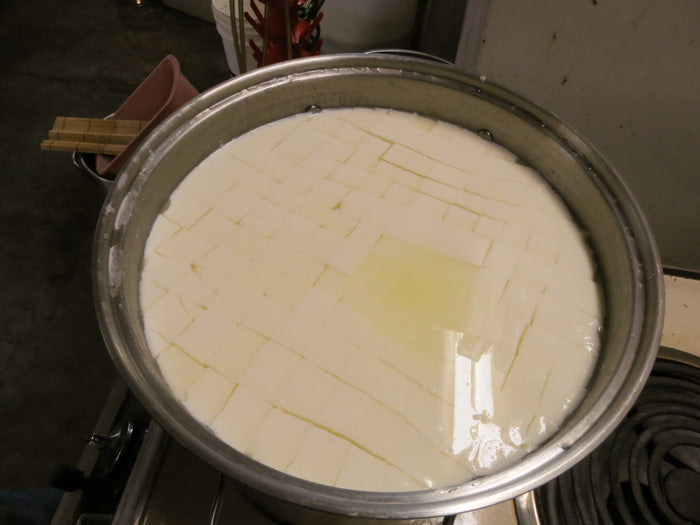
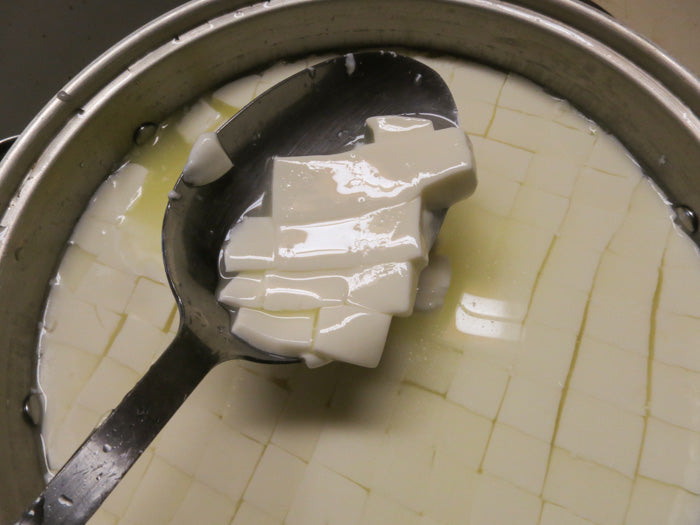
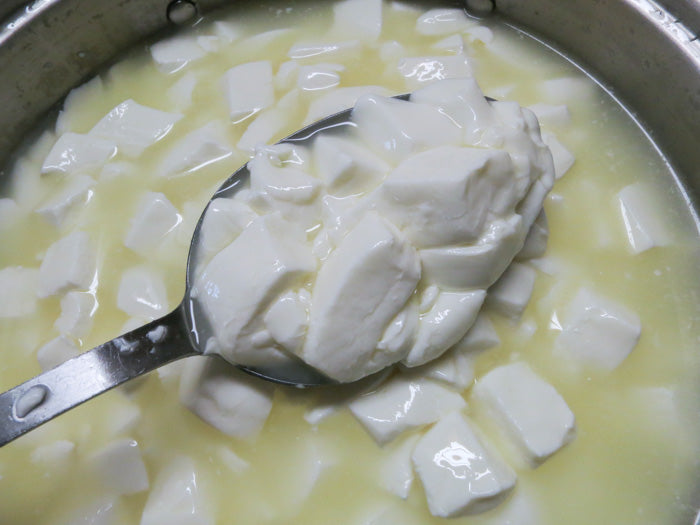
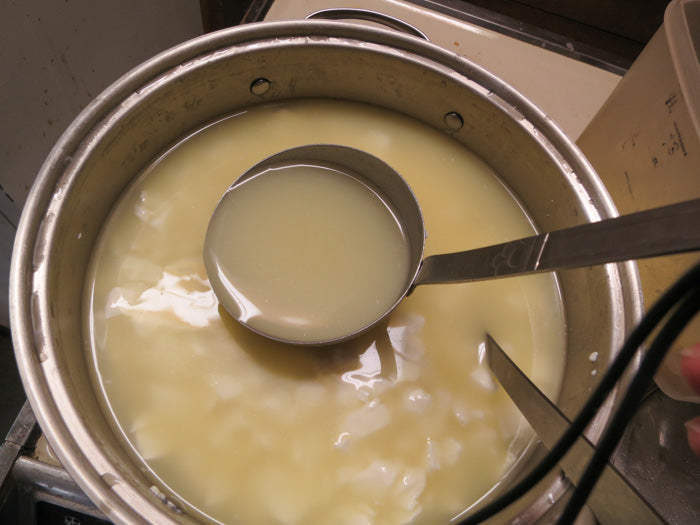
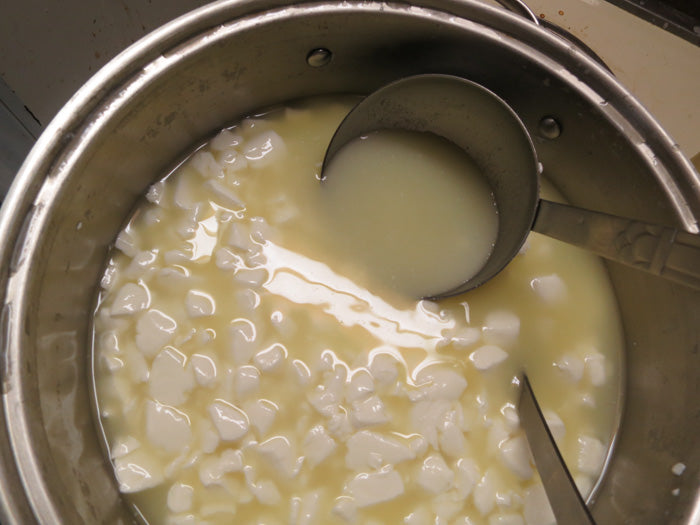
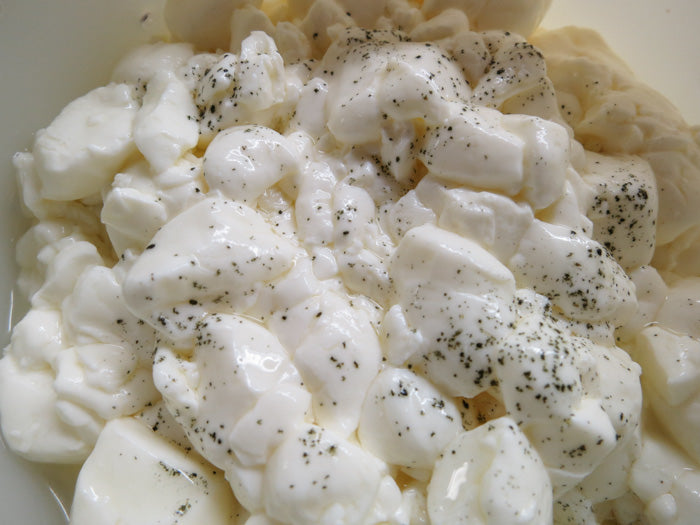
- The curd must be left more open than a conventional Camembert or Brie to allow air spaces for the P. roqueforti to develop. This will be controlled with a larger cutting size and a longer stay in the whey with minimal stirring to produce a drier firmer surface to the curd but still a moist interior. It may be a help to remove some of the whey during this rest.
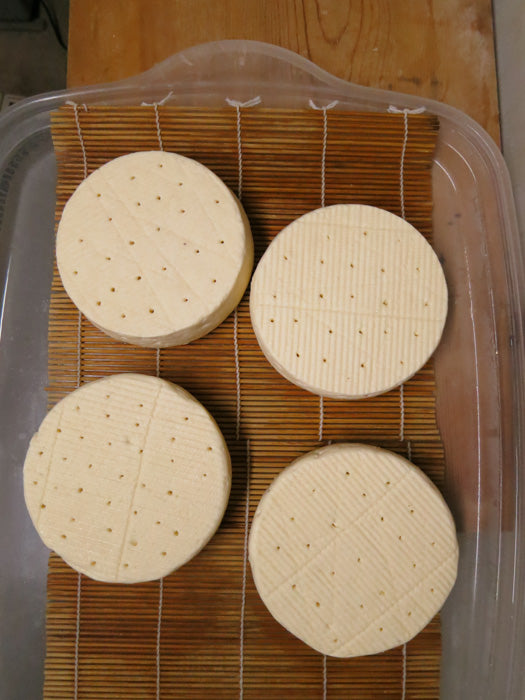
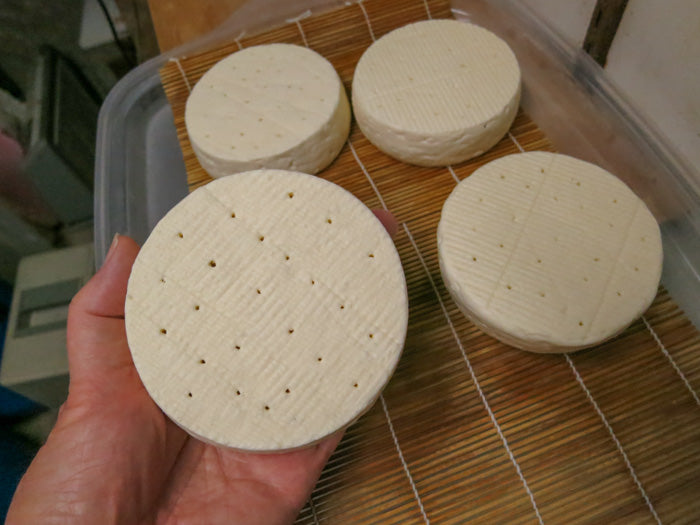
- The blue mold is quite aerobic and needs air internally to develop and produce the enzymes that transform the cheese curd for that specific blue flavor. To improve the aeration, the cheese is pierced a day or so after going into the aging space.
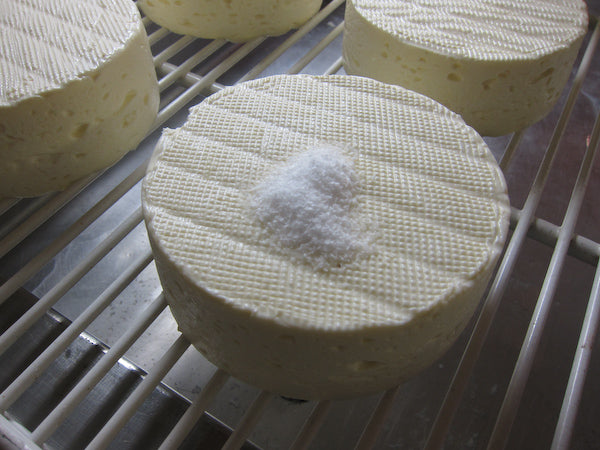
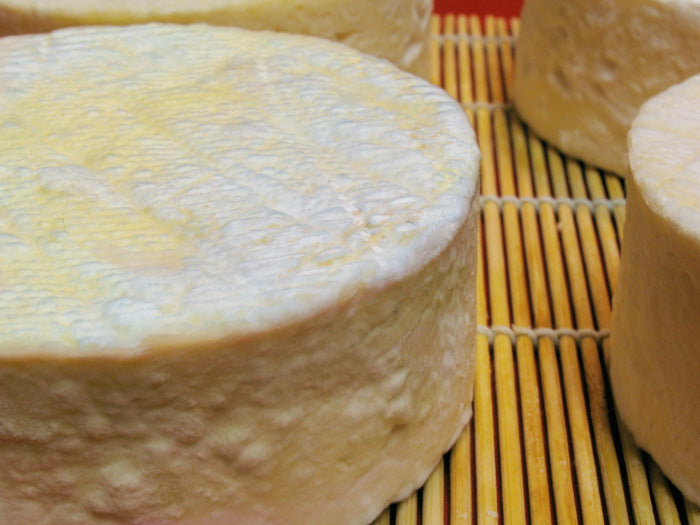
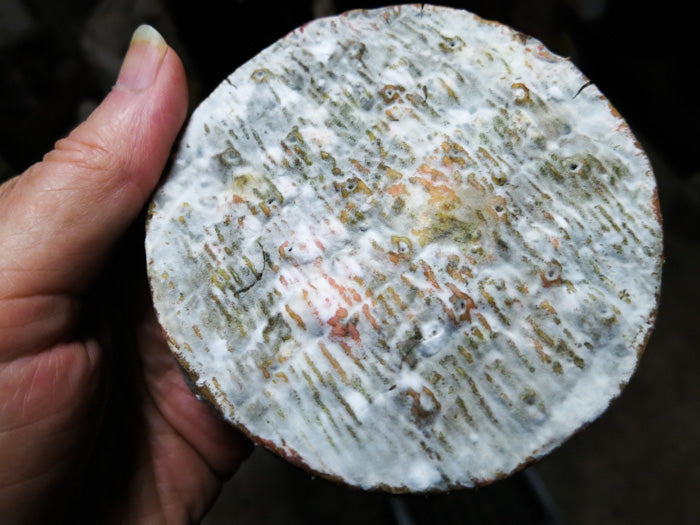
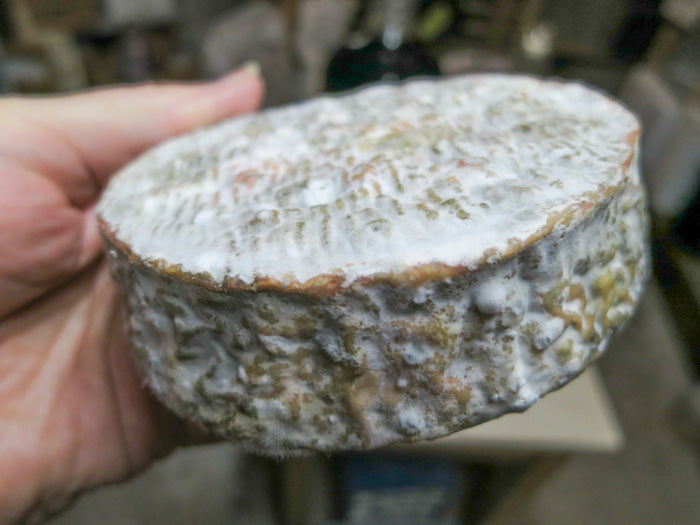
- The growth of the Geotrichum and Penicillium.candidum will be a problem if added and it develops before the blue has a chance to grow because the Penicillium.candidum and Geotrichum will grow into the aeration holes and impede the blue growth. The proper conditions will be accomplished by holding back the Penicillium.candidum and Geotrichum inoculation until the cheese is made, dried, and had a few days in the aging room for the blue to begin growing internally. A day or so after the cheese has been pierced for aeration the cheese should be sprayed with a fine mist of the Geotrichum and Penicillium.candidum. At this time, the cheese will already start to show signs of natural yeast growth that develops naturally from the surroundings and handling.
- Waiting too long to inoculate the cheese with the white molds may prove to be a disadvantage in competing with blue and other molds, such as mucor.
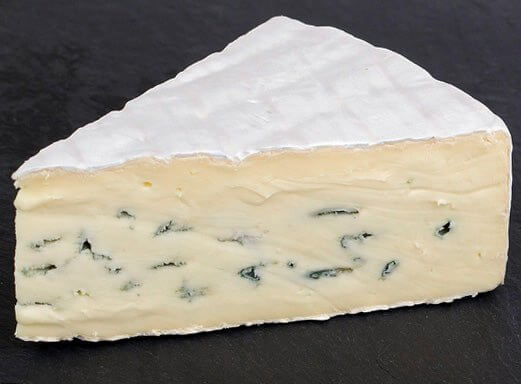
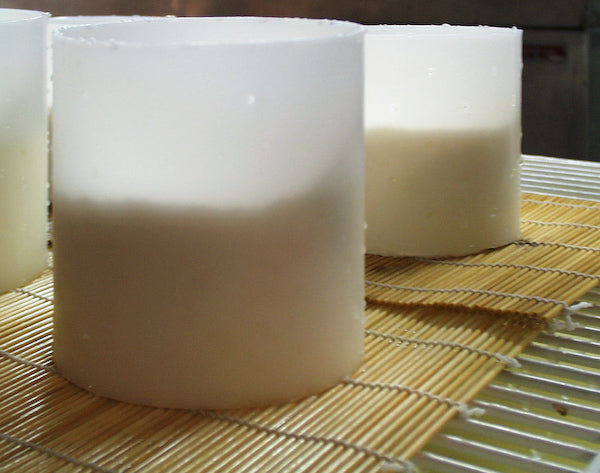
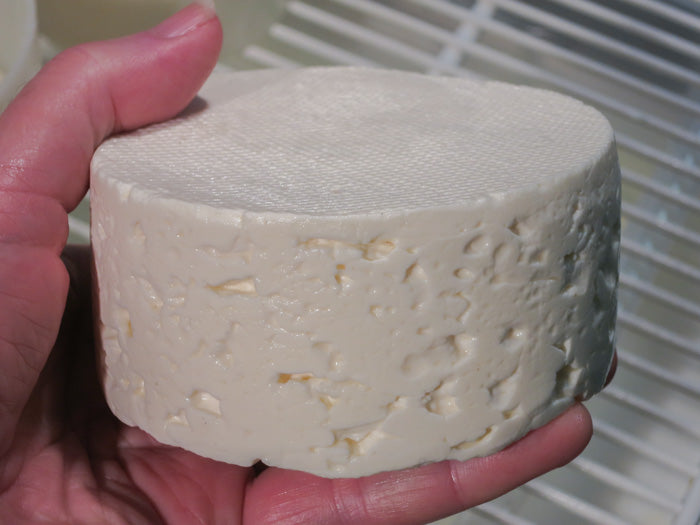
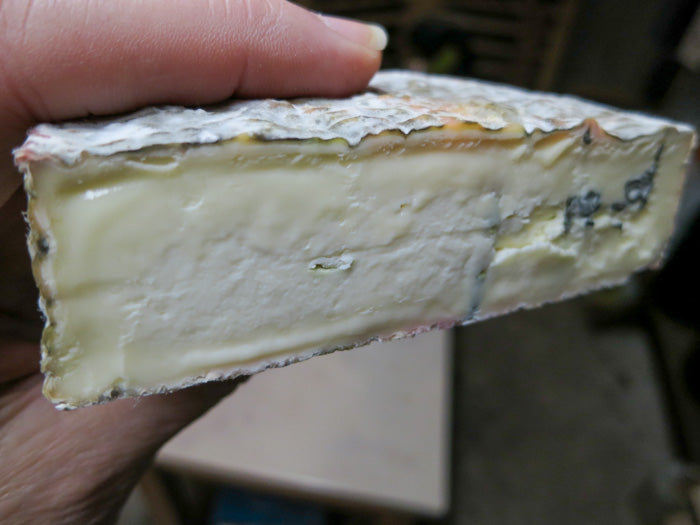
Once ripened, the cheese should look much like a normal Camembert or Brie but when cut you should find the restrained blue is visible inside and a mild blue flavor that goes so well with that of the traditional cheese.


