


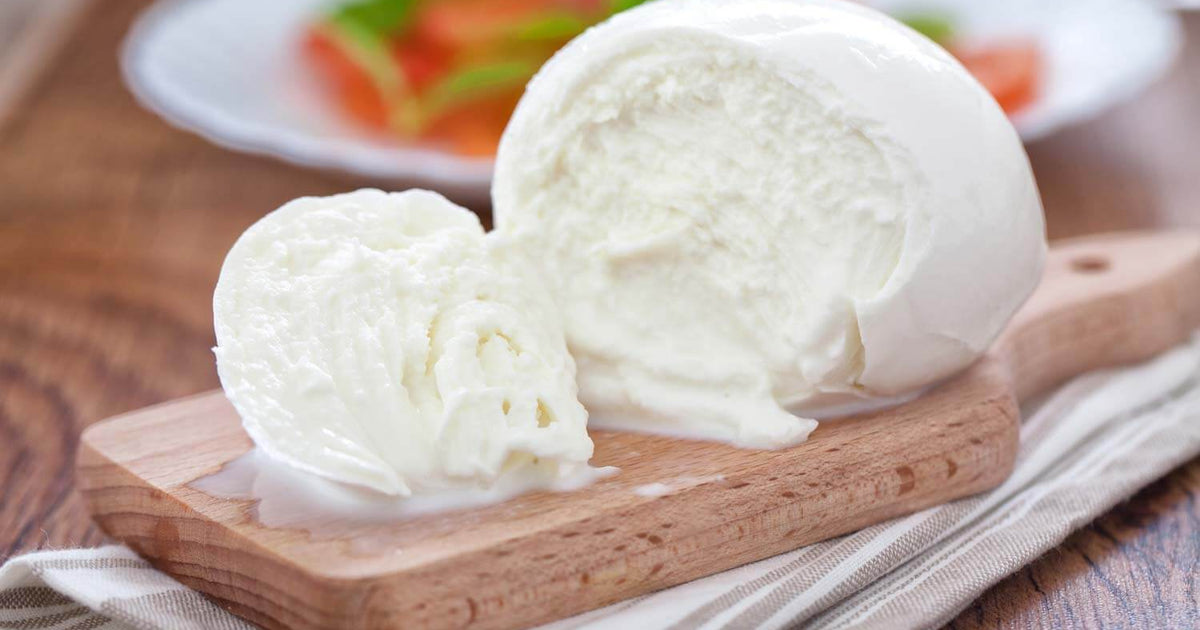
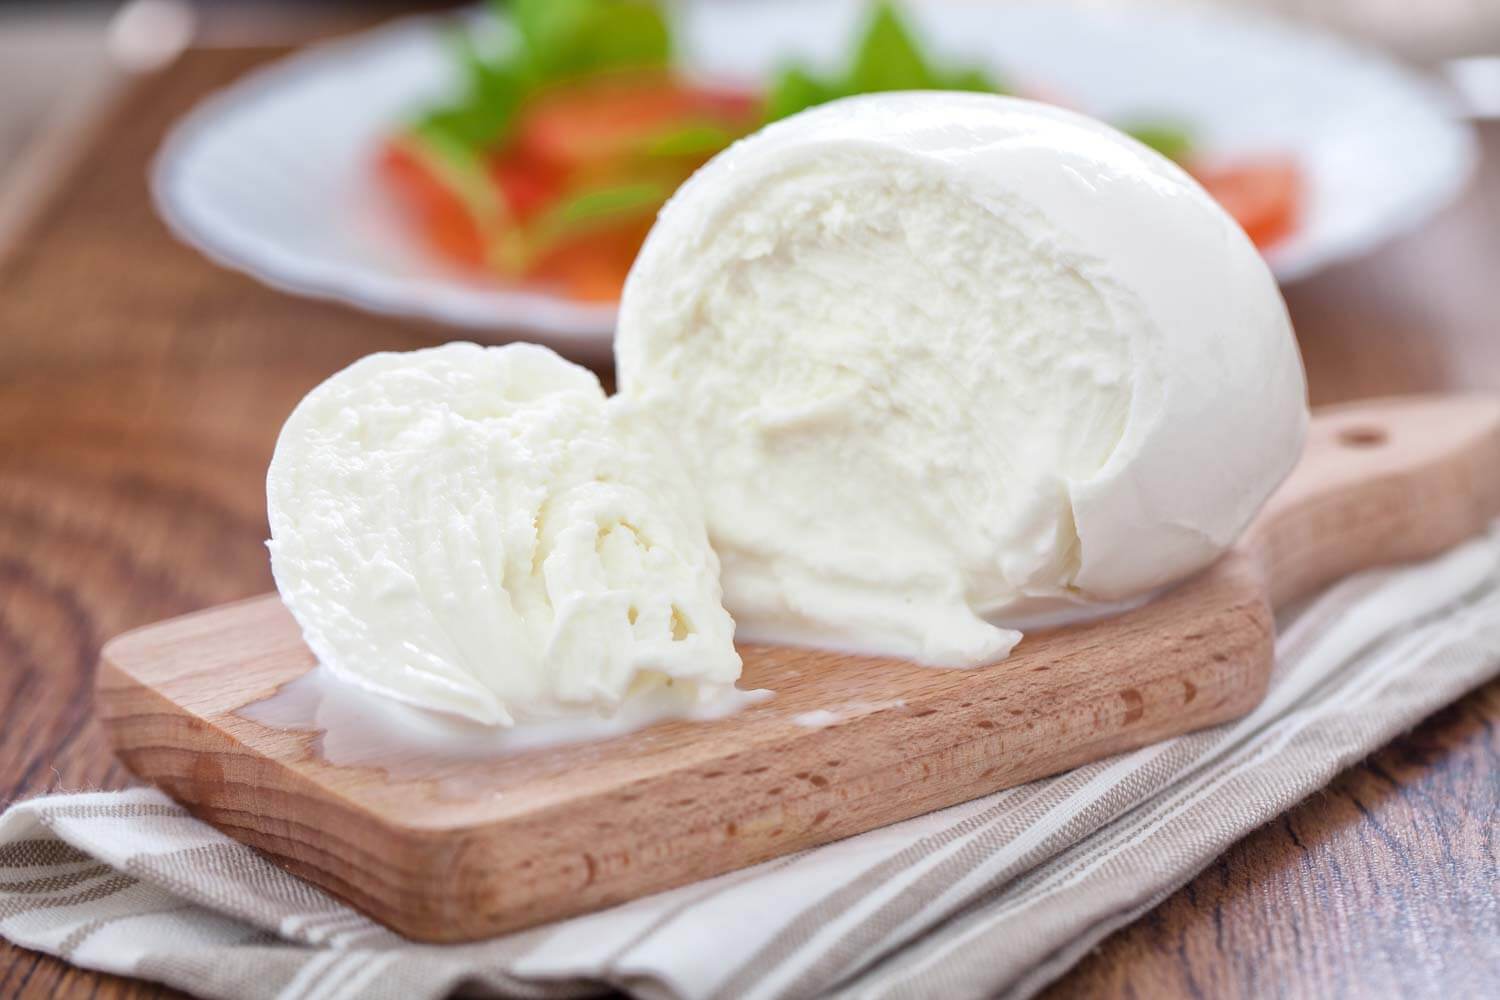
Mozzarella Cheese Making Recipe (Cultured)
-

Aging Time
None
-

Skill Level
Intermediate
-

Author
Jim Wallace


Mozzarella Cheese Making Recipe (Cultured) Info
What Is Mozzarella?
Types & Variations
Milk Matters
Cultured Mozzarella Tips
Ingredients
Total price for selected items: Total price:

Instructions
-


Acidify & Heat Milk
Begin by heating the milk to 100F (38C). You do this by placing the milk in a pot or sink of very warm water. If you do this in a pot on the stove make sure you heat the milk slowly and stir it well as it heats
Once the milk is at this target temperature, the culture can be added (from list above). To prevent the powder from caking and sinking in clumps, sprinkle the powder over the surface of the milk and then allow about 2 minutes for the powder to re-hydrate before stirring it in. The milk will need to ripen for 60 minutes before adding the rennet.
Tip: Before setting up and heating the milk, take 2 cups of the milk, heat to 108F (optimum for the thermophilic), then add your culture to this and stir well. Note the time you do this and allow this to set at this ripening temp for the indicated time.
Then carry on with your set up and milk heating which should take the better part of the hour and when the full milk is heated to your working temp and the ripening time for the mini starter has elapsed, just add it to the full batch and you have saved about an hour in time. **You can move right into the rennet addition.
You can do this with any cheese, just make sure the culture and milk stay proportionate
-

Add Rennet
Add rennet and stir slowly top to bottom for about 30 seconds.
The milk now needs to set undisturbed for 45 minutes while the culture works and the rennet helps form the curd. Keep the milk at the 100F during this period, preferably using a sink or water bath of warm water. It can not be heated on a stove top because of the curd formation.
-


Cut Curds
After setting for about 45 minutes to 1 hour the curd should be ready to cut.
Over a 20 minute span, cut the curd at 2 inch intervals and then make the same cut spacing at right angles to the first cut. Allow this to rest 5 minutes then break the rest of the curd into walnut or hazelnut sized pieces (1" - 1/2" ). The smaller the pieces the more whey will be released and the drier the cheese will be. This is your first control point in determining moisture for the final cheese.
-


Cook Curds
After cutting and a brief stir, allow the curds to settle to the bottom of the pot for one hour, with a brief stir every 5-10 minutes, just to keep the curds separated, to retain the most moisture. Keep the temperature around 100F during this time.
For a drier cheese, more frequent or constant stiring will cause more whey to be released. The temperature can even be increased to 106-108F for more moisture removal.
-


Drain Curds
The curds and whey can now be transferred to a colander or cheese mold to form into a consolidated curd mass.
The whey is allowed to run off and may be collected for other uses. This whey is sweet enough to make into Ricotta since the acid has not been fully produced yet.
-

Ripen Curds
At this point it is essential to keep the curds warm because the bacteria is now producing the acid that is so important for a good stretching Mozzarella. The easiest way is to place both curd and the colander or form back into the empty pot and keep this in a sink of warm water to keep the curd at 96-100F.
Once the curd is resting quietly, fill the extra pot with water (about a gallon or so) and bring it to a simmer to be used for the hot water stretch. Traditionally this was done with the whey already heated from the Ricotta making process but water works fine.
Allow the curds to ripen in the warmth for about another 2 hours then begin testing for the stretch. Cut a small piece of curd from the large curd mass and place it in a cup of the hot water tempered to about 180F. Allow this to sit for a few minutes and remove from the hot water. If it stretches, then you are ready for the final hot water stretching phase. If not, continue the warm rest for another 15-20 minutes and repeat the test until you see a good stretch. The stretch should be about 2-3 times the original length of the sample without breaking.
During the final rest, a pot of water should beheated for the stretch.
-


Stretching Part 1
Once the curds show that they are stretching, the curd mass is placed on a cutting board and chopped into 1/2-1" cubes and placed in the bowl or pot for heating and stretching.
The hot water is then added. Initially, about 2-3 cups are added by pouring at the edge of the curds (not directly on them) and the wooden spoon is used to gently move them around for heating. Gradually they will begin losing their shape and melding (not melting) into a smooth mass. If this is not happening after 3-5 minutes add another 2 -3 cups of hot water until you see the curd mass forming into a stretching mass.
-


Stretching Part 2
With the wooden spoon you can begin the stretch by lifting this curd mass and allowing it to stretch from its own weight. If the curd mass begins to cool and the stretch becomes less, add more hot water. After doing this a few times and the curd begins to look like taffy, you can lift the curds while turning the spoon and winding into a smooth mass.
At this point you can dump the water and give the stretching curd a few of long pulls, folding it back on itself and the finally rolling it all into a ball. Be careful to not get too carried away with this because it is a lot of fun but you could dry out the cheese excessively if overdone.
During this stretch is a good time to add the salt as per your preferences or any other additions to your Mozzarella. If you want to make one of those amazing Prosciutto rolls this would be the time to do that as well.
-


Shaping
For the final form I find it easiest to break the mass into 2 smaller balls (about 1 lb each) because they are easier to handle. Now, hold the warm Mozzarella with thumb and forefinger of one hand using the other hand from underneath to push the curd up inside itself. Continue working the curd in this manner until the ball of cheese becomes smooth and shiny.
If you have ever seen a good pizza dough prep, this is much the same way, the curd is pushed in from below and at the same time the top surface is stretched over this. Finally the opening at the bottom is pinched off with the resulting perfect shiny globe of Mozzarella.
-


Cooling
Drop the curd into a small draining mold to hold the shape and place the form and cheese into a very cold pot of water to chill and hold its shape. During the winter I just set it all outdoors. An hour or so of this and it is ready to be eaten or wrapped and kept in the fridge for a day or so.
-

Storing
There is not much to say on this because it should not be kept that long unless you are making a drier style Mozzarella. I simply wrap mine in a breathable Saran Wrap and keep it in the fridge for a day or so.
Tip: this might just be the best tip on this page. For those who really love Mozzarella, you can make a huge batch of the curd mass, cut it into single use (1 lb) portions and freeze it. When ready for more fresh Mozzarella, just place the frozen portion in the fridge to thaw overnight and the next day heat up the water for stretching and Voila, fresh Mozzarella.
You should know that most shops selling fresh Mozzarella buy frozen curd, in bulk, then thaw and heat for the finished fresh Mozzarella every day.
Cheese Making Supplies
Related Products
You May Also Like


