


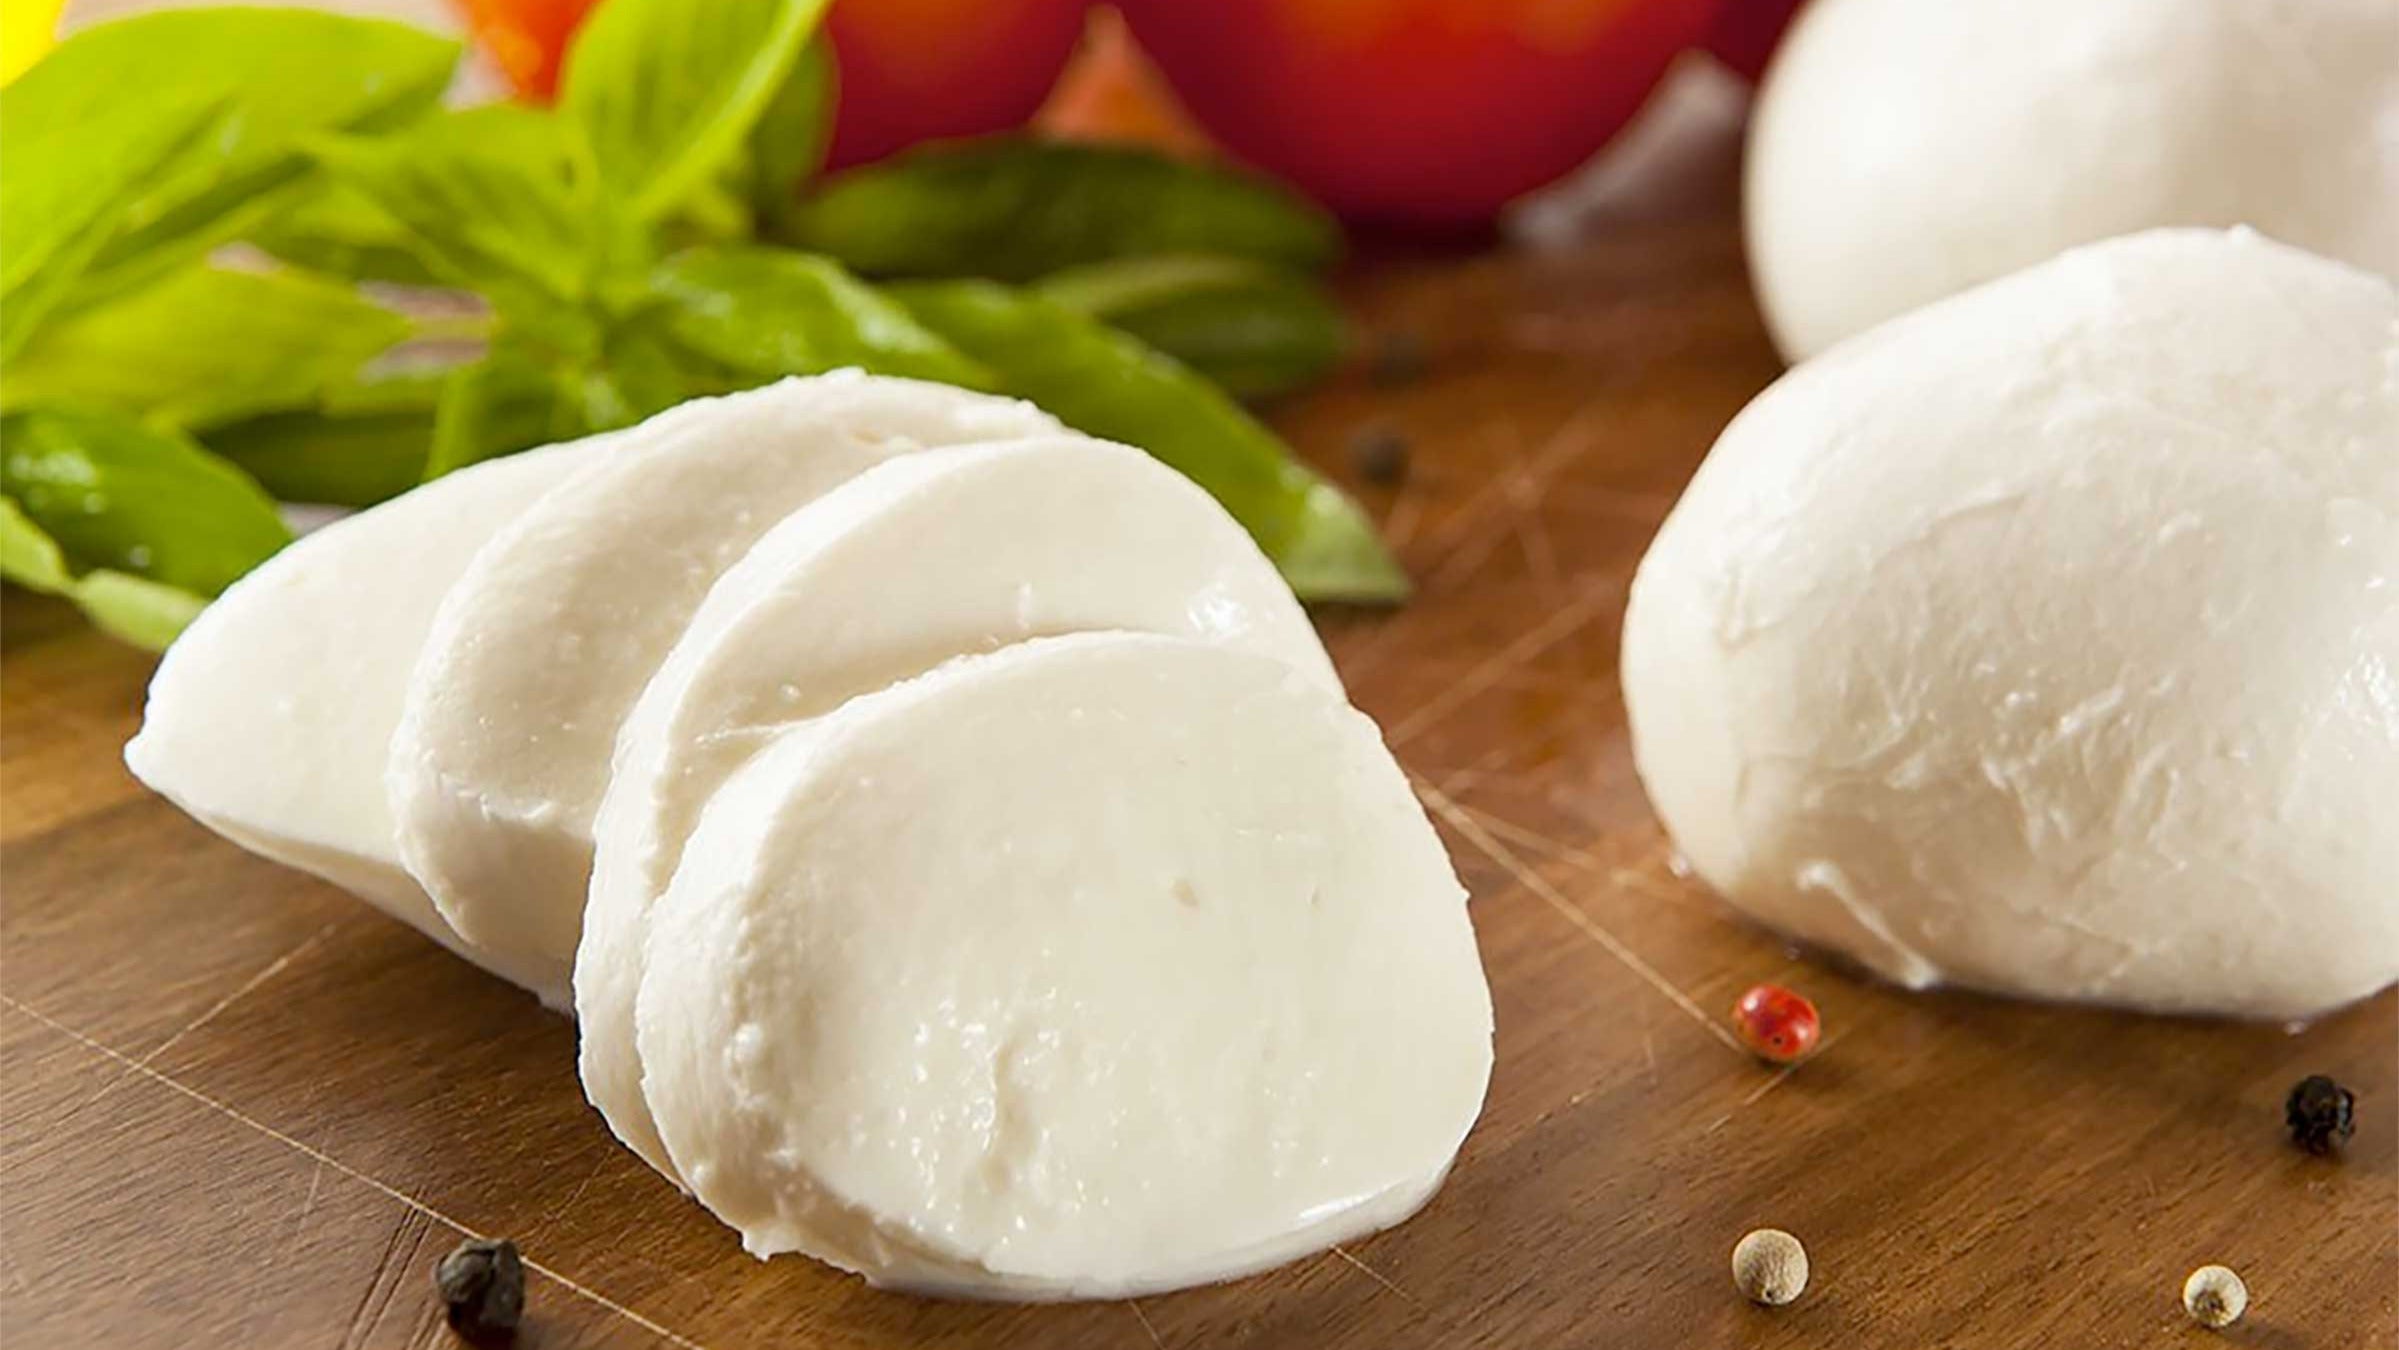
30 Minute Mozzarella Recipe
Learn how to make 30 Minute Mozzarella, in your own kitchen. With just a few simple ingredients, this step by step recipe will show you how easy and easy it is to make cheese at home. From milk to yum, this recipe is fun for all ages.
-

Yield
1 Pound
-

Aging Time
None
-

Skill Level
Beginner
-

Author
Ricki Carroll


30 Minute Mozzarella Recipe
Regular price
Sale price$0.00
Sale price (/)
30 Minute Mozzarella Recipe Info
Good Milk for Mozzarella
Tips and Tricks
Ingredients
Total price for selected items: Total price:

Instructions
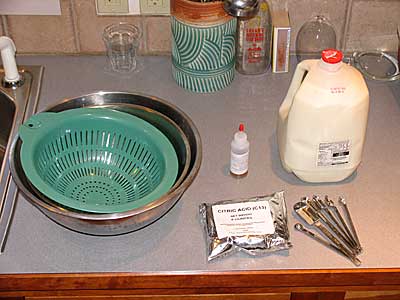


Step 1 Prepare Work Area
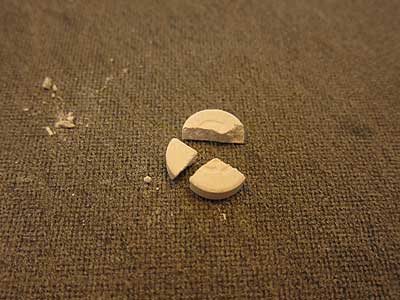
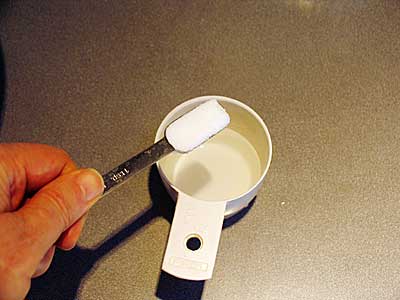
Step 2 Prepare Rennet
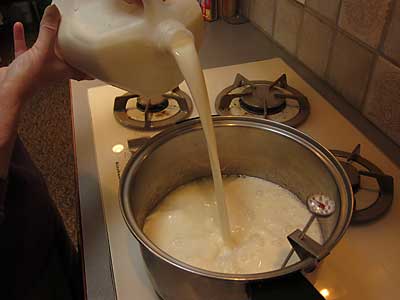
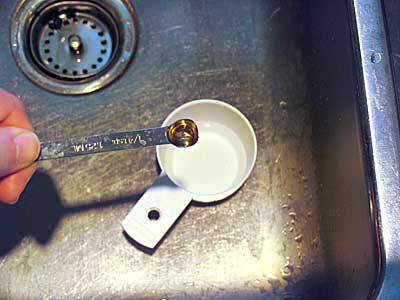
Step 3 Mix Citric Acid & Milk
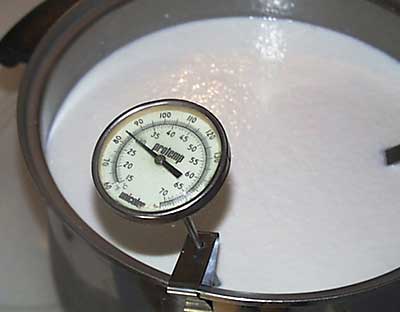
Step 4 Heat Milk
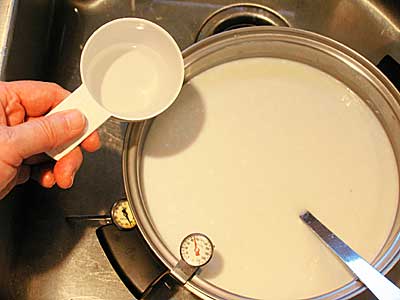
Step 5 Add Rennet
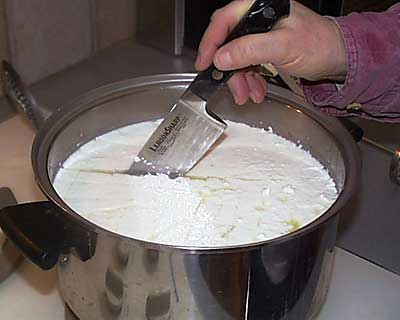
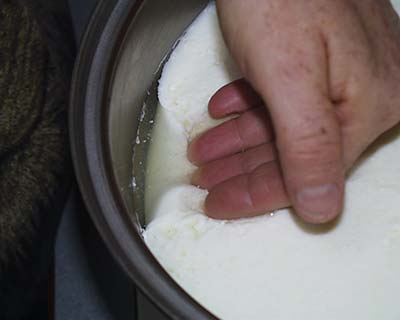
Step 6 Cut & Cook Curd

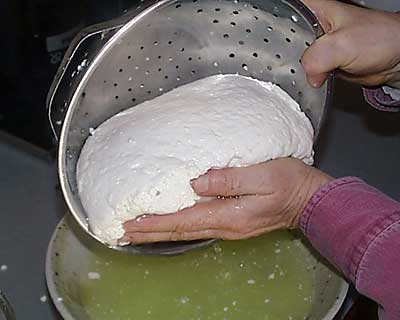
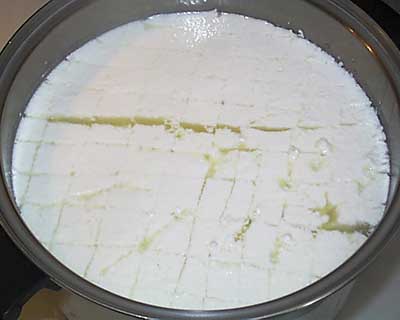
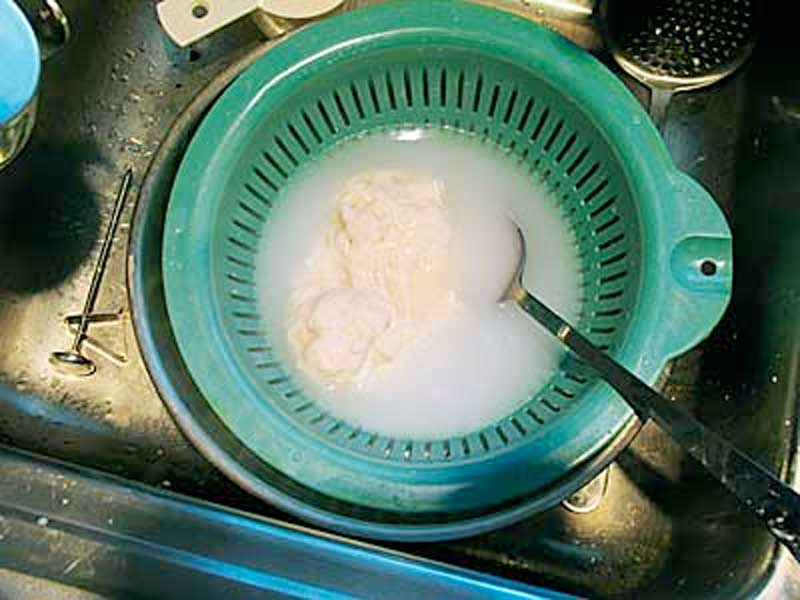
Step 7 Transfer & Drain Curd
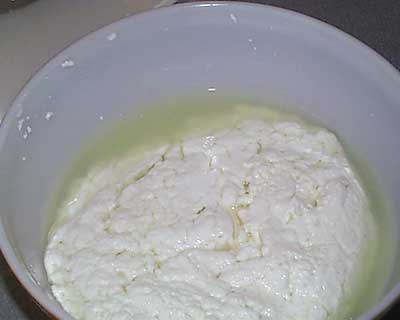
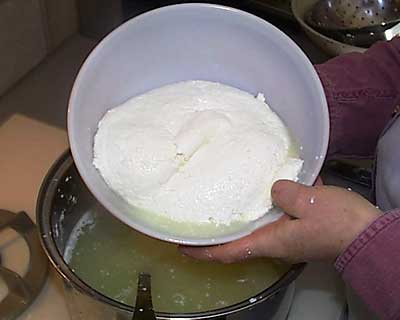
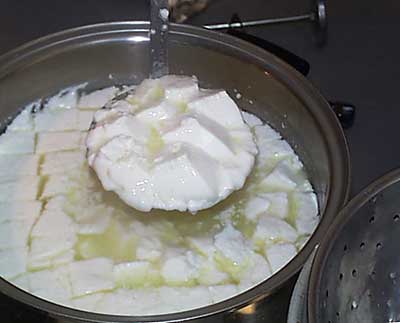
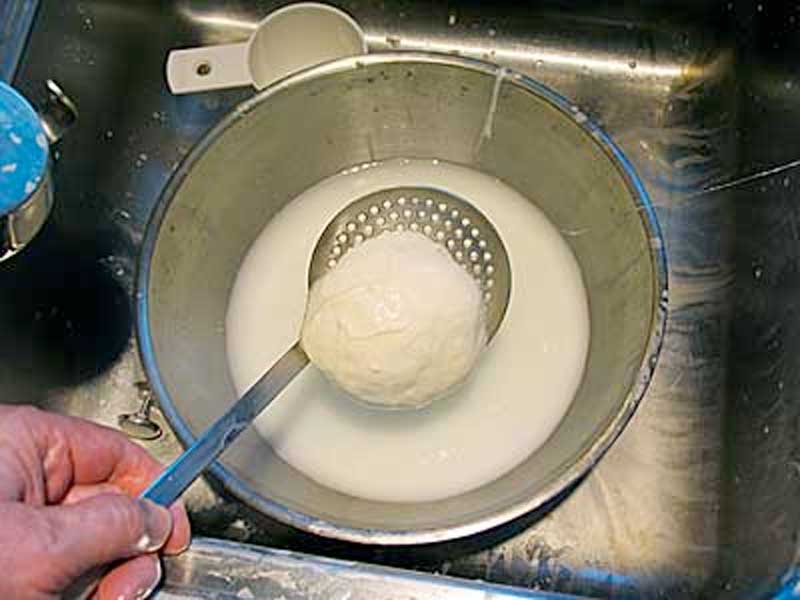
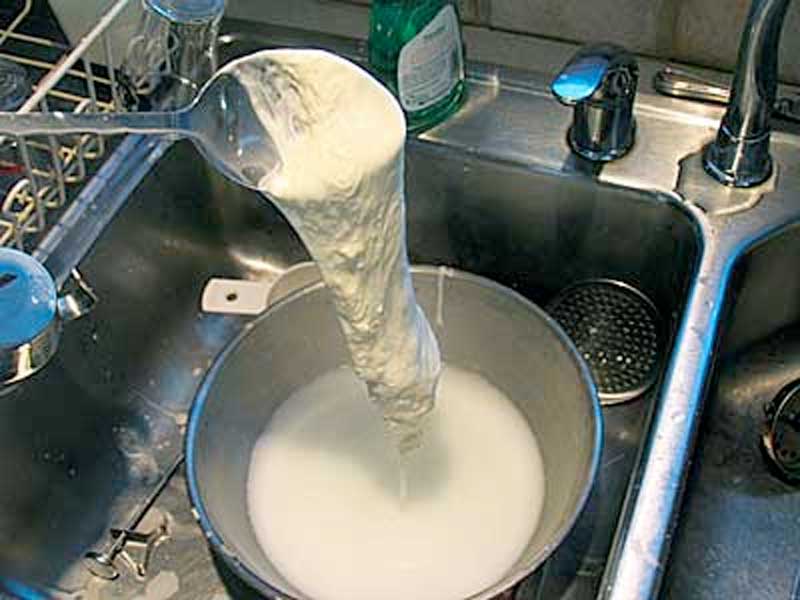
Step 8 Heat Curd & Remove Whey

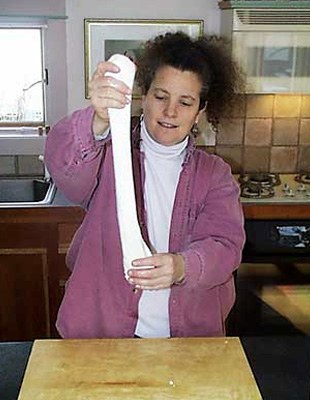
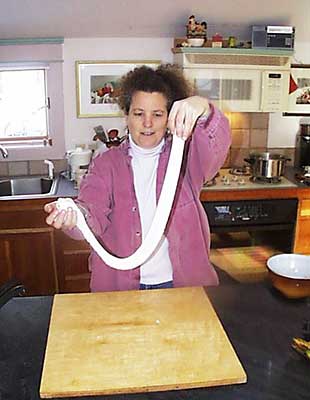
Step 9 Knead & Stretch Curd
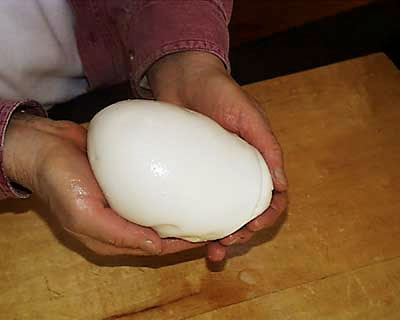

Step 10 Eat & Enjoy
Cheese Making Supplies
Related Products
You May Also Like


