


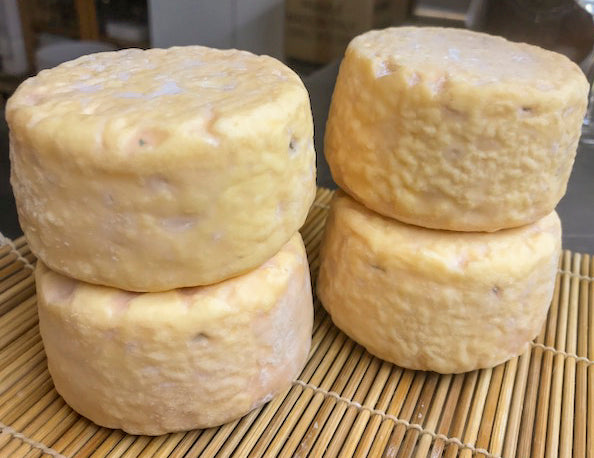
Catamount Gold Cheese Making Recipe
Style-wise, it is hard to put this cheese into one box. It is journey begins as a semi-lactic cow milk cheese with added cream, then, we mix things up by washing the curds, and finish it off with a fragrant washed rind. Yes, this cheese can be a bit of a stinker, literally, but in a really good way.
-

Yield
1 Pound
-

Aging Time
~2 Months
-

Skill Level
Advanced
-

Author
Jim Wallace


Ingredients
Total price for selected items: Total price:

Instructions
A Recipe for Catamount Gold
This is a great guideline for intermedeate and advanced cheese makers. It offers a lot of information on the variation of the process and how different types of cheese can be made from the same milk.
-

Acidify & Heat Milk
Begin by mixing the milk and cream together. The milk I use here is a raw Jersey milk normally about 4.6-4.8% fat. The cream is hand skimmed after allowing evening milk to rise overnight. I do this for cheese like Parma and certain Alpine style cheese. I then combine these and the resulting cheese is a double to triple cream.
Heat the milk/cream to 95F. You do this by placing the milk in a pot or sink of very warm water. If you do this directly in a pot on the stove make sure you heat the milk slowly and stir it well as it heats
Once the milk is at 95F the cultures can be added. To prevent the powder from caking and sinking in clumps, sprinkle the powder over the surface of the milk, and then allow about 2 minutes for the powder to re-hydrate before stirring it in.
The milk now needs to be kept at this target temperature until it is time to increase for cooking the curds. Hold the milk with culture quiet for the next 4-5 hours to allow the culture to begin doing its work. It will be very slow initially but will soon kick into its more rapid rate of converting lactose to lactic acid.
Note: Most cheese guidelines detail a ripening time of 45-90 minutes before adding rennet but this cheese requires a much longer time.
-

Coagulate with Rennet
Cream in cows milk tends to rise and separate during coagulation. We need to avoid this for this cheese to have the fat distributed evenly throughout the cheese, and the best way to do this is increase the speed of coagulation.
We could add more rennet to speed coagulation but that would change the style of the cheese.
The nature of rennet is to work faster at higher temperatures and at higher acidity. Note above, that the temperature of 95F being higher than normal for the style PLUS the acidity increases substantially over the 4-5 hours before adding the rennet and works much faster. This should form a curd within 20-30 minutes which should be quick enough to prevent the cream from rising. The actual curd development will begin locking the cream in place at about 8-12 minutes. You should note the thickening of the milk at this time.
Note: A full Lactic Cheese would only require a rennet amount of 2-3 drops, whereas a Full Rennet or Enzyme Set curd would call for about 1/4-1/2 tsp. This is this is called a Semi-Lactic process since it falls in between.
For this cheese we will use 8-12 drops of rennet (the higher amount for pasteurized milk).
The milk now needs to sit quiet for 30 minutes while the culture works and the rennet coagulates the curd. You should note the milk beginning to firm up at about 8-12 minutes, but give it the full time of 24-30 minutes. Test the curd firmness before cutting. Once the milk begins to thicken, the fat will no longer rise because it becomes trapped in a matrix of protein.
The thermal mass of this milk should keep it warm during this period. It is OK if the temp drops a few degrees during this time.
-


Cut Curd & Release Whey
Once you have tested successfully for a good firm coagulation, it is time to begin the separation of curds and whey. Since this is such a high fat milk, the cut and stir need to be very gentle throughout the remainder of the process.
Our target is a larger curd with high moisture and as little butterfat lost as possible. Expect a slightly milky looking whey instead of the normal green yellow hue of other cheeses.
Cut to 1/2-3/4" curds and then let rest for 10 min. This will allow the curds to firm up.
Then three intermittent stirs, just enough to float and separate the curds. These will be at 10 min. intervals, allowing the curd to settle during this time (good for moisture retention). Finally settle for 5 min.
-

Wash Curds
Next draw off 30% whey (~2 qts) before adding back 95F same temperature wash water. We would like a high moisture and somewhat sweet cheese here and this step will remove lactose with the whey which is the cultures food supply. This will slow their activity in converting lactose. Less food makes them slim and trim but slows them down.
When the whey has been removed, add back the same amount of clean water at 95F.
Then stir slowly for 10 min. then let settle for 20-30 min. Finish by draining to curd level.
-


Form Curds
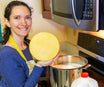
For molding, carefully ladle to forms and allow to drain12 hrs. The number of molds will vary according to size chosen. The final cheese should be about 1/2-3/4 as tall as it is wide. Turn @3 hr. intervals. During this time they will slowly continue to acidify and drain whey.
When draining slows remove from forms and place on mats or racks to continue draining because the salt added next will draw more whey. Keep at room temp 72F.
The aromatic type of culture used for this cheese tends to produce a small amount of CO2 gas resulting in small holes that provide a more open texture in the cheese and facilitates moisture movement and the enzyme movement and effects for ripening.
You can see the effects of this produced on the surface while in the form. When cut the cheese shows this array of tiny openings throughout the cheese.
-

Salting
The cheese should now be ready to salt. For this amount I suggest about 2tsp of medium crystal salt for this volume of milk divided between the number of cheeses:
- Salt one surface and sides
- Wait until it dissolves and is absorbed by the cheese
- Flip and salt the remaining surface with the same amount of salt
- Allow this to be absorbed into the cheese
Remove the cheese to a cool and dry room (less than65F ~65-70% moisture). Place on drying mats or boards and flip several times until surface dries and no longer drips whey. In humid weather a small low volume fan may be needed.
-

Initial Aging
At this point our base cheese is ready. It should be quite tender and moist and needs to be carefully handled when moving and turning. They should first be left in the cool space that was used for salting and allowed to sit for 2-3 day while the Geotrichum that we added to the milk can develop (they are happy with 65-75F).
In 2-4 days you should notice a slippery feel to the surface and a drying surface followed by a slight growth of light white mold areas.
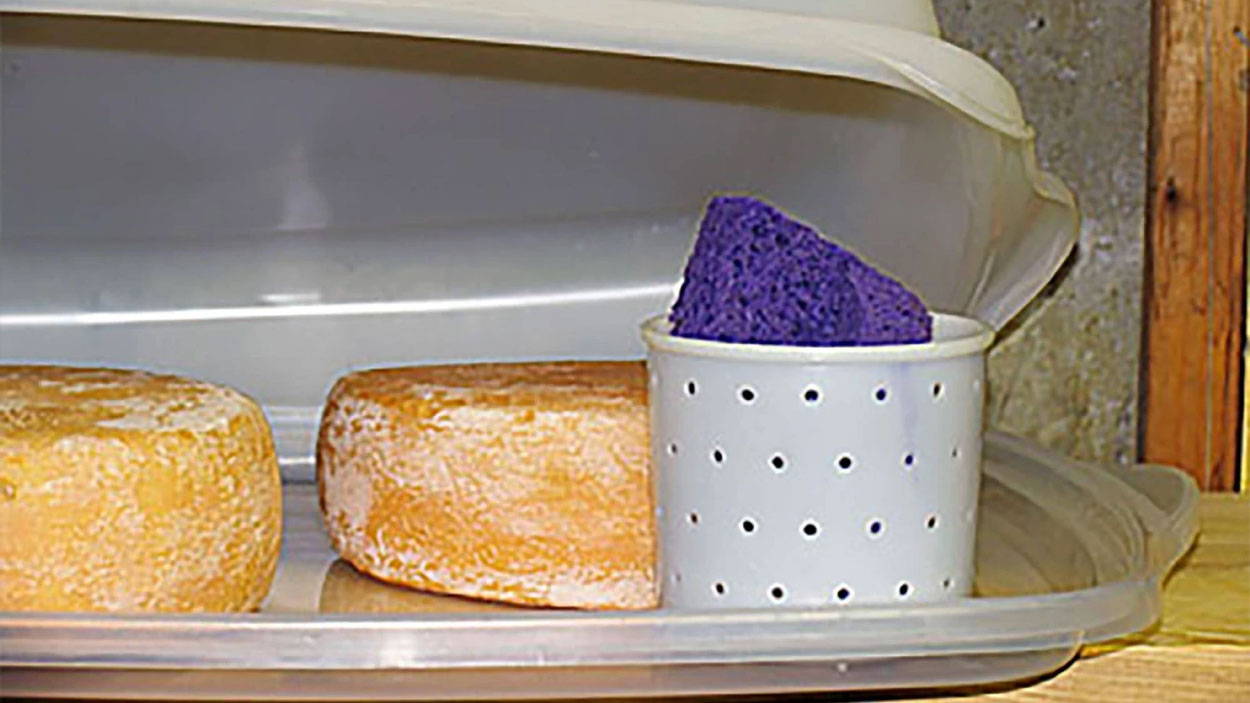
The rind is beginning to develop and should be moved into a cooler aging space at 52-55F and 95% moisture on drying mats. The moisture may require covered plastic boxes but make sure the box is opened and cheese is turned 1-2 times per day. By about day eight you should notice a drier rind with a thin white mold and hopefully a bit of a rosy color developing. This is the beginning of the coriniform complex which the B.linens may or may not be part of (this complex has been lately attributed more to the aging areas natural bios).
-


Washing Rind
At about day 8-10 you should have the beginnings of your rind development and are ready to proceed with the washed rind to encourage the growth of this colorful and aromatic surface. Using a light brine made up of 1Tbs of salt to 1 cup of water and using a clean piece of cloth wipe/smear the surface. This will provide the moisture, salt, and spread the developing yeast bacteria and molds evenly. These are the conditions that make for a washed rind. Too moist or too dry and you will have problems.
This should be repeated 3 times at 2-4 day intervals. Then turned every day or so watching for too dry or too moist conditions (I always tell my students that the condition you want is 'dampish' never 'swampy').
The successful development of a good surface will out-compete most other molds and bacteria that would like to set up house on the surface.
-


Final Aging
At this point simply turning the cheese every day should be sufficient. Replace the drying mats when they need it and wipe excess condensation from the lid and box.
If you find them drying excessively a clean cool water wipe should remedy this.
Once you have a full rosy surface developing the cheese should be moved to a cooler 42F condition to slow the enzymes work and provide a nice gradual curd transformation from the rough white cheese to the eventual translucent paste that will slowly slump from interior at room temperature. The ripening takes place slowly from the surface towards the center over time. It is the result of enzymes produced by the surface development.
Some folks like it less aromatic and settle for a less ripe cheese than others. Some are going for the drama with a rather "Aromatic " cheese that is much more spreadable. Yes, there is such a thing as too ripe. Too much ammonia can become an issue when it's over ripe.
Anything from 4-8 weeks should be good, so try this at various points. You should be able to feel the progress by lightly pressing. You can go for a longer aging drama but may lose some enthusiasts on that front.
Cheese Making Supplies
Popular Products
Cheese Making Recipes
Recommended Recipes
Learn how to make a cheese cave right at home. If you want your cheese to ripen properly you have to make them a good home and take care of them like little bambinos.