


Saint Marcellin Cheese Making Recipe
This cheese is lactic in nature, meaning the milk separation takes place slowly over a longer period (24 hours), with little to no help from the rennet.
If you have made a few cheeses at home, this recipe is a great way to venture into the realm of surface-ripened cheese. It's perfect for both the experienced beginner and the intermediate cheese maker.
-

Yield
2 Pounds
-

Aging Time
~1 Month
-

Skill Level
Intermediate
-

Author
Jim Wallace


Ingredients
Total price for selected items: Total price:

Instructions
A Recipe for Making Saint Marcellin
If you've made a few cheeses at home this recipe is a great way to venture into the realm of surface ripened cheese. It's great for both experienced beginner and Intermediate cheese makers.
-

Heat & Acidify Milk
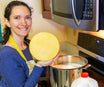
Because this milk will sit quiet for a long time, anyone with non-homogenized milk (raw or pasteurized-'cream top') should consider skimming at least part of the cream for making butter or cream cheese (you will see this below). Non-homogenized milk has a tendency for the cream to rise, forming two distinct layers, one of coagulated milk and one of coagulated cream. I skim part of the cream as you can see in the photo here, because I use a 4.6-5% Jersey milk and it is difficult to mix these back together once they set.
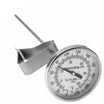
Begin by heating the milk to 72F. You do this by placing the milk in a pot or sink of very warm water. If you do this in a pot on the stove, make sure you heat the milk slowly and stir it well as it heats.
Once the milk is at 72F, the culture can be added. To prevent the powder from caking and sinking in clumps, sprinkle the powder over the surface of the milk and then allow about 2 minutes for the powder to re-hydrate before stirring it in.
The milk now needs to be kept at this target temperature for about 90 minutes. Hold the milk with culture quiet during this time to allow the culture to begin doing its work (you may need to stir every 5-10 minutes to keep the rising cream mixed in).
It will be very slow initially but will soon kick into its more active rate of converting lactose to lactic acid.
-


Coagulate with Rennet
Stir the milk well after it has been sitting to mix the cream back in.
Then add about 6 drops of single strength liquid rennet, diluted in 1/4 cup of unchlorinated water.
This is a very small amount of rennet because the primary coagulation is due to lactic acid development and not much enzymatic or rennet activity
The milk now needs to sit quiet for 22-26 hours while the culture works and coagulates the curd. This should be in an area that can help maintain the 72F temperature.
When the curd is ready, you will note that a thin layer (1/4-1/2"") of clear whey has risen to the surface, and the curd has pulled away from the edge of the pot, as well as perhaps a few cracks in the cheese body. The whey should also taste quite tangy at this point.
Note: Measuring the Acid in the set curd (optional)
pH of 4.6-4.5 will indicate the correct acid development in the whey when coagulation is complete.
-


Cut Curds & Release Whey
When ready the whey should have risen and the curds separated from the sides. Once you have determined the proper coagulation has occurred, it is time to cut the curd.
Note: If your milk has not been homogenized, the cream may have risen to the surface and formed into a thick layer of soured cream. This can be ladled into a lined cheese mold and drained, to make a rich cream cheese. Try simply tilting the pot for the thin layer of cream to slide to one side into an easily collected mass.
Since we are making a high moisture cheese intended to age quickly, the cut for this cheese will be very minimal and no cooking or stirring will be involved.
To cut the curd, make several vertical cuts at about 3/4-1"" across the entire surface, then at a right angle repeat the process, like a checkerboard (no horizontal cuts are needed).
I usually give the milk pot a quick twist to free up the cut then allow the cut curds to sit about 5 minutes until some whey rises in the cuts.
-


Forming the Curds
The curds can now be ladled into 6-8 sanitized Saint Marcllin Cheese Molds that have been placed on a draining surface. Doing this one ladle at a time in a round robin fashion will give each mold time to settle. You may need to wait a few minutes to place the last scoop, while the curds settle in the molds.
Note: Included in the photos above are the draining cream cheese (in the basket mold), and the jar of cream skimmed from the milk, which will be churned into a batch of butter.
While draining, maintain an average temperature of 72F. If the room temperature is too cool, Drain the cheese in a large insulated cooler.
Allow the curds to sit quietly for about 1 hour, then carefully flip the curds in the molds. This may be challenging, if they're too soft wait a little longer.
Notice the level of the cheese in the molds after the first turn above, compared to that of the full molds.
Flip the curds again 2-3 times, then allow to drain overnight at 72F.
-

Salting
The next morning, sprinkle ~1/4 tsp of salt to each cheese while still in the cheese molds.
Allow the salt to dissolve 4-6 hours, then flip the cheese in molds and salt once more.
At the end of the day, remove the cheese from the molds and rest on draining mats. They should continue to drain overnight.
Each final cheese will be about 3+ oz.
-


Aging
Much like little kids, Saint Marcellin requires a bit of supervision while aging.
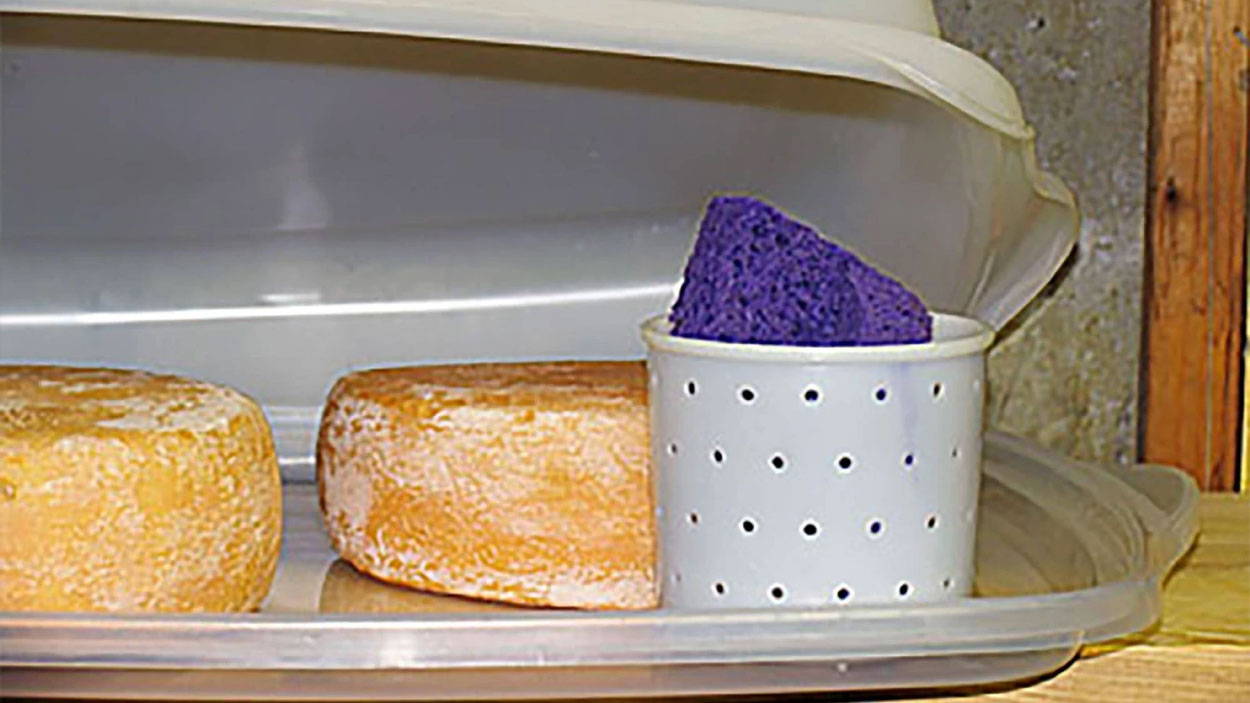
The next morning, move the cheese to an aging space with 52F and 90-95%RH. I like to use covered plastic trays while aging to help maintain moisture.
While aging, turn 1-2 times daily, I find it best to turn onto fresh dry draining mats each time.
At about 5-7 days they will become ÔgreasyÕ This is some ambient yeast as well as the Geo complex. As mentioned in the ingredients list, I like using the Geo15 because it produces a yeast like surface that is thin and velvet like.
At about 12-15 days the cheese should develop a very light white dusting of mold. Now the cheese is ready to be placed into ceramic bowls and wrapped with breathable film, or simply wrapped in a breathable wrap without the bowls.
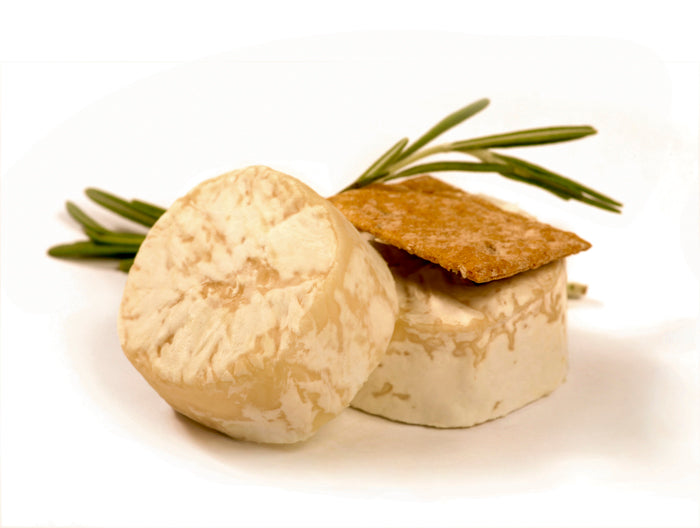
The cheese will be ready to enjoy after one month of aging. When fully ripe, the surface will have a thin rind with a bit of 'Fleur', and when cut, the interior should be creamy.
Note: If desired, the cheese can be aged in a drier aging space 75-80% and for a longer period. When aged in a drier space, the cheese will take on a firm rustic appearance and the paste will be much drier and stronger in flavor as the aging is extended.
Cheese Making Supplies
Popular Products
Cheese Making Recipes
Recommended Recipes
Learn how to make a cheese cave right at home. If you want your cheese to ripen properly you have to make them a good home and take care of them like little bambinos.