


Cheese Press
Description
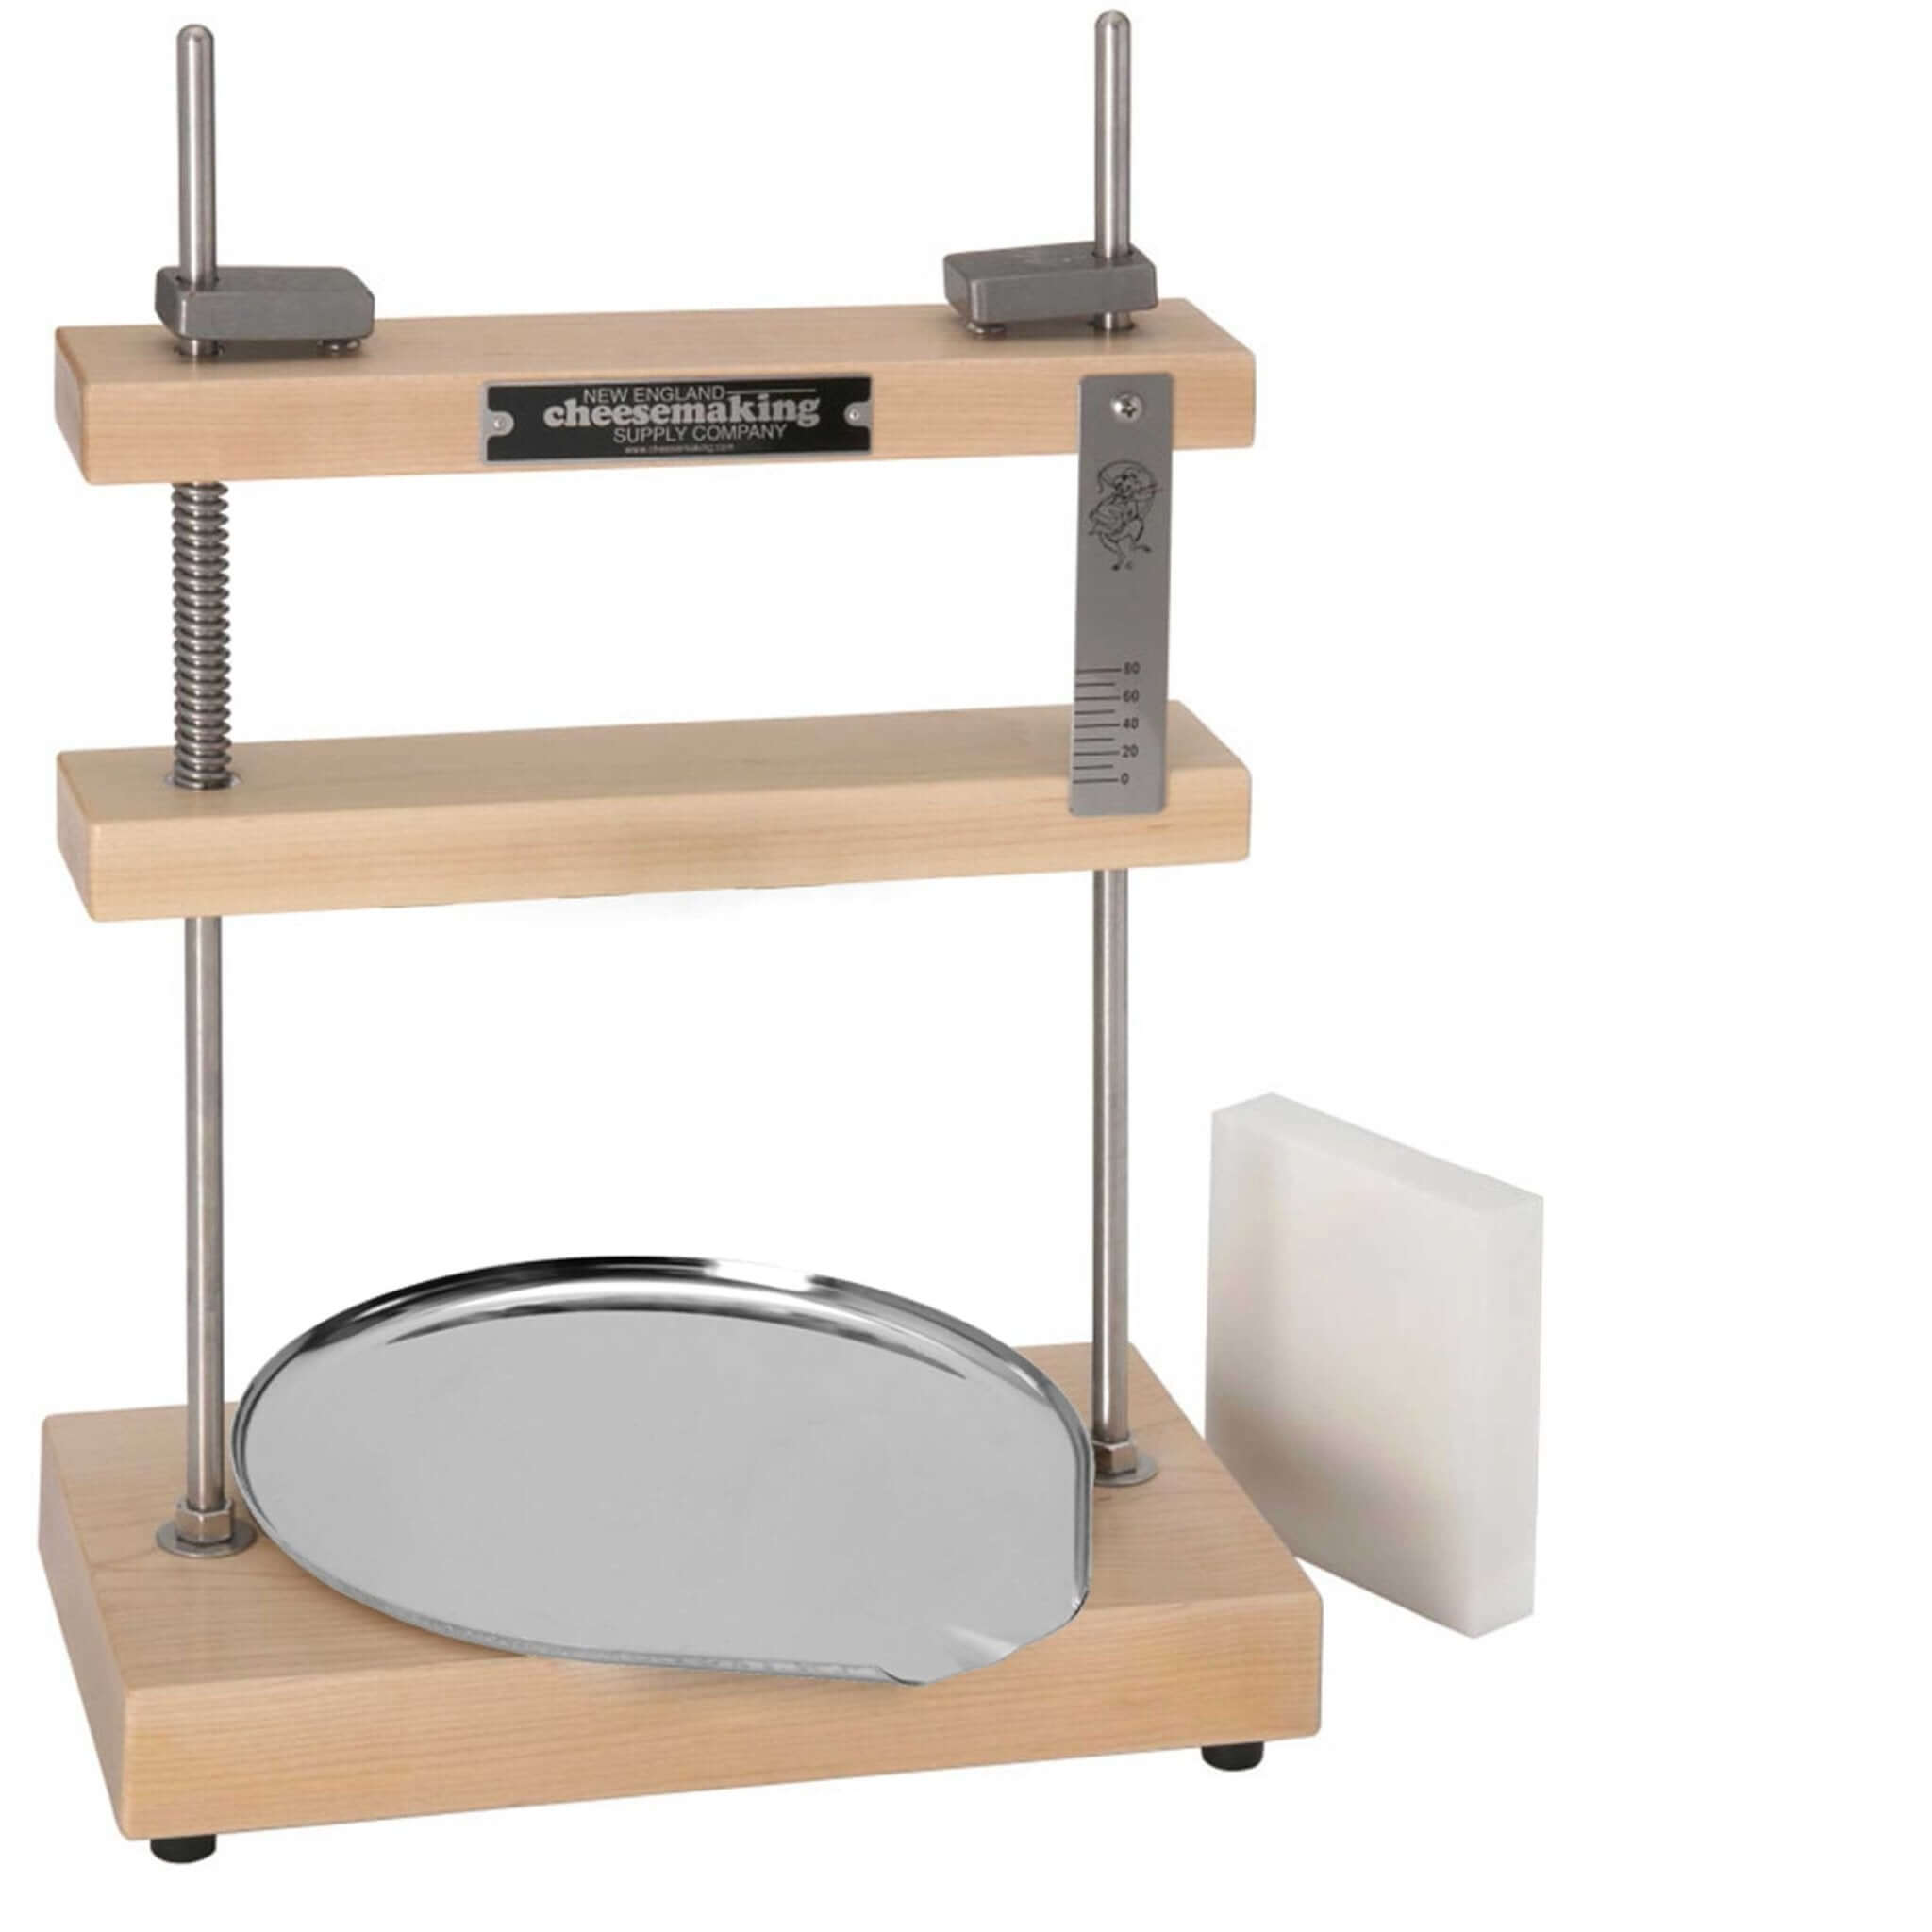
This cheese press is proudly made in the USA and built to last a lifetime. Both easy to use and care for it is a wonderful investment for any cheese maker.
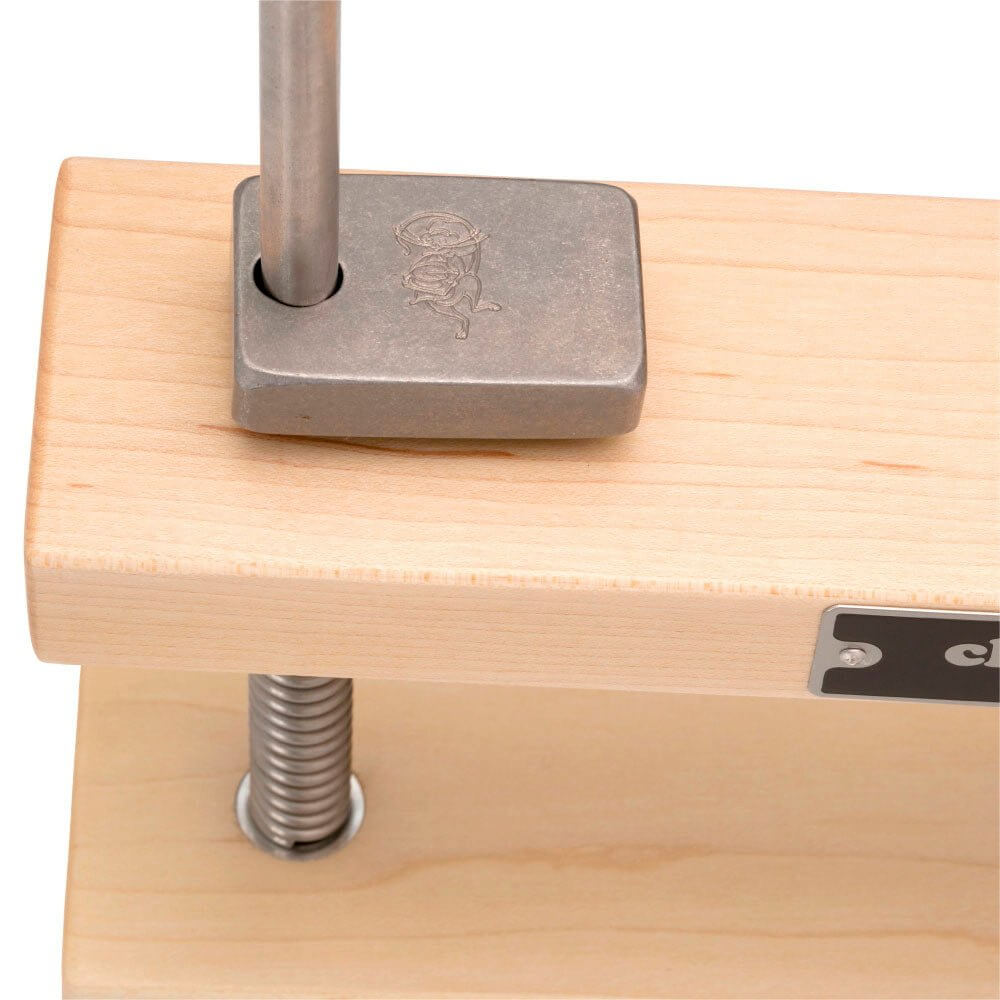
Built with a hard wood (maple) base and top bars, rubber feet to protect your kitchen counter and stainless steel components, this press is both beautiful and durable.
When pressing, weight is increased by simply pressing down on the top bar. The weight is automatically regulated with stainless steel springs and can be measured, on the easy to read pressure gauge, from 0 to 80 lbs.
With this press you can easily press a variety of delicious hard cheeses including, but not limited to, Cheddar, Gouda, Parmesan and Monterey Jack.
Details
Dimensions
6 1/2" W x 12" L x 18" H
Includes:
- Cheese press
- Rectangular polypropylene follower
- Stainless steel drip tray
Features
- Made in the USA
- Press is hard wood and stainless steel
- Fully assembled and ready to use
- Easy to use
Directions
Check Pressure Gauge
After shipping the pressure gauge may not read '0' as a result of spring compression during shipping. To re-set the press, simply release and remove the top locks and allow the springs to decompress.
Do not store the press with springs compressed.
The springs and pressure gauge strip are designed to work together for proper pressing weight.
Recognizing Proper Pressing Weight
The proper amount of weight for pressing should be specified in each cheese making recipe. However, this can sometimes lead to over or under pressing, due to the final cheese moisture or fat content of the curds.
Excessive cloudy/milky whey or even butterfat leaking with the draining whey or on the cheese surface when turning, are signs of over pressing. Higher fat cheese requires less weight in early pressing stages when butterfat is still in a liquid state.
Under pressing will result in unconsolidated curds in the final cheese. This can be identified with open curd spaces on the rind or excessive open spaces in the cheese body.
A tight smooth rind with open space in the cheese body can be from applying excessive press too soon. This would seal the surface and trap moisture inside. This is usually accompanied by a cheese leaking moisture in the aging room.
365-Day Happiness Guarantee
Helping Cheese Makers Since 1978
Description
This cheese press is proudly made in the USA and built to last a lifetime. Both easy to use and care for it is a wonderful investment for any cheese maker.
Built with a hard wood (maple) base and top bars, rubber feet to protect your kitchen counter and stainless steel components, this press is both beautiful and durable.
When pressing, weight is increased by simply pressing down on the top bar. The weight is automatically regulated with stainless steel springs and can be measured, on the easy to read pressure gauge, from 0 to 80 lbs.
With this press you can easily press a variety of delicious hard cheeses including, but not limited to, Cheddar, Gouda, Parmesan and Monterey Jack.
Details
Dimensions
6 1/2" W x 12" L x 18" H
Includes:
- Cheese press
- Rectangular polypropylene follower
- Stainless steel drip tray
Features
- Made in the USA
- Press is hard wood and stainless steel
- Fully assembled and ready to use
- Easy to use
Directions
Check Pressure Gauge
After shipping the pressure gauge may not read '0' as a result of spring compression during shipping. To re-set the press, simply release and remove the top locks and allow the springs to decompress.
Do not store the press with springs compressed.
The springs and pressure gauge strip are designed to work together for proper pressing weight.
Recognizing Proper Pressing Weight
The proper amount of weight for pressing should be specified in each cheese making recipe. However, this can sometimes lead to over or under pressing, due to the final cheese moisture or fat content of the curds.
Excessive cloudy/milky whey or even butterfat leaking with the draining whey or on the cheese surface when turning, are signs of over pressing. Higher fat cheese requires less weight in early pressing stages when butterfat is still in a liquid state.
Under pressing will result in unconsolidated curds in the final cheese. This can be identified with open curd spaces on the rind or excessive open spaces in the cheese body.
A tight smooth rind with open space in the cheese body can be from applying excessive press too soon. This would seal the surface and trap moisture inside. This is usually accompanied by a cheese leaking moisture in the aging room.
Have a question? We're here for you.