


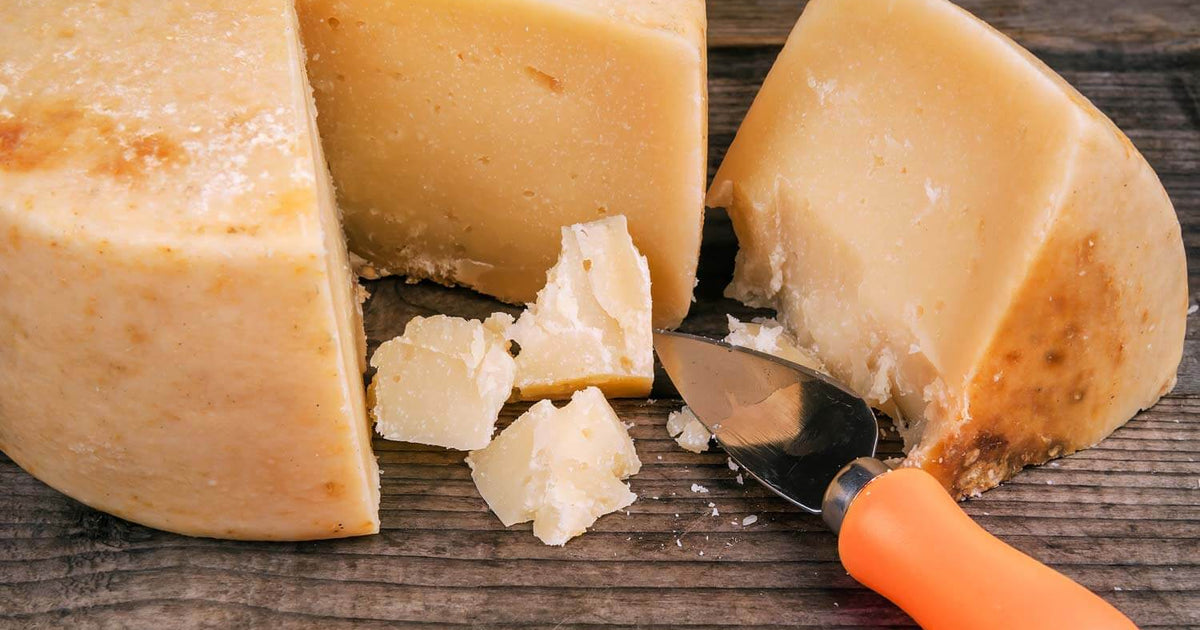
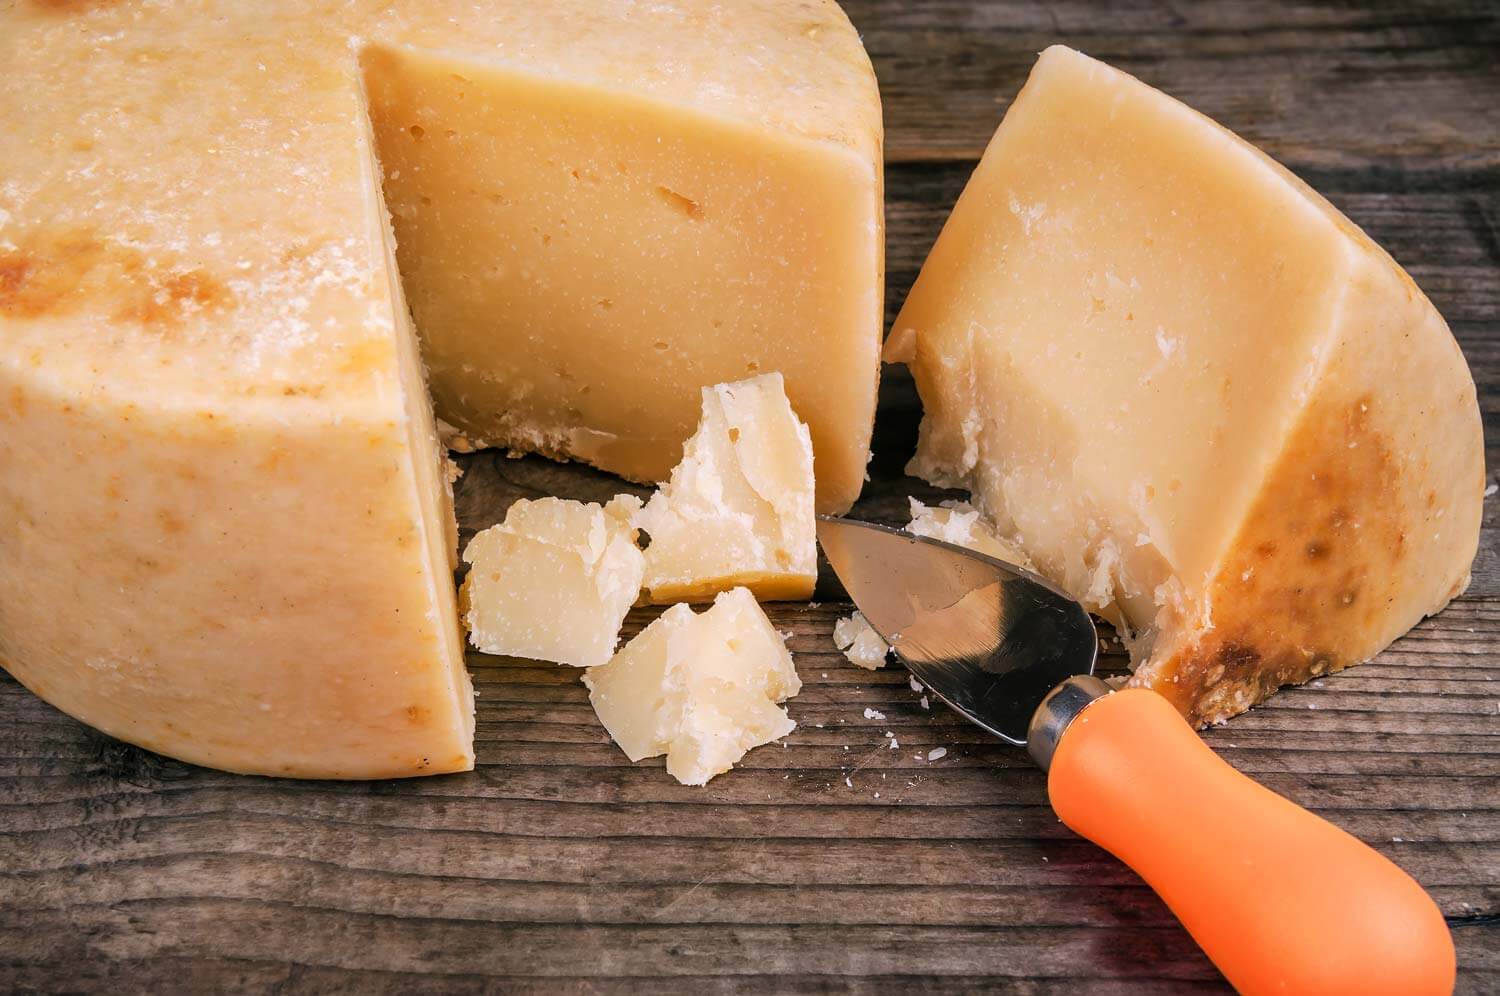
Parmesan Style Cheese Making Recipe
-

Yield
3 Pounds
-

Aging Time
6+ Months
-

Skill Level
Advanced
-

Author
Jim Wallace


Parmesan Style Cheese Making Recipe Info
Parmesan Style Cheese Overview
Regional Styles of Parmesan Cheese
What Makes Parmigiano-Reggiano Unique
Tradition, Aging, and Legacy
Ingredients
Total price for selected items: Total price:

Instructions
-

Clean & Sanitize
Take extra care to inssure everything is well clean and sanitized for this cheese, due to its long aging time.
I find the easiest and most thorough method is to begin the day with my milk pot and about 2-3 inches of water on the stove, boiling anything that is durable at those temperatures. Let this all boil for 10-15 minutes. I then take all of my tools and lay them on a sanitized surface ready for use. Make sure the molds, colander, and draining cloth are also sanitized and ready to go because following the whey removal, the curd must move quickly to the mold for pressing.
Also, because the curd cooking is done very quickly after cutting, another large pot of water should be kept on the stove just off the boil to add to the water bath in the curd cook/scald step found in the instructions below.
-

Selecting Milk
Because much of the milk available in stores is processed at higher temperatures, I have made this recipe with 3 gallons of 2% pasteurized milk from Garelich Farms. This is a higher temperature pasteurized milk (176 degrees for 15 seconds). Some find these milks problematic, but adjustments to the amount and set time for rennet have been made in this recipe to compensate for this type of milk.
If using a better quality, raw milk, decrease the rennet by 25-30% and the coagulation time listed below by 40-50%.
I am using 3 gallons here because a larger cheese has a better surface to mass ratio for aging. A smaller cheese will dry out with a much greater percentage of rind to cheese.
-

Heat & Ripen Milk
Begin by adding the calcium chloride and heat the milk slowly to 91-93F. Using a milk pot in a water bath is the best way to do this but if careful in heating it can be done directly on the stove top. I use 2 thermometers to monitor bath and milk temperatures and keep a 10-20F differential between the 2 until I approach the target temperature for the milk. (Yes, those thermometers are pricey$ but it was a great deal on Ebay). The thermometers on Ricki's site do the same job at about 1/10th the cost, these big dials are just easier for these old eyes here and they show up better in the photos I do.
When the milk is at temperature, add the culture. Add 1 pack of C201 Thermophilic. This should be stirred into the milk thoroughly and then held at 93F for about 30 minutes.
-

Coagulate with Rennet
After the 30 minute ripening, give the milk its final stir before adding rennet. Allow it to go quiet and add the 1 tsp of rennet, stirring in an up and down motion for 30 seconds.
At about 8-10 minutes you will notice the milk beginning to thicken, but for this milk it needs to sit quiet for another 20-25 minutes until the curd becomes much firmer. This is a total coagulation time of 30-35 minutes from rennet addition to a final curd ready for cutting.
-


Cut & Cook Curds
Cut the curds to about 3/8 to 1/4 inch. I find that a coarse 1" cross cut with a knife breaks up the curd mass nicely and then using a long handled whisk with fine wires produces good results in reducing the curds to size. Begin slowly with the whisk in a top to bottom manner and then speed up as the curd becomes smaller. Take about 10 minutes for this.
The curds should be cut and stirred for another 10 minutes. Then the water bath should be heated to 120F by adding enough of the boiling water for a quick scald to 110F over 10 minutes.
When curd is at 110F add enough boiling water to increase the bath to 145F and allow the curds to reach 131-133F during the next 10 minutes.
This should be a total of 20 minutes from 93F to 130F+
The curds will quickly cook down to a smaller rice or barley grain size. They will also easily consolidate into a nice curd mass
-


Mold Curds
Immediatly after achieving the final heat and curd texture, transfer curds to a cloth lined colander. Form the cloth and curds into a ball to help with the consolidation.
The mold should already be sanitized and placed into its draining area. Now transfer the consolidated curd mass in the cloth to the prepared mold.
At this point, the curd should have formed a nice smooth surfaced mass. Press firmly with hand pressure into the mold but do not break the curd mass.
-


Pressing
Begin pressing with the follower in place. Initial pressure will be just enough to keep a thin trickle of whey running from the curd mass (10-12 lbs). As whey runoff slows, increase weight to 25 lbs.
The curd should be removed from the press, turned, and re-dressed (smooth out wrinkles) in the cloth at 10-15 minute intervals for the first 1 hour.
At this point the culture will not be active due to the high temperature so keep the cheese warm (80-85F) since the culture is still working and acid is being produced.
As the curd mass cools from 112 to 80F it is at this cooling temperature that the culture bacteria will produce the final acid development.
Press for 4 hours then no weight and hold overnight in mold with no cloth (temperature should be held at 75-80F).
The cheese can be removed from the mold the following morning but keep it from drying out. I find a small plastic box with cover works well for this. The cheese will now be held for 2 days as the culture finishes working before the final salting in brine.
Final yield is about 2.5 lbs from the 3 gallons of milk. The lower yield is due to the high scald temperatures and degree of cooking which results in less moisture. This is also why the cheese is capable of longer aging and more flavor.
-


Salting
You will need a saturated brine prepared for salting this cheese. A simple brine formula is:
- 1 gallon of water
- 2.25 lbs of salt
- 1 Tbs calcium chloride
- 1 tsp white vinegar
- Bring the brine and cheese to 50-55°F before using.
The cheese should placed in the brine solution for about 4 hours per pound of cheese.
Since the top surface will be above the brine and not receive any salt sprinkle, give it a good teaspoon of salt over the surface of the cheese at the beginning of the brining and again at the midway point in brining.
-

Aging
The cheese is now ready to dry off for a day or two and then can be aged at 80-85% moisture and 52-58F.
Mold should be brushed or rubbed down with a medium stiff brush or coarse cloth as it develops.
After about 1-2 weeks the rind should harden somewhat and the mold will not grow as readily. A light coat of oil will also discourage mold growth and make the mold easier to remove.
This cheese will be somewhat earlier in ripening and should show good character at about 12-14 months.
Cheese Making Supplies
Related Products
You May Also Like


