


Cheese Making Tip of the Month
Throwing It Out? No Whey!!
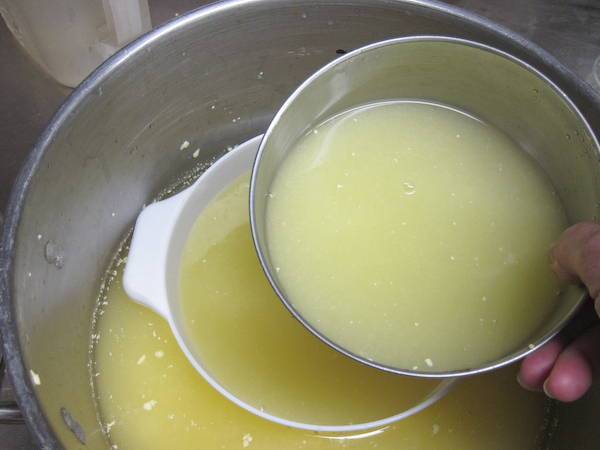
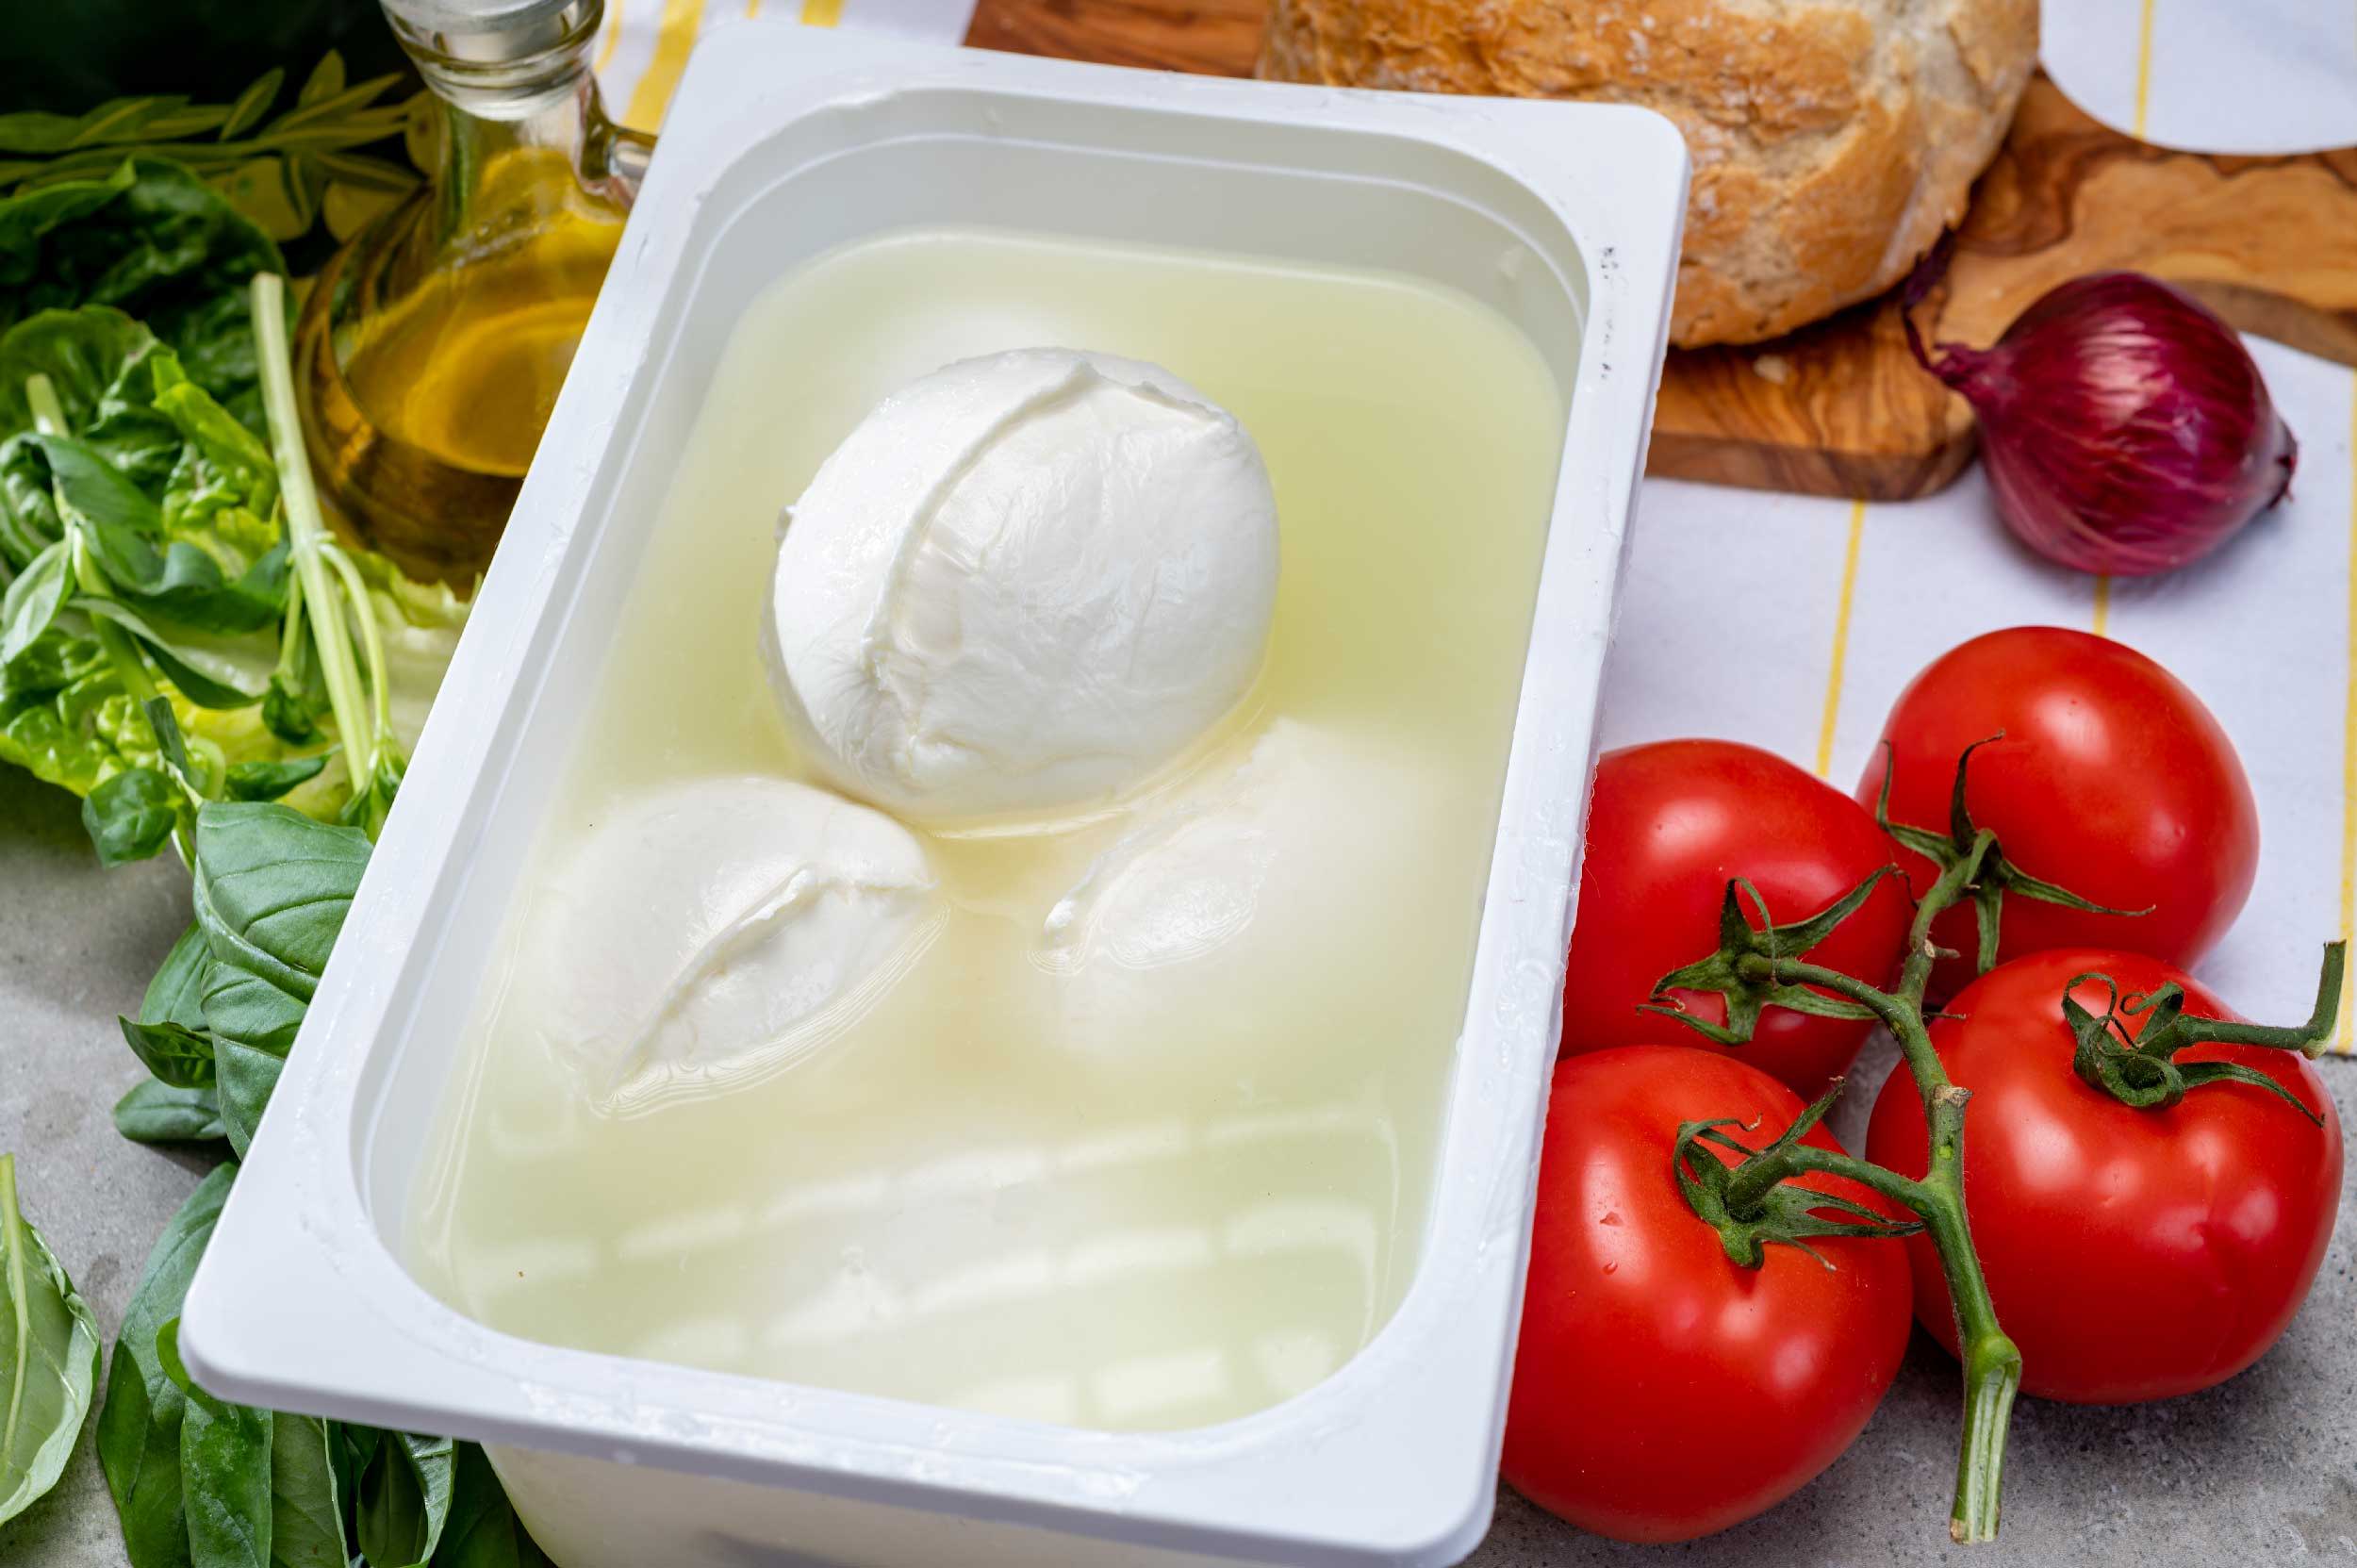
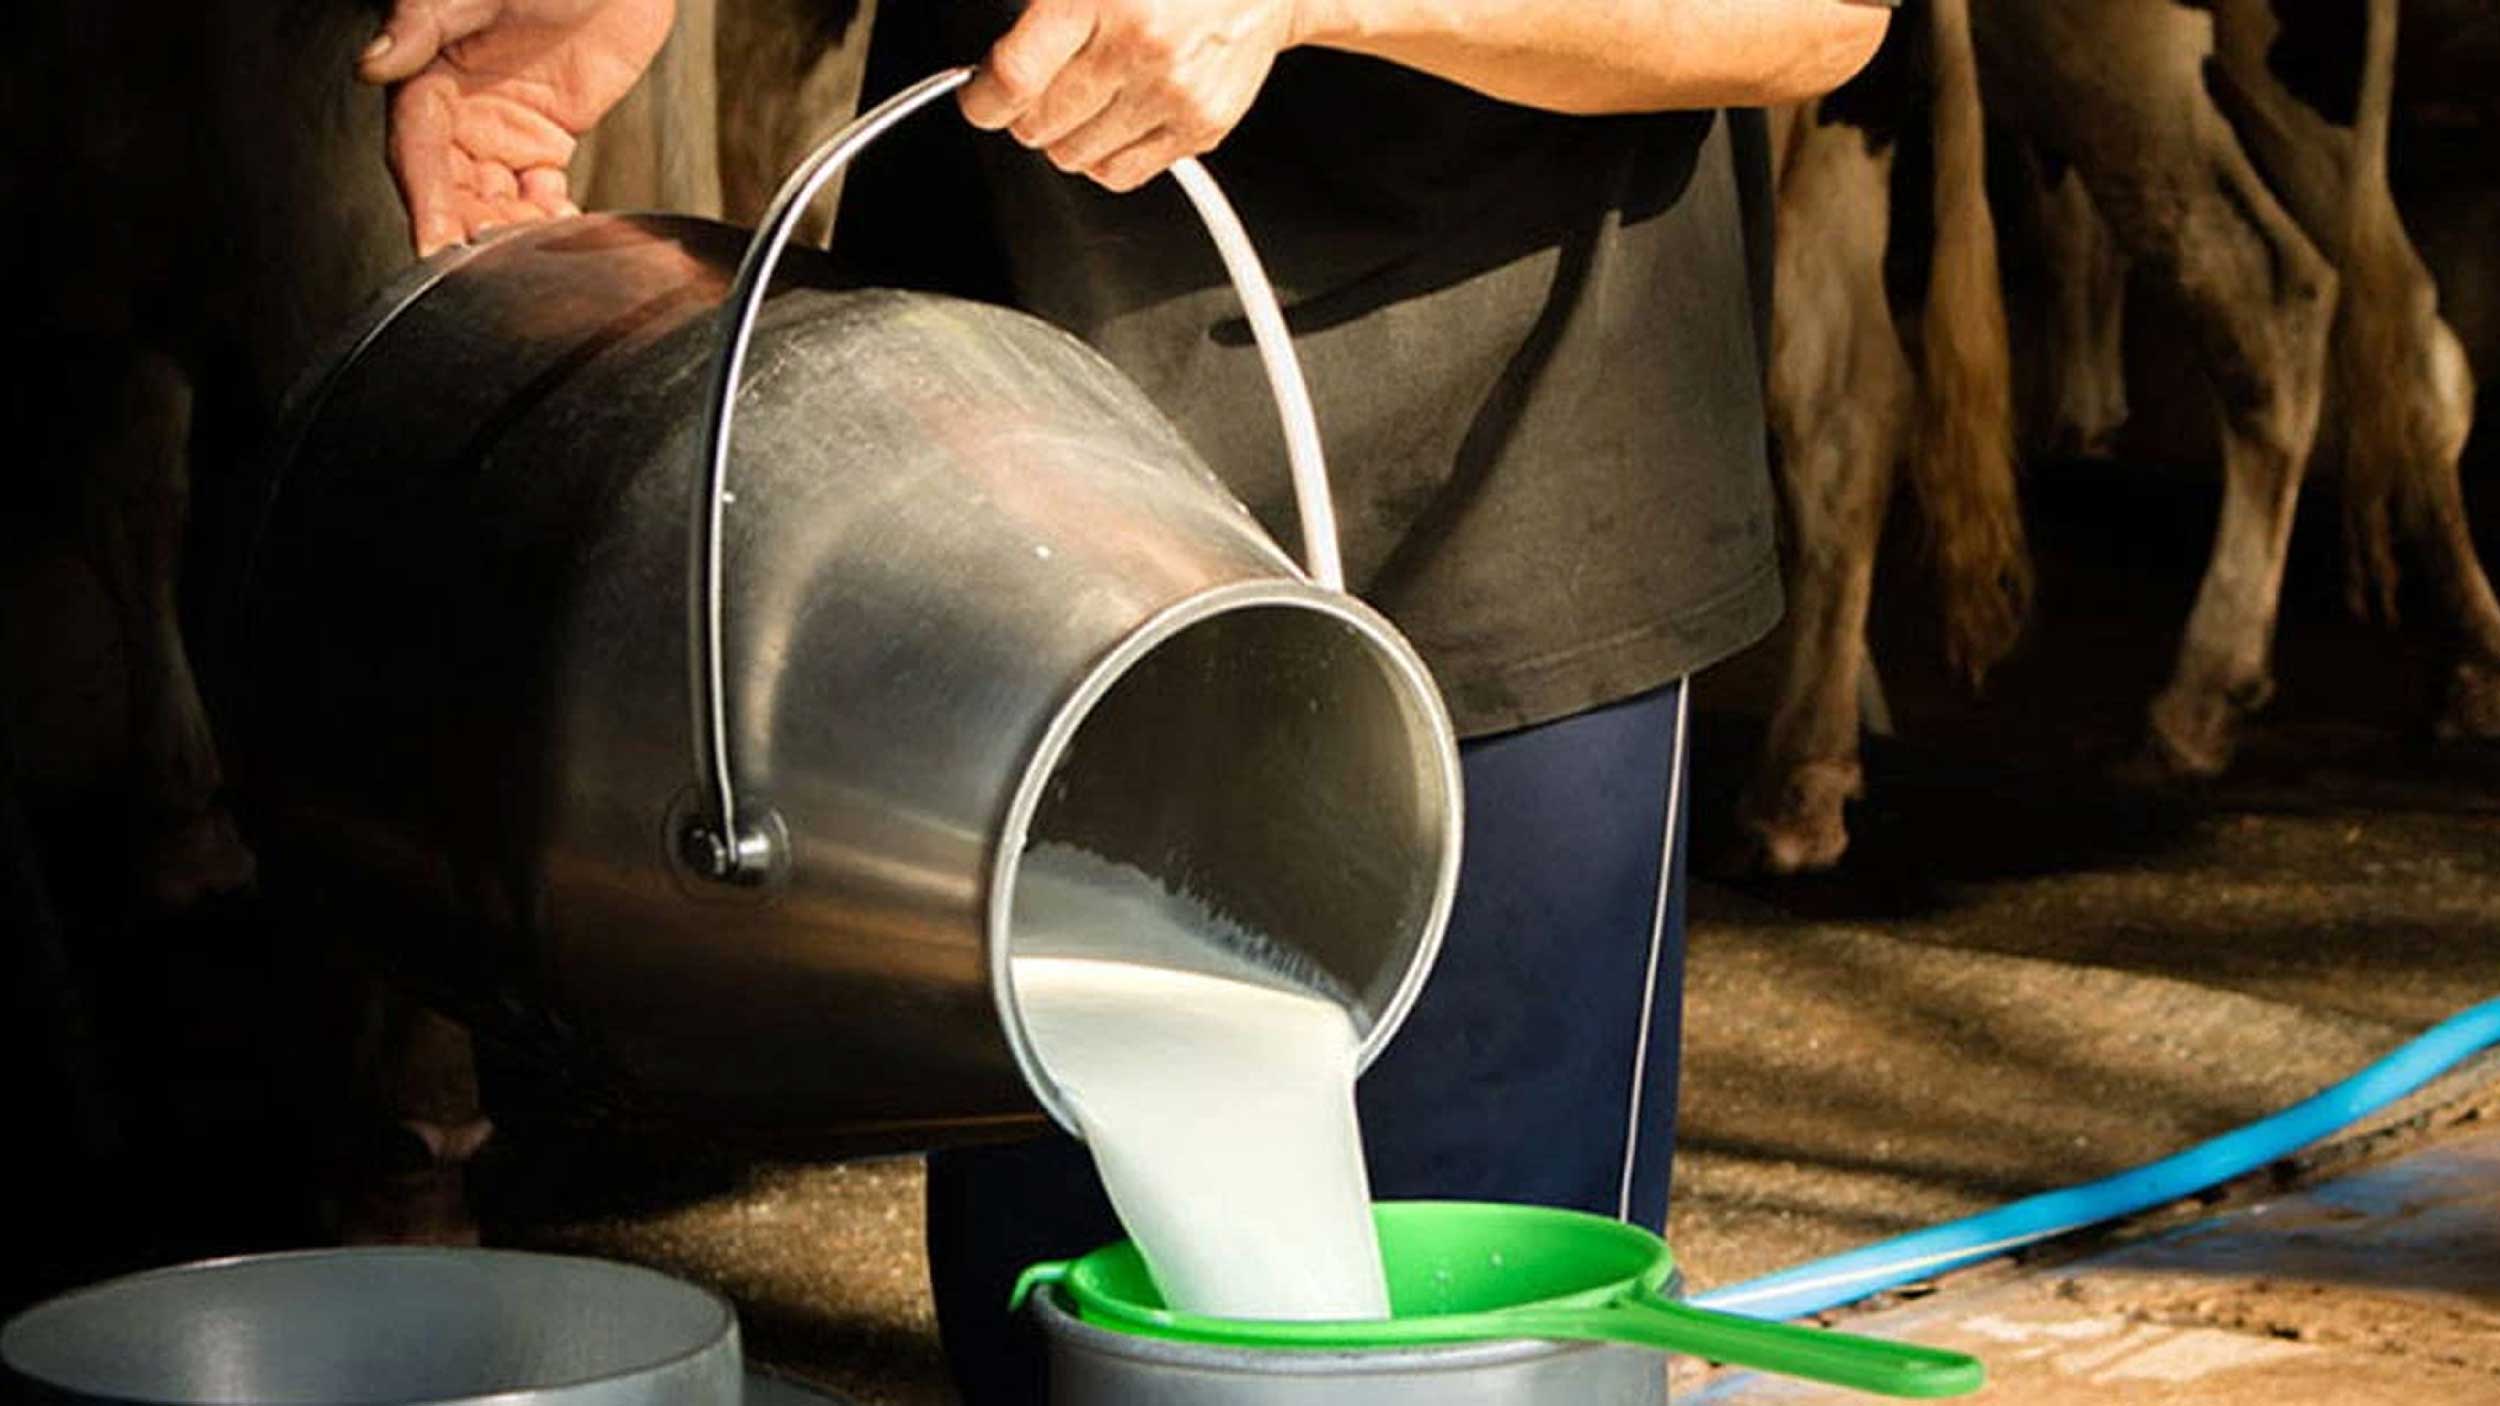
You've made your fabulous homemade cheese, and now your milk is giving you even more to work with - that nutrient-rich whey! It's absolutely loaded with protein, which explains why the grocery stores are filled with all kinds of whey protein powders.
There are many wheys to use it - making ricotta, drinking it, fertilizing your garden, feeding it to your pets, substituting it for milk in baked goods. You can even use it in the process of making cheeses like Halloumi and Mozzarella. Putting it to good use is definitely the whey to go!
Cheese Making Questions & Answers
Creamy Sheep's Milk
Q. Every time I make sheep's milk cheese, I seem to lose large amounts of fat from the curds. I usually lose some fat with cow's milk, and I think this is normal, but with sheep's milk I lose what seems to be huge amounts. Often when I am making cheese with sheep's milk, my hands and utensils are coated with grease. While this is nice for dry skin, I can't help but wonder if I am doing something wrong.
A. This is not surprising considering the high solids of sheep's milk. There is a lot of fat and the proteins have a hard time holding it. It is essential to cut and rest before stirring the ewe's milk curds. You need enough whey released to float the curd slightly, otherwise your stirring just continues to cut the curd smaller and releases more whey. Slow and gentle on the stir for sheep's milk cheese and make sure you develop enough acid before adding the rennet and forming the curds.
Re-Culturing Yogurt
Q. Last month I ordered both the Sweet (Y5) and Creamy (Y3) yogurt cultures from your website. I'm in the process of making my first batch and I am wondering if it is re-culturable.
A. Both of them will work for a generation or so. However, since they are both complex cultures, they will quickly begin to lose their blend balance and produce very different yogurts. The Bulgarian Yogurt (Y1) is the one to use for re-culturing. Take the following precautions: do not allow excess acid during ripening, chill as soon as possible when fermented and re-culture every 10-14 days, if possible.
Using Fresh Milk
Q. If I plan a 2 gallon recipe, and use 1 gallon of milk from today and mix it with 1 gallon from yesterday, should the milk sit a day or two? I gave up pasteurizing because I thought it might be the initial problem. Plus, it's extra work for failed curd.
A. If you are collecting multiple milkings for your cheese, make sure you do not add the warm milk to a chilled milk. This will definitely have you starting with too high an acidity level when making your cheese and the real problem is you will not know what those bacteria were.
Q. I would like to pasteurize and then make Mozzarella in the same pot. Is that possible? Does the fresh from the cow, then pasteurized milk need to be cooled to less than 90F to add citric acid? I thought I had read it was possible, but it has been hit or miss for me. Now I'm worried there is such a thing as milk being too fresh.
A. Pasteurizing is not needed with a milk you know to be health safe. The key is getting the good bacteria strong enough to out-compete the natural bacteria that came in the raw milk. This is easy to do with normal culture additions.
If you still want to pasteurize, do it in one pot, then chill to cheese making temperature and begin the process. Many small producers must pasteurize their milk using a vat pasteurizer, which means it's a dual process; the vat pasteurizes and then makes the cheese without moving the milk.
Substituting Mesophilics
Q. I read that Flora Danica will give cheese a buttery flavor and is usually used for the softer cheeses. I ran out of the mesophilic (C101). So I substituted Flora Danica (C11). I know it is a mesophilic starter. I am making Pepper Jack and Cheddar. How will this affect the outcome of my cheese?
A. Flora Danica is a mesophilic culture just like our C101 except it will produce the buttery flavor you are referring to and a more open texture with small holes. It is not typically used for the Jack cheese but will be okay in a pinch.
Measuring Pressing Weight
Q. In what I have seen for pressing cheese, I have not found any information on how the weight is measured. If your mold is 4" diameter and mine is 6" diameter, your area would be roughly 12 square inches and mine would be 28. If I use a 20lb weight, your pounds per square inch would be 1.67 and mine would be .71 psi. You would be applying more than twice the force on your cheese than I would. As the mold diameter increases, the force drops dramatically. Are there any calculations or numbers that would compensate for mold size?
A. The pressing in our book, Home Cheese Making is by total weight on the surface, not pressure and usually using a 2lb mold. When using a different size mold, the weight needs to be changed according to the surface area of the mold. If you use the same diameter mold but are adding more curds, the weight will not change. If you use a larger or smaller diameter mold, compensate the weight proportionate to mold surface area. Here is the math:
The area is calculated using the formula pi x r squared
where: r is the radius (r squared is r x r) and pi is a constant of 3.1416.
If the recipe molds have a radius of ~ 2 inches:
2 squared = 4 x 3.1416 = 12.56 square inches surface area.
The weight applied to our larger M2 mold with a 7.5 inch diameter is about 3 times greater than our M3 mold which is about 4.25 inches.
Have a cheese making question, we're here for you: info@cheesemaking.com
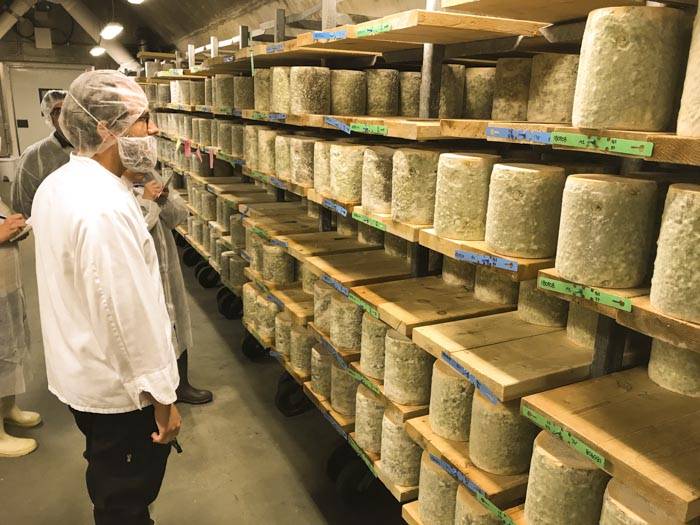
Meet a Fellow Cheese Maker
Luigi Stranges
Niagara Falls, Ontario, Canada
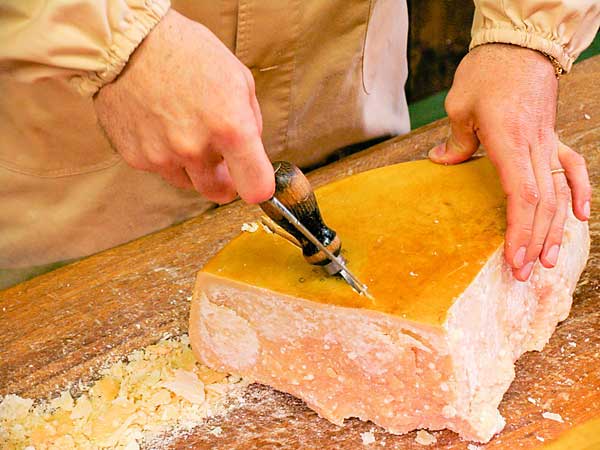
We don't know very many home cheese makers who produce their own 20 pound Parmesans! Luigi Stranges does it regularly and he imprints them by using wooden letters he buys at craft stores. As you can see in the picture above, they are absolutely beautiful!
He sterilizes the letters in boiling water for 30 seconds the first time he uses them. Then, he dips them in water and coats them with either pepper (black) or paprika (red), and presses them into his cheeses for 4-6 hours during the last turn.
Luigi's mother first taught him to make basket cheese on their farm in Italy. Now, he has brought his skills to a whole new level. He makes Parmesan, Romano, Provolone, Blue, Caciocavallo, Tomme au Marc, Gouda, Swiss, Cheddar, Asiago, Carpa Briaca (The Drunken Goat), Pepato Toscano and Dry Jack. It is truly amazing how far Luigi has come and he is most certainly a grand master of home cheese making!
News From Fellow Cheese Makers
She's a Butterkase Winner!
Your Moosletters inspire me to try the cheese of the month you feature. This time it was your Butterkase Cheese.
I made it with ease following Jim's instructions, thinking I would enter it into the San Diego Fair's Homemade Cheese Competition.
YES! I took First Place, along with Best of Class! The Judges and President of Queso Diego (the San Diego Cheese Club) commented my rind was spot on for the Butterkase, and I was correct to say it was a smooth cheese!
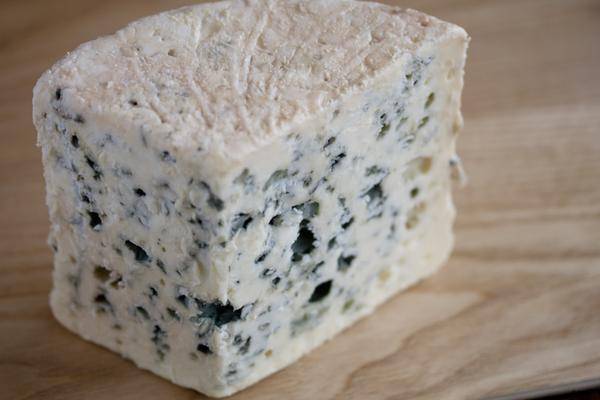
Big "oops" on my part, as I accidentally entered my Blue Gouda into the wrong class. It went in as a flavored cheese, yet did take second place, nonetheless. Lesson learned on my part.
I find making cheese relaxing and mysterious; always wondering if it will turn out correct. But thanks to your monthly Moosletter I know the recipes have been professionally tested and will produce great cheese.
Jackie Clower, San Diego, California
Foiled Again!
Here's a frequently asked question: How can I keep my cheese in the best shape possible during the time between making it and serving it?
Answer: You took the time to make your own fabulous cheese, so we know you want to present it to your family and friends at it's absolute peak of perfection.
The way you wrap it depends on the cheese. If your cheese is surface ripened (like blue cheese) or semi-hard (like Monterey Jack) or hard (like Parmesan), your goal is to keep the moisture in the cheese.
Our newest wrap (CWF) does exactly that. It has a paper cheese wrap on the inside (to let the cheese breathe), and a foil wrap on the outside to hold the moisture in.
Tip of the Month: We have also found these foil sheets useful for freezing burritos, tamales, breakfast sandwiches and all kinds of wraps.
Please send your cheese making news & photos to: moosletter@cheesemaking.com


