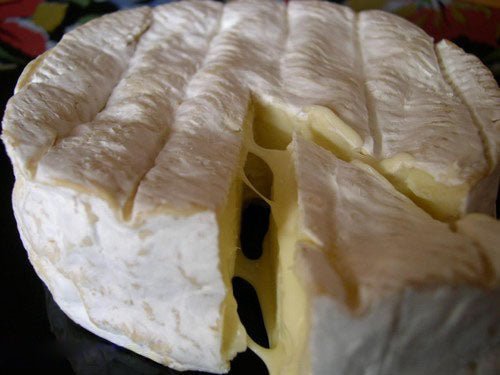
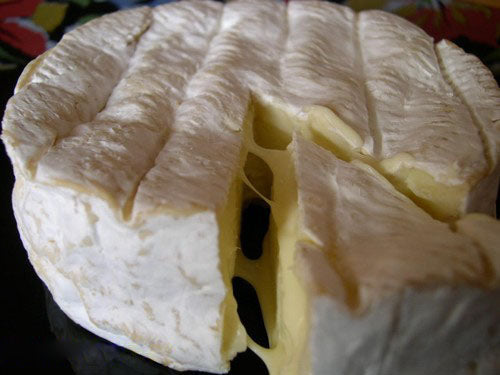
When we mention Cheese and Normandy together it is hard to think of anything but Camembert. (Remember the 't' is silent)
This cheese with the beautiful white coat and ripe texture has been pleasing cheese lovers for centuries and with this recipe we'll show you here how to make it in your own kitchen or farm.
Creating the fresh cheese:
The primary consideration in making a Camembert is to create the young cheese that retains as much of the milk fat and moisture as possible while the final acid develops.
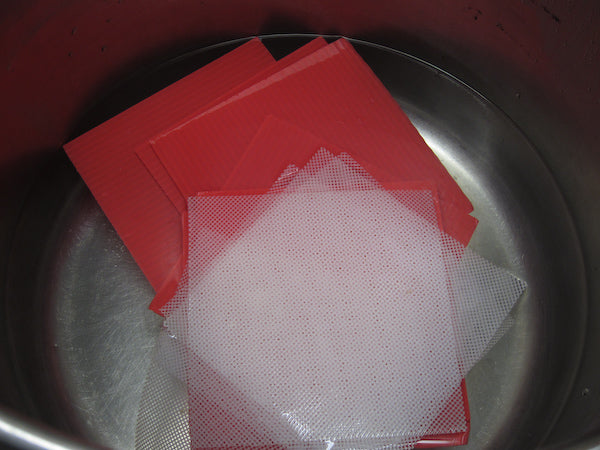
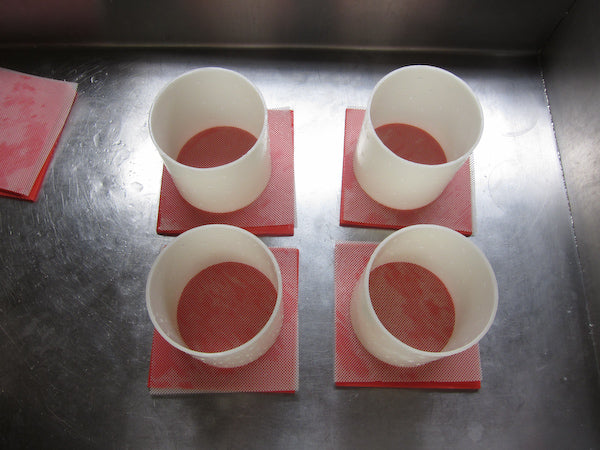
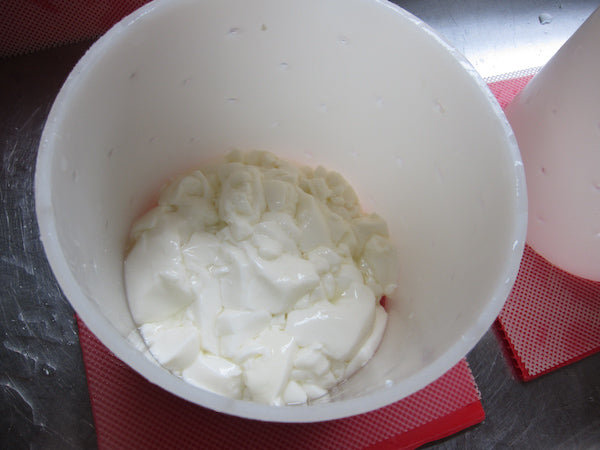
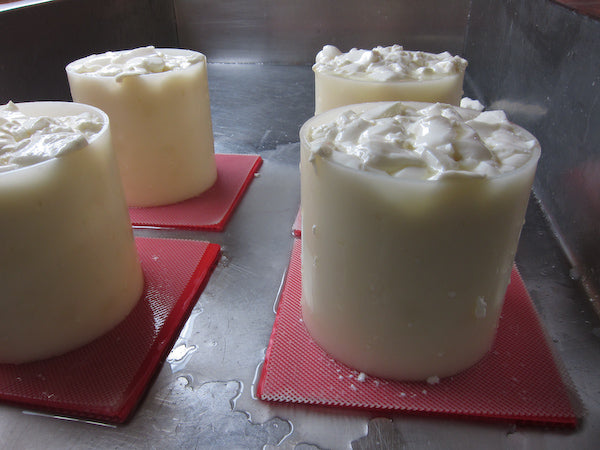
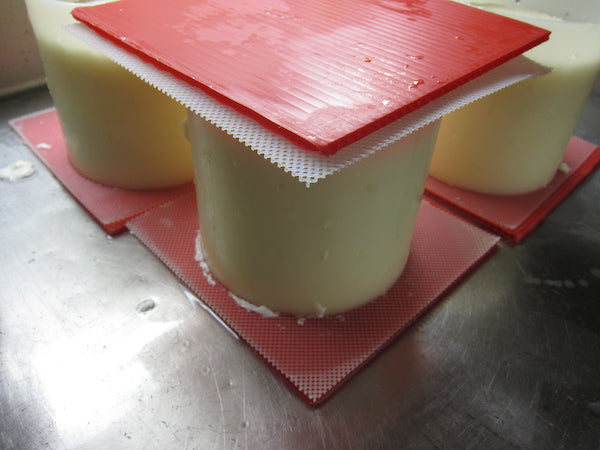
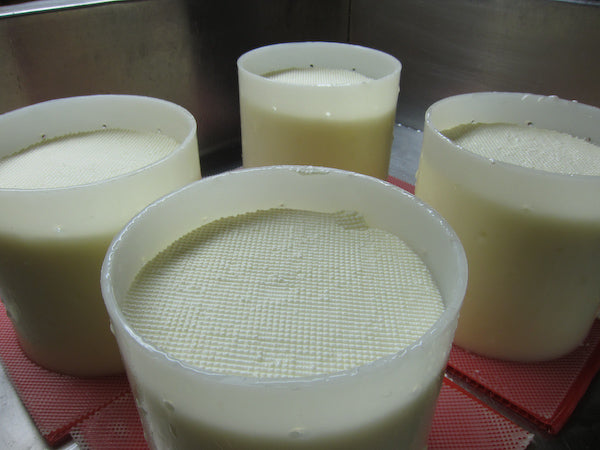
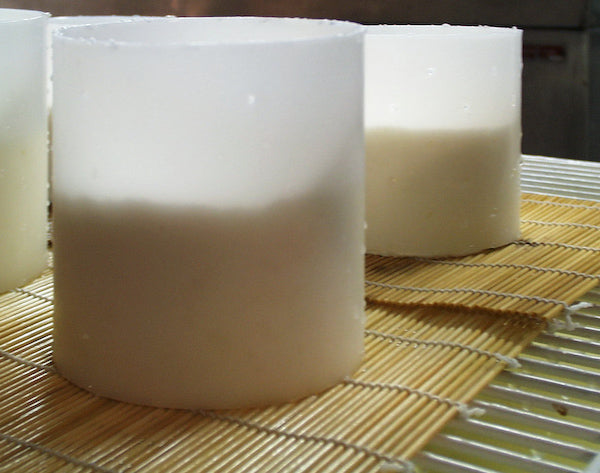
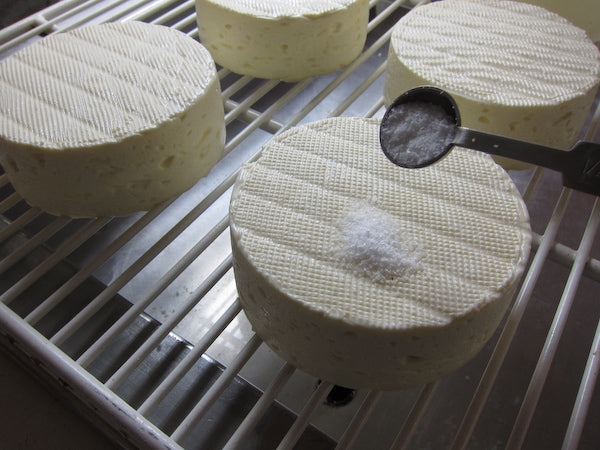
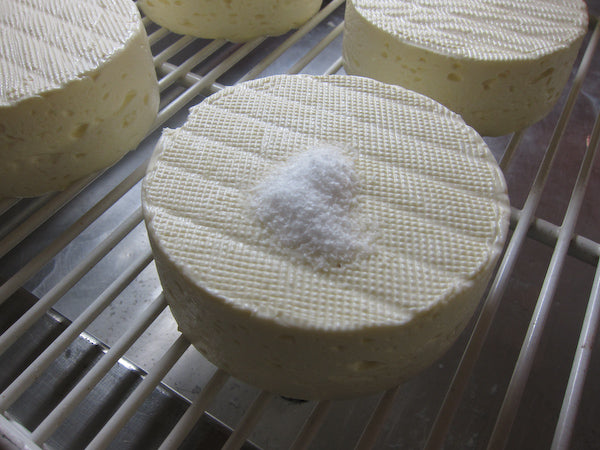
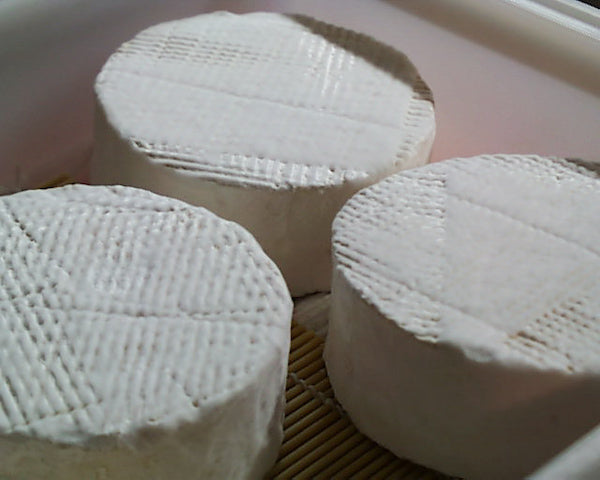
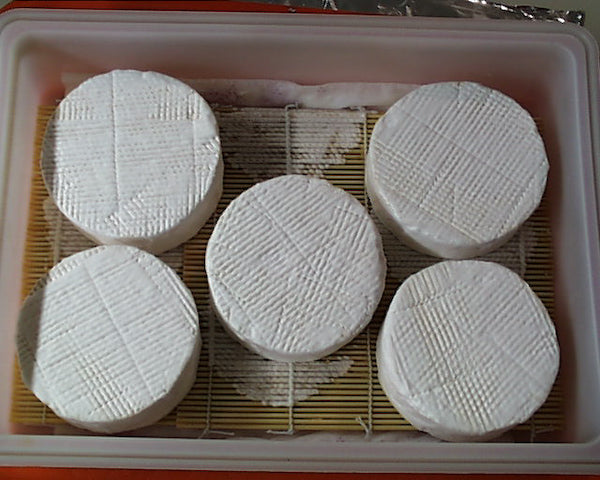
The very moist curd is then transferred very carefully to molds set on a draining mat to release the whey over the next 12-24 hours. The forms are carefully inverted several times during this period to encourage moderate whey drainage. At the end of this period the cheese is salted on first one side and then the other to slow the bacterial action. The next step is to place the fresh cheese in a cool room with good air flow to further dry the surface in preparation for aging.
Preparing the surface:
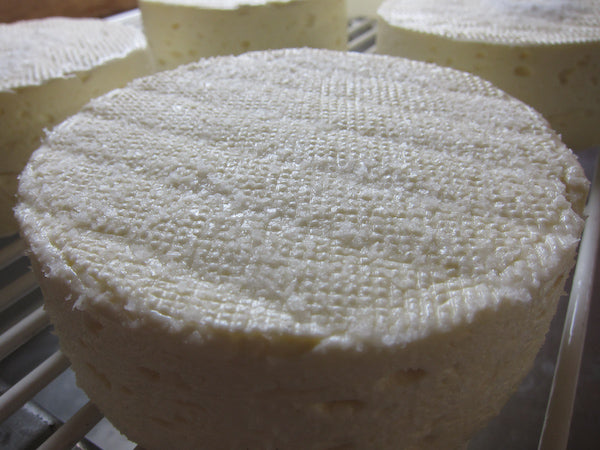
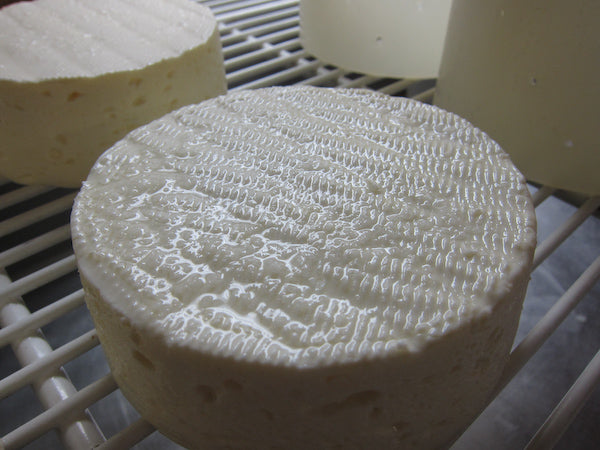
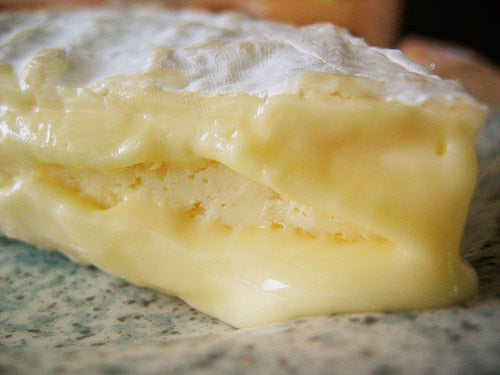
Once the cheese has been drained and dried it can be moved to a space for aging. At this point the surface flora develops and is responsible for the final ripening and changing of the curd texture from the initial raw white curd to the very different soft Camembert that becomes very creamy and almost flowing in texture if allowed to warm up a bit.
This is a three stage affair:
- Natural yeast from the environment will populate the surface during draining and drying. These can survive in the more acid conditions of the young cheese. These will produce a very fruity almost pear or apple like aroma and change the cheese surface by reducing the acid level.
- Once the acid level begins to decrease, another natural occurring surface mold called Geotrichum (can be added to the milk) will take over, drying out the greasy surface somewhat and forming a light covering of white mold. This will then decrease the surface acid even further.
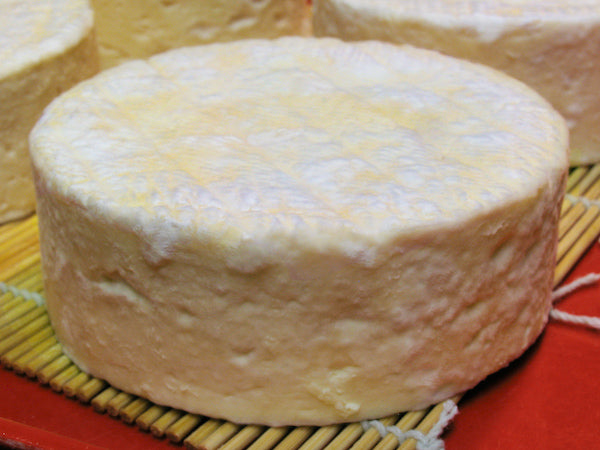
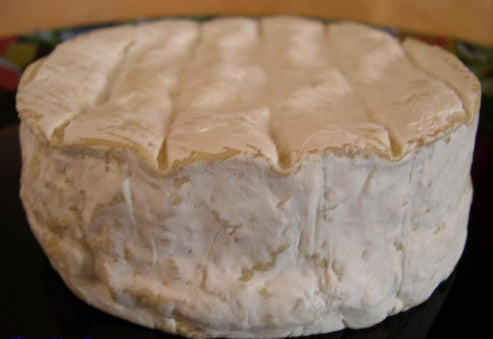
- At this point the final surface growth begins. This is the Penicillium mold (also added to the milk) and will form a full white felt-like cover over the next several days.
This story involves the French Revolution, a priest on the run, and a lady farmer (sounds pretty cheesey so far Eh!).
During the French Revolution (1789), many priests took refuge in the countryside. One such priest sought refuge with the family of Marie Harel in Normandy near the village of Camembert. Marie was born and grew up in Camembert and had been making a regional cheese. The priest came from the Brie region near Paris. In return for the refuge he gave to Marie the “secrets” of making Brie-style cheese. In fact, Marie and her family had been making a well recognized cheese in Normandy for many years before this but with the contribution from the priest, Marie Harel was able to adapt the cheese well enough that others in the region began to adapt these changes as well and the new cheese, Camembert was born.
Initially, this was a very regional cheese that did not travel well due to its soft ripe condition and primitive transport. However, with the invention of the mass produced round wooden boxes to protect the cheese and quick transport of the railroads, the cheese could be safely and quickly moved to major markets such as Paris.
The fame of the cheese spread and for many years it was a hand produced artisan made product. Then along came industry with its changes and the cheese has changed.
The majority of the Camembert made in France today is produced and ripened very differently and most is from pasteurized milk. All that arrives in the US today from France is of this style.
Fortunately, a few artisan cheese makers in the U.S. have modified the recipe to work quite well with the pasteurized milk requirements handed down by the all knowing "food protectors".
In the following page, I will focus on making this cheese at home where you can decide for yourself if you would like to make the cheese from a pasteurized milk or a high quality raw milk that you are 110% sure is safe.
As a raw milk cheese, this will not be aged for the required 60 days and hence cannot be sold legally in the USA.
This surface covering and its growth in a timely manner is essential in the development of a properly ripe Camembert cheese.
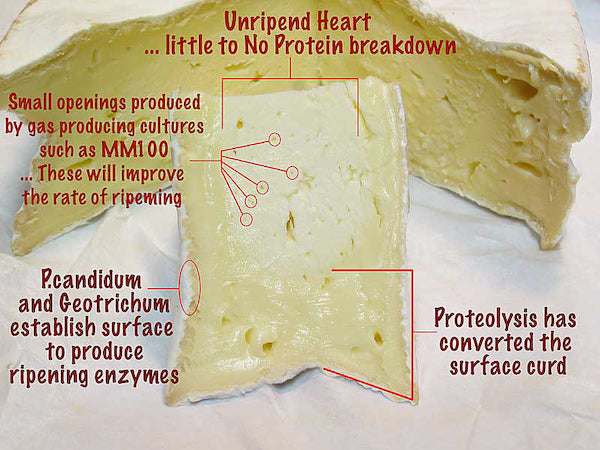
As the final growth of penicillium occurs, it produces special enzymes that travel into the cheese surface and begin to change the protein structure to the soft paste we are familiar with in a ripe Camembert. This ripening usually occurs over the next 2-3 weeks from the surface to the center (centripetal) of the cheese. As this begins to happen, the cheese is usually moved to a much cooler aging area where it is turned daily. This will slow the activity down to make this protein change take place in a slower but more complete manner. If the cheese is not cooled at this point the conversion will happen too quickly and bitter peptides (smaller proteins) may result.
As you can probably see here, the making of the initial cheese form seems quite quick and simple but the proper draining, drying, and surface development becomes a bit more challenging in creating a great ripened Camembert.
