


Getting Started
How to Make Cheese
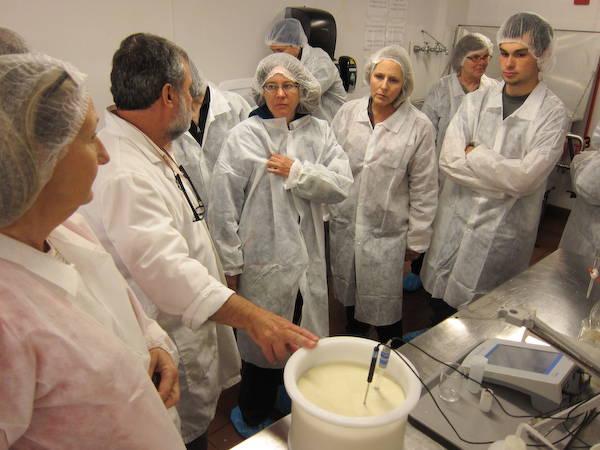
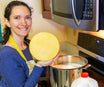
It is easy and fun to make cheese at home.
It is easy and fun to make cheese at home.
When starting out, there are three basic components to think about, ingredients, equipment and the process.
In this article you will learn about the process of cheese making. From milk to yum, we are sure you will have fun make delicious cheese at home. Here are a few simple techniques to help you get started.
Before Starting
Just like in canning, preserving, and bread making, cleanliness is important in cheese making as well. The process of cheese making will provide an ideal environment for friendly bacteria to ripen your milk; being sure your environment is clean will help the cultures stay strong, happy and healthy without having to compete against unwanted bacteria.
The first step in cheese making is to clean and sterilize both your equipment and surface. For an easy way to sterilize equipment, fill your cheese pot with water, toss in any heat safe, submersible equipment that will fit, place the top on your pot, bring the water to a roaring boil and maintain the boil for at least 15 minutes. Tongs can be sued to remove items from your pot or you can empty the pot into a sterilized colander placed in a sink. Be sure to have a sterilized surface to set your equipment onto.
To sterilize surfaces and all other equipment, mix a solution of two tablespoons household bleach per one gallon of water. Wipe down surfaces using a clean cloth and the solution. Dip any equipment that was not able to be sterilized within your pot and then rinse thoroughly. Note: Direct contact with bleach may harm the growth of cheese making bacteria and can kill rennet.
Prior to storing your equipment once you are finished making cheese it is a good practice to clean all equipment thoroughly and sterilize once more.
Heating The Milk
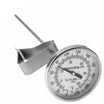
Once all your equipment is set you can begin heating your milk. A recipe will indicate what temperature to bring your milk to. Heating milk slowly is best; a good rule of thumb is to increase the heat by 2F per minute. Throughout the cheese making process you will want to be as accurate with temperatures as possible since it can greatly influence the quality of your cheese.
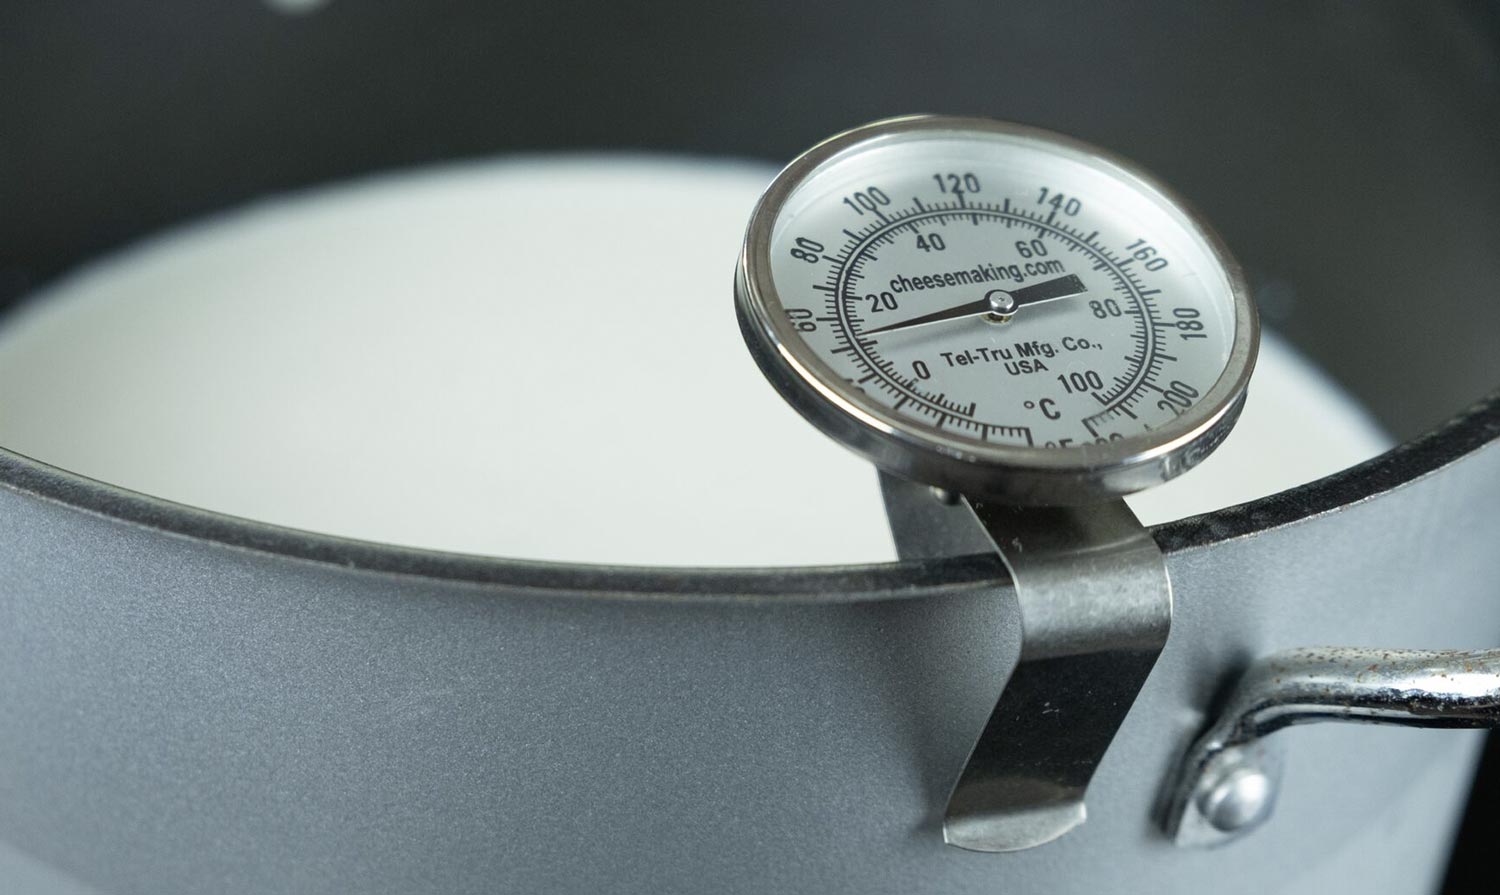
Direct Heating Milk
For direct heating place your pot of your milk directly on a stove top. This is a convenient method to heat milk, just keep an eye out for overheating and remove the pot if temperatures rise too quickly. A pot with a thick bottom will help with even heat distribution.
Water Bath Heating
For this method place your pot of milk into a sink filled with warm water. Use a thermometer to monitor the water temperature, add hot water as needed to increase the temperature of your milk. Typically the water temperature will be 10F higher than your milk. Using the water bath method can help provide a consistent temperature through your milk and there will be no worry of scorching due to direct heat.
Water Jacket Heating
This is really a combination of the direct heating method and the water bath method. To create a water jacket, place a pot inside a larger pot and set on the stove top. Fill the larger pot with water to surround the inner pot, and then add milk to your inner pot. This method is one of our favorites since it helps to maintain a consistent temperature, can prevent scorching, and it’s easy to increase the temperature as needed.


Adding Ingredients
Cheese Coloring
Usage: 20-50+ drops per gallon of milk.
If you are using cheese coloring now is the time to add it. Be sure to mix it into your milk thoroughly. It is best to add a little bit at a time and mix in after each addition until you see a desired color. Coloring needs to be added prior to calcium chloride, cultures and rennet. Coloring should be mixed in thoroughly, if not it can leave dark spots or streaks in your finished cheese.
Before adding to milk dilute cheese coloring in ¼ cup cool potable non chlorinated water then add mixture to milk and stir in thoroughly. This will ensure even dispersion when added to milk.
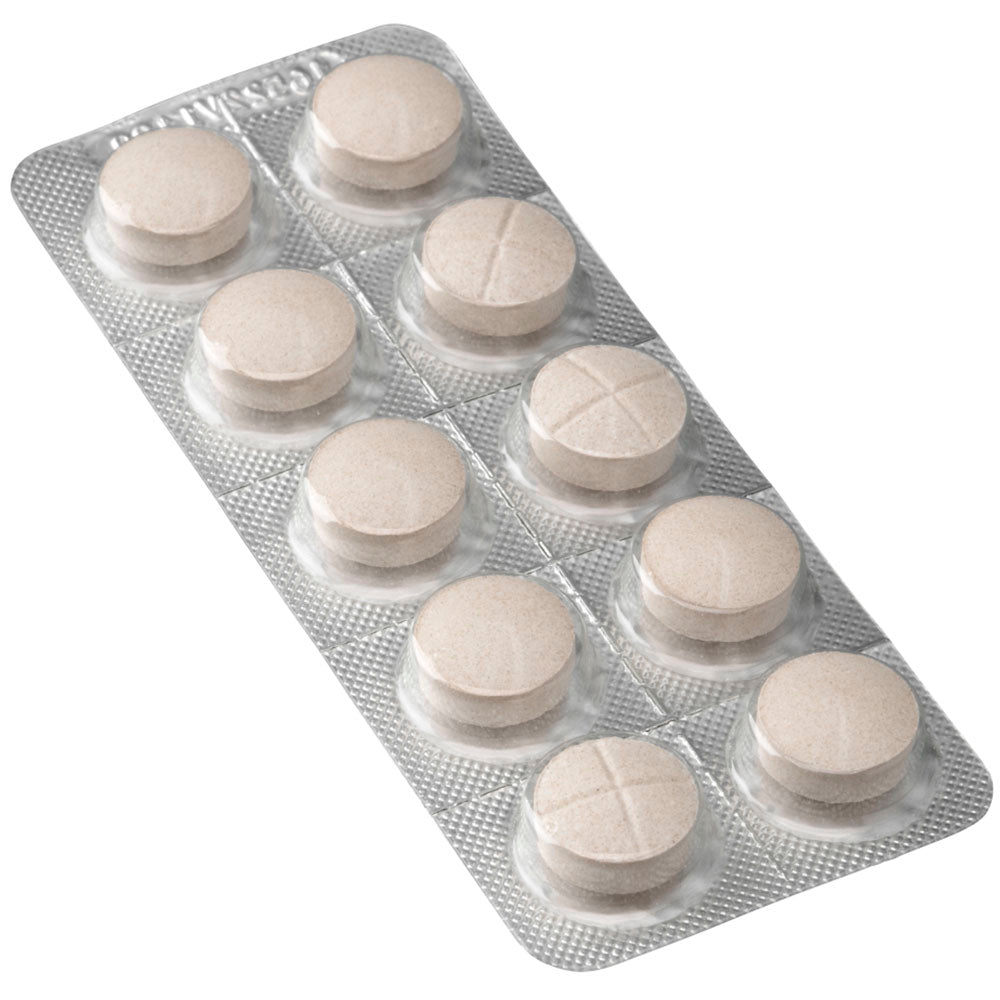
Calcium Chloride
Usage: 1/4 tsp per gallon of milk.
This will help produce a nice thick curd, we recommend using it when making cheese with store bought milk as well as goat’s milk. Calcium chloride will need to be added prior to cultures and rennet.
Note: calcium chloride should not be used with any cheese that needs to stretch such as mozzarella and provolone.
Before adding to milk dilute calcium chloride in 1/4 cup cool potable non chlorinated water then add mixture to milk and stir in thoroughly. This will ensure even dispersion when added to milk.
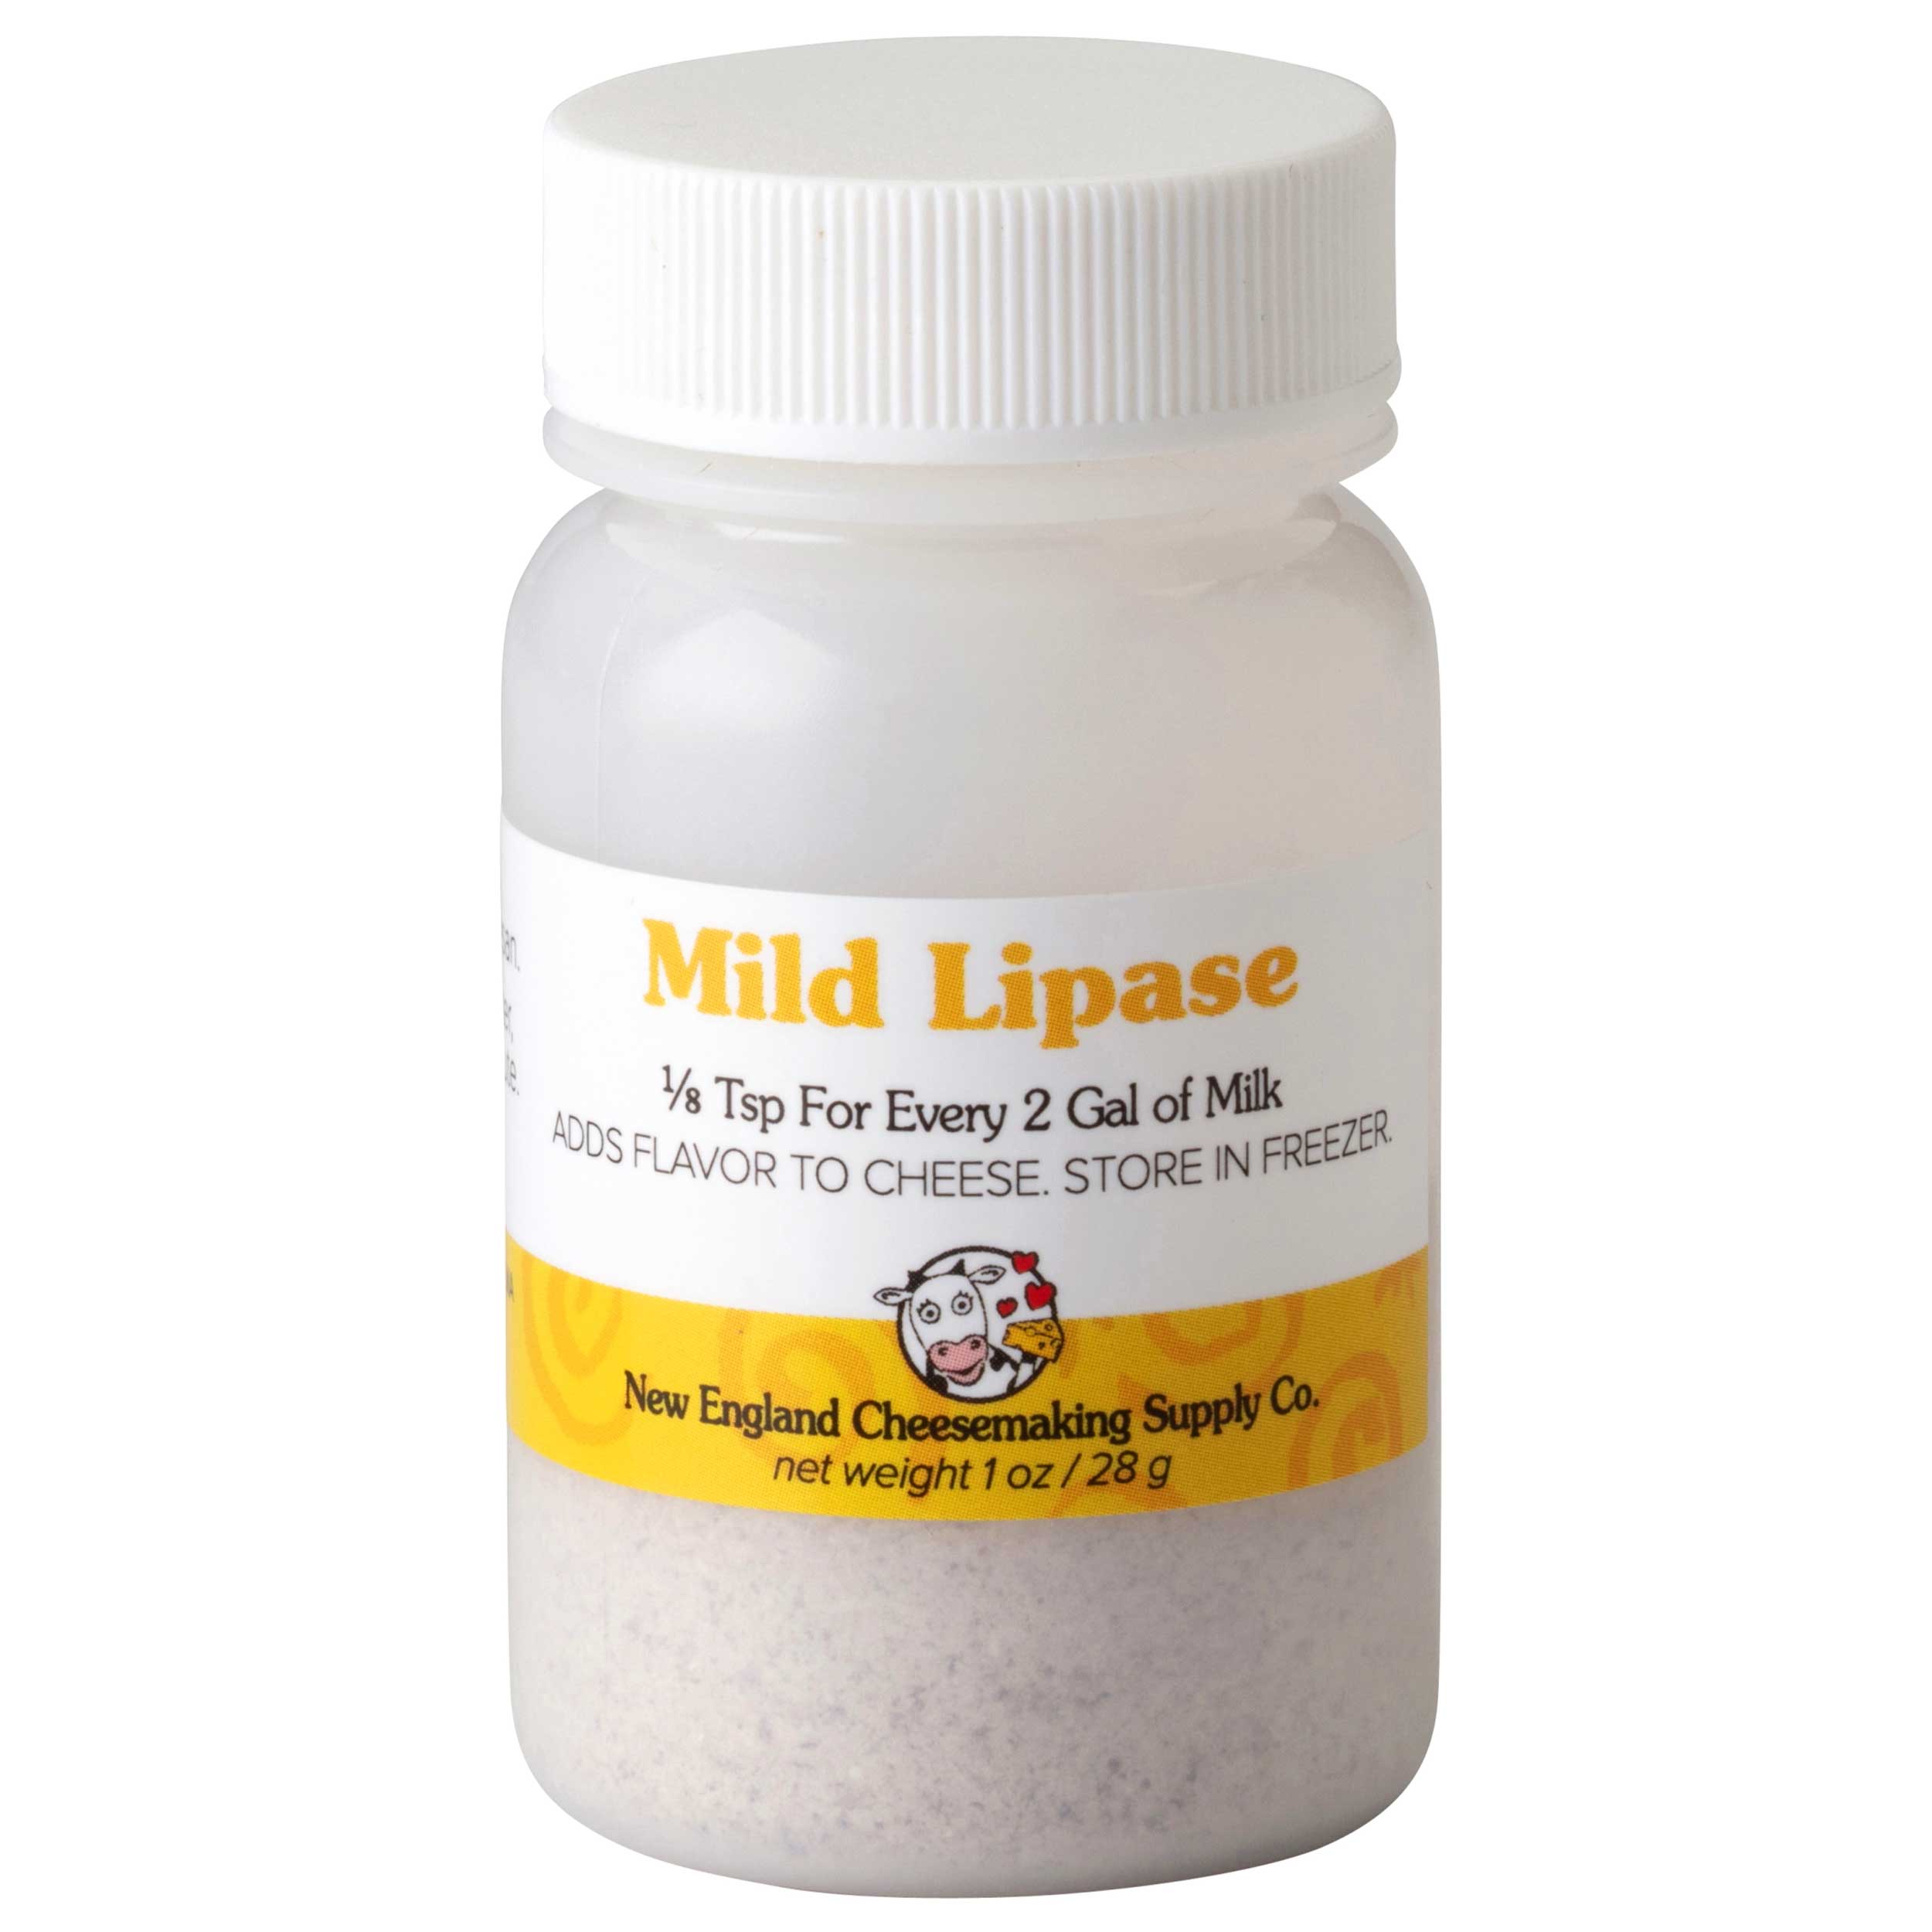
Lipase
Usage: 1/16 – 1/8 tsp per gallon of milk.
Lipase can help add a more pronounced flavor to your cheese. It needs to be added prior to rennet. If you are using a culture packet that has rennet in it, add your lipase ahead of time. If you are using a separate starter and rennet, add your lipase just prior to adding rennet.
Before adding to milk dissolve lipase in 1/4 cup cool potable non chlorinated water and let sit for 20 minutes then add mixture to milk and stir in thoroughly. This will ensure even dispersion when added to milk
Citric Acid
Citric acid is used to increase the acidity in milk and is called for in recipes such as mozzarella and ricotta.
Before adding to milk first dissolve citric acid in 1/4 cup cool potable non chlorinated water then add mixture to milk and stir in thoroughly. This will ensure even dispersion when added to milk
Adding Mold Powders
Mold powders are added when making certain types of cheese such as Camembert, Brie, Blue and Triple Cream. When using a mold powder simply add it in at the same time as your cultures unless otherwise stated in your recipe.
Different types of mold powders:
- White Mold Powder
- Blue Mold Powder
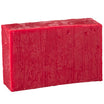
- Red Bacteria Linens
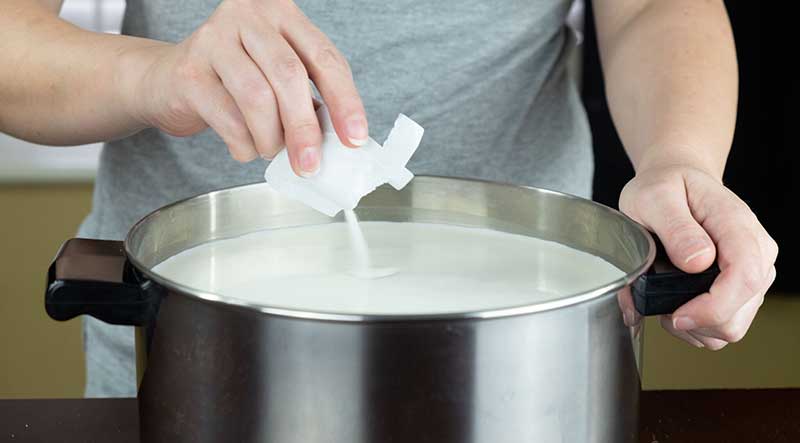
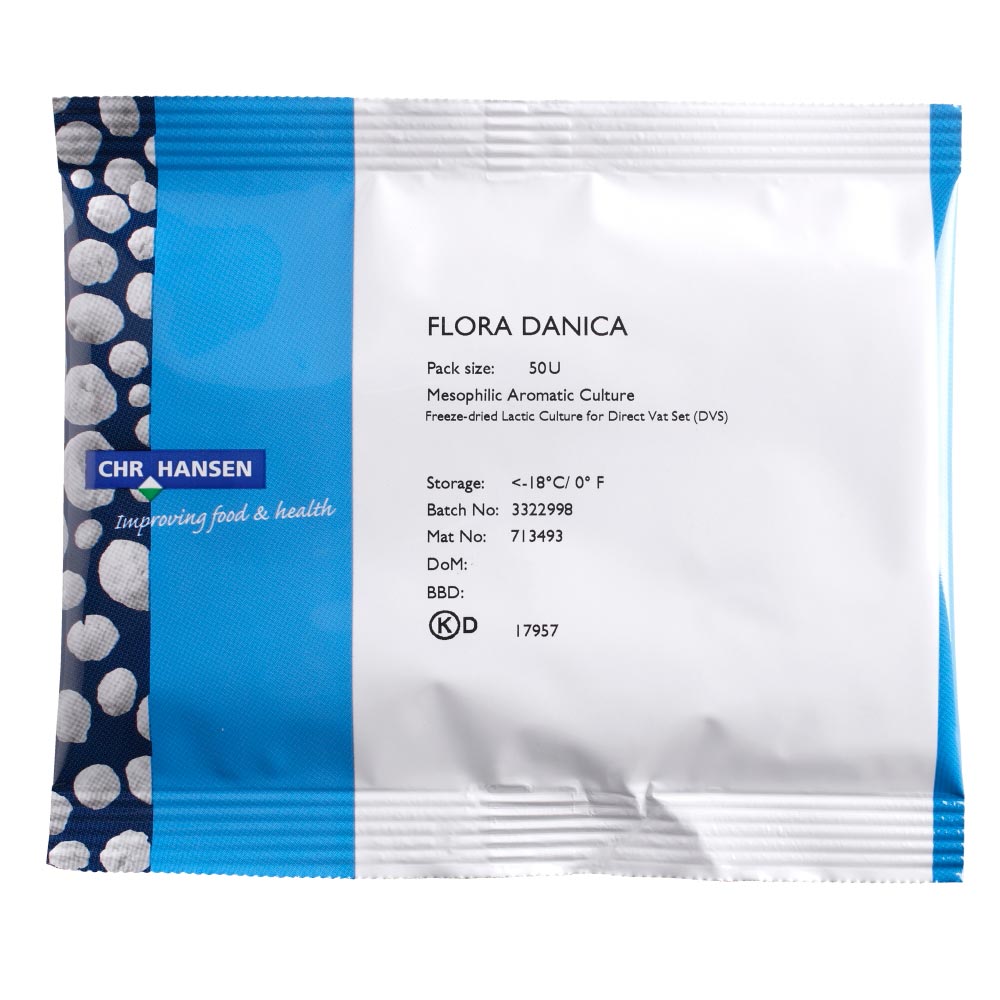
Adding Cultures
Culture is added to ripen your milk. Follow your recipes recommendation for which culture to use, and add it at the specified time and temperature in your recipe.
When adding cultures sprinkle them onto the surface of your heated milk and wait 1-2 minutes before mixing them in thoroughly. Letting the culture rest on the milks surface helps prevent clumping and re-hydrates your culture so it will mix in properly.
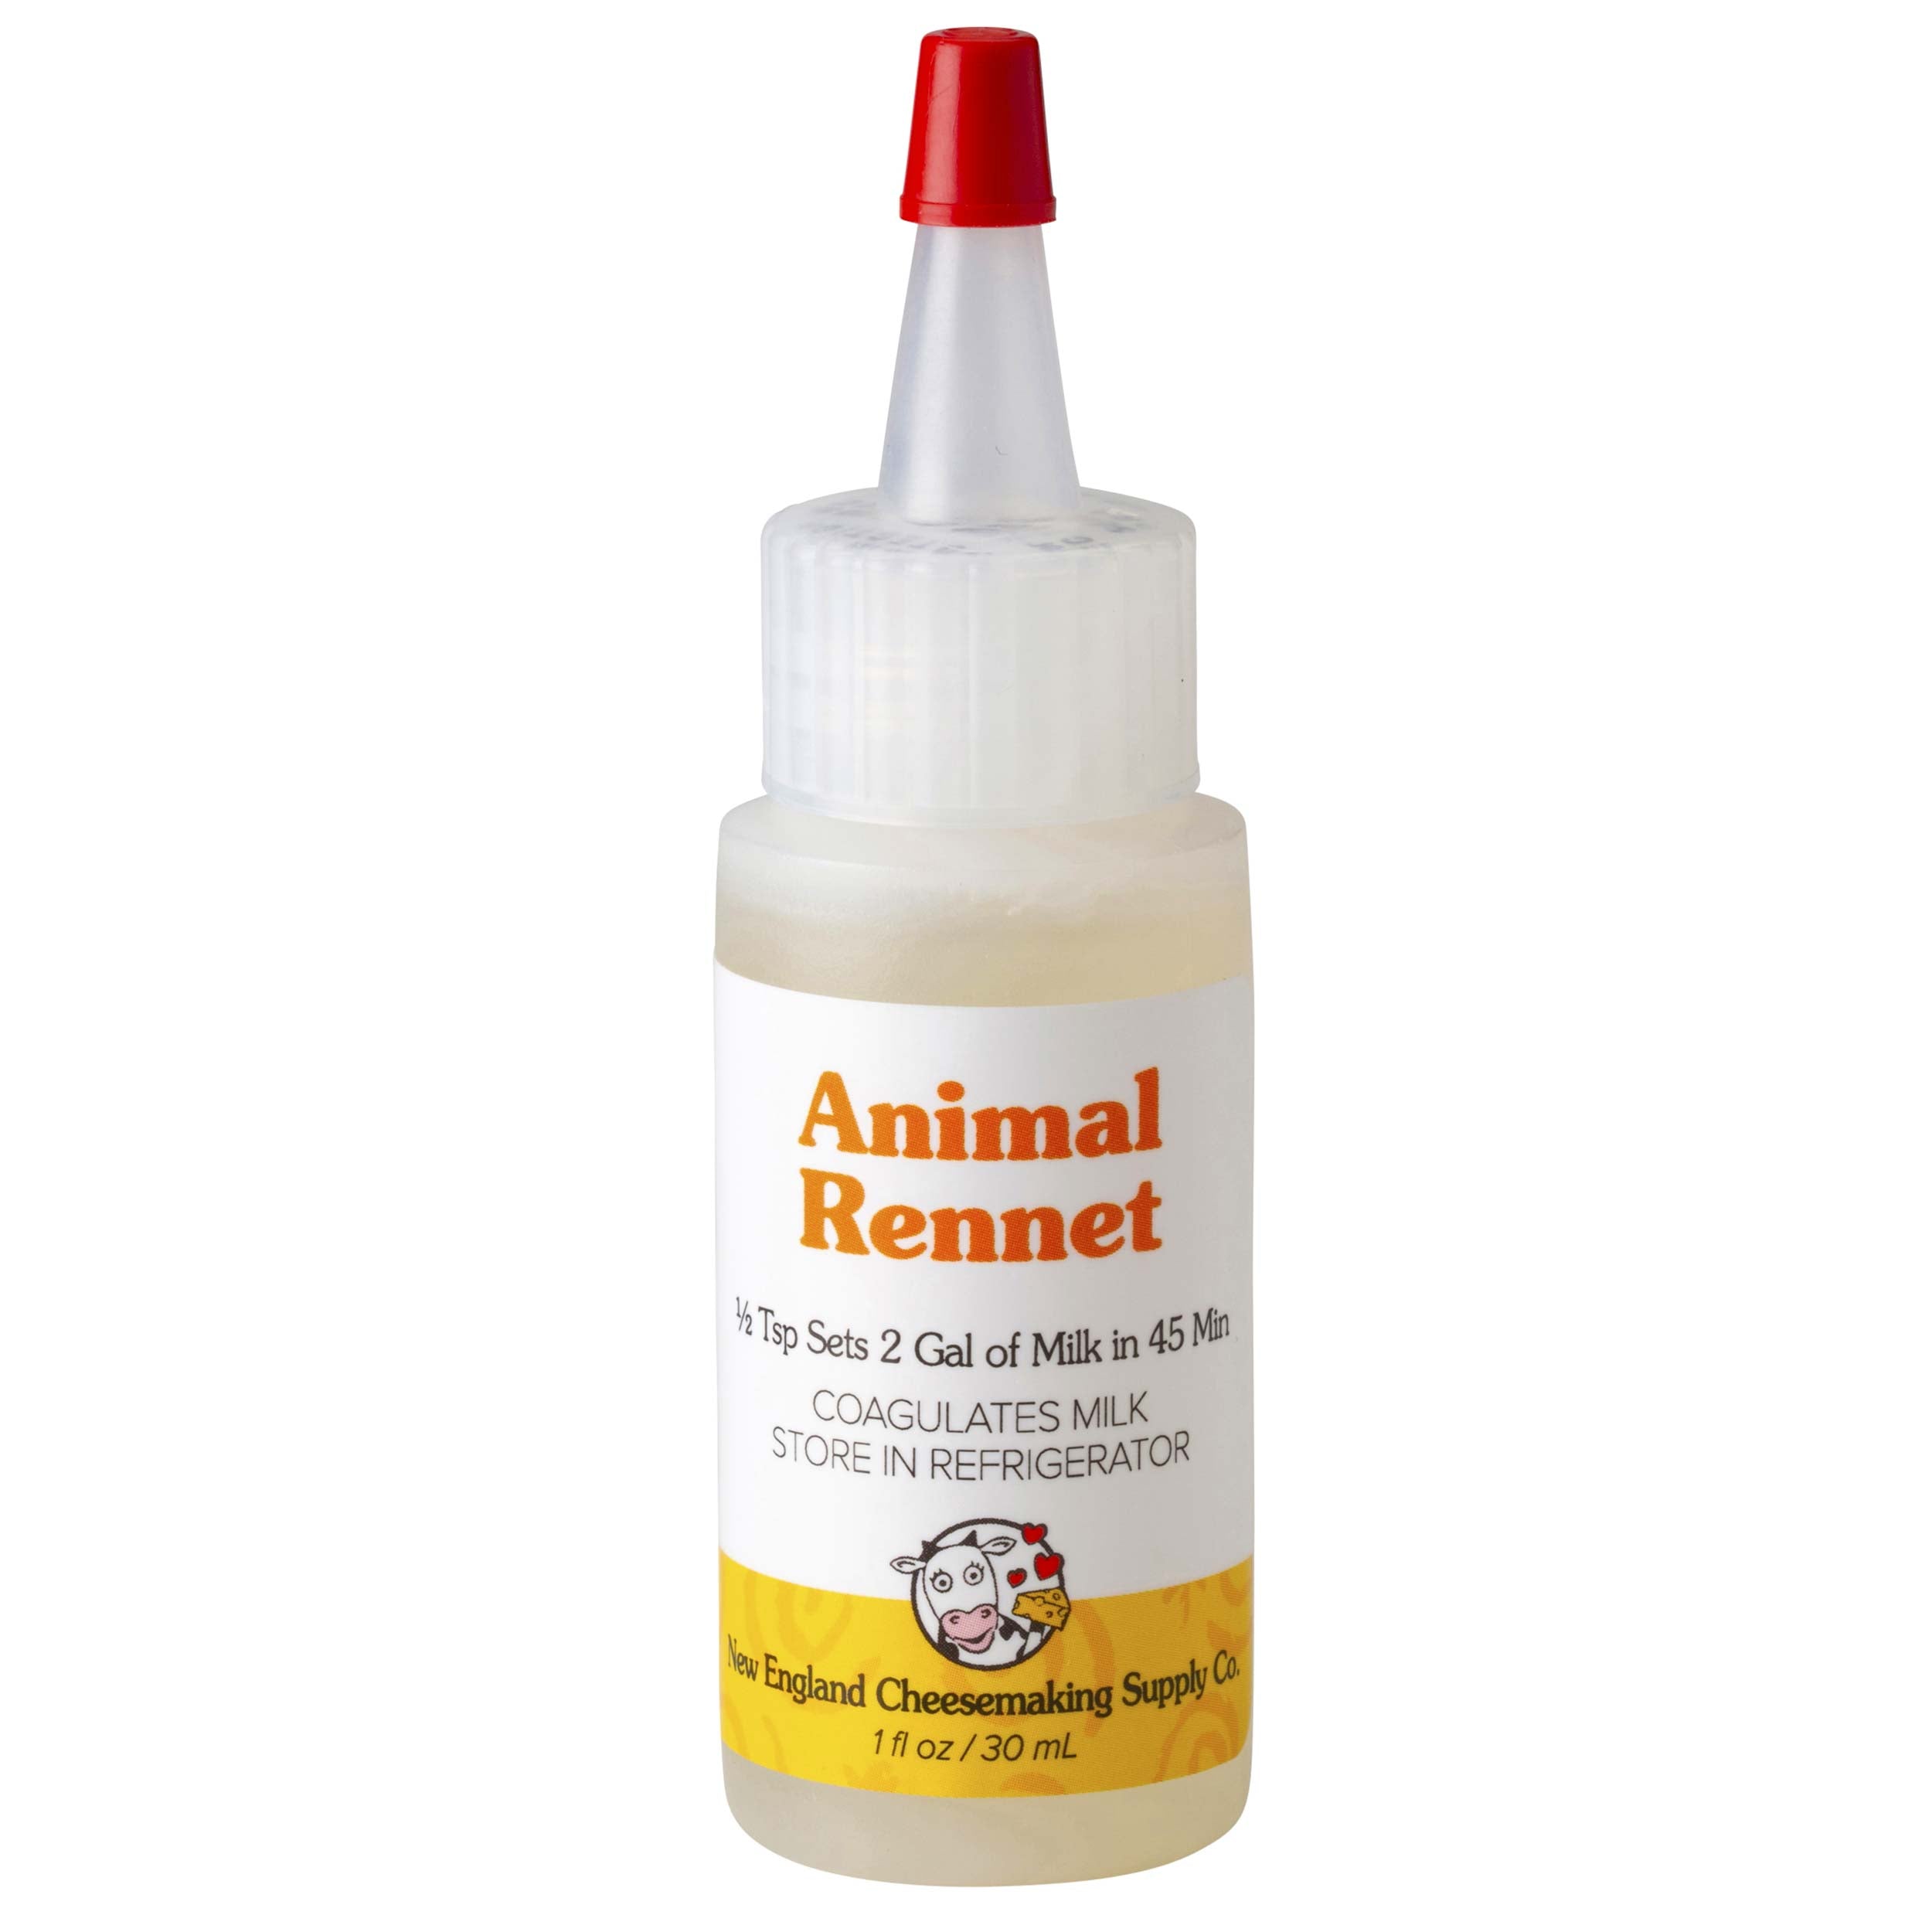
Adding Rennet
When added to milk rennet will form a thick custard like curd. Follow your recipes recommendation for the amount of rennet to use, and add it at the specified time and temperature in your recipe.
Note: Recipe measurements are based off of single strength rennet, if you are using double or triple strength please adjust accordingly.
Before adding to milk dissolve rennet in 1/4 cup cool potable non chlorinated water then add mixture to milk and stir in thoroughly. This will ensure even dispersion when added to milk. After adding rennet to your milk let it sit for the time called for in your recipe. Disturbing or moving the pot or milk during this time can interfere with the coagulation process.
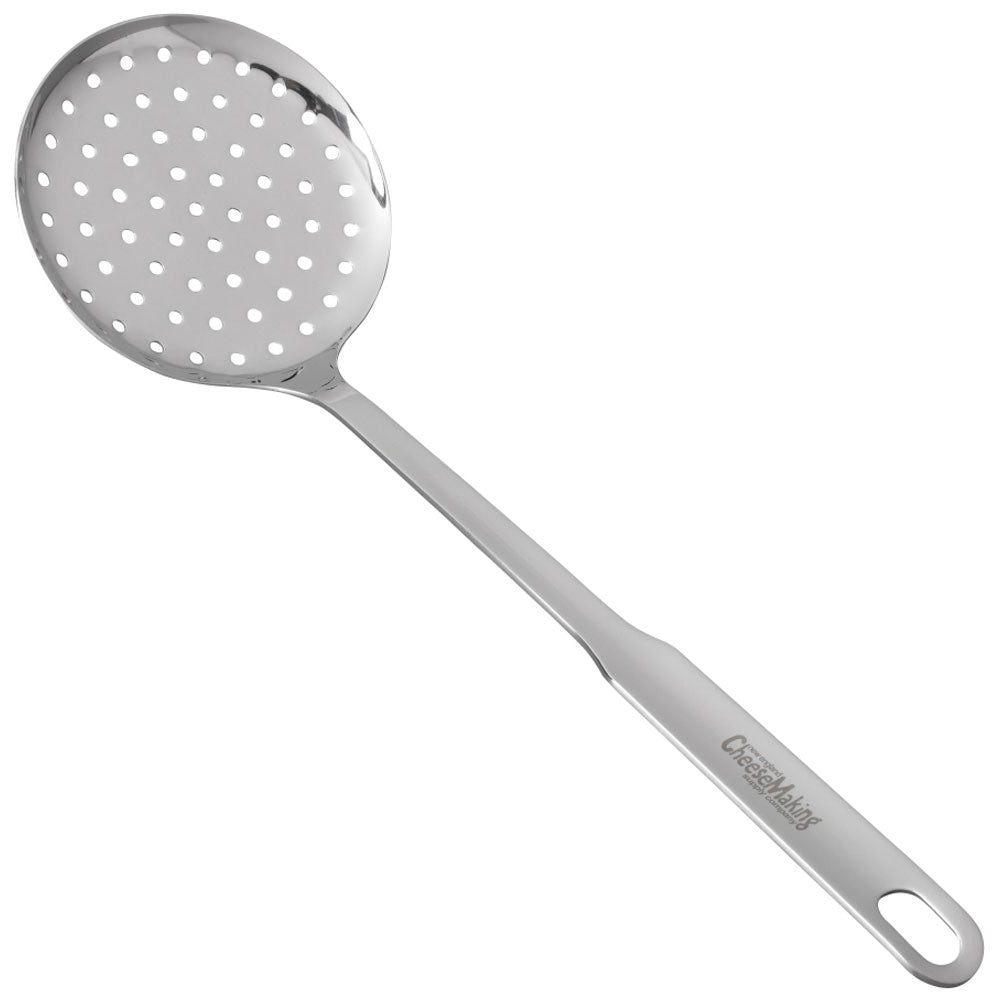
To add rennet we recommend using a perforated ladle. Hold the ladle over your milk, pour the diluted rennet solution through the ladle to help disperse it, and then mix in gently by submerging your ladle to the bottom of your pot and bringing it back up to the surface. Continue to mix in your rennet in this gentle up and down manor for about 1 minute.


Cutting Cheese Curd
Once all your equipment is set you can begin heating your milk. A recipe will indicate what temperature to bring your milk to. Heating milk slowly is best; a good rule of thumb is to increase the heat by 2F per minute. Throughout the cheese making process you will want to be as accurate with temperatures as possible since it can greatly influence the quality of your cheese.
Clean Break
Before cutting your curds you will want to be sure you see a clean break. To check for this insert the tip of your thermometer or your finger into the curd at a 90 degree angle and lift up. If there is a clear separation in the curd then you have a clean break, if not let your milk rest for an additional 5 minutes and then recheck.
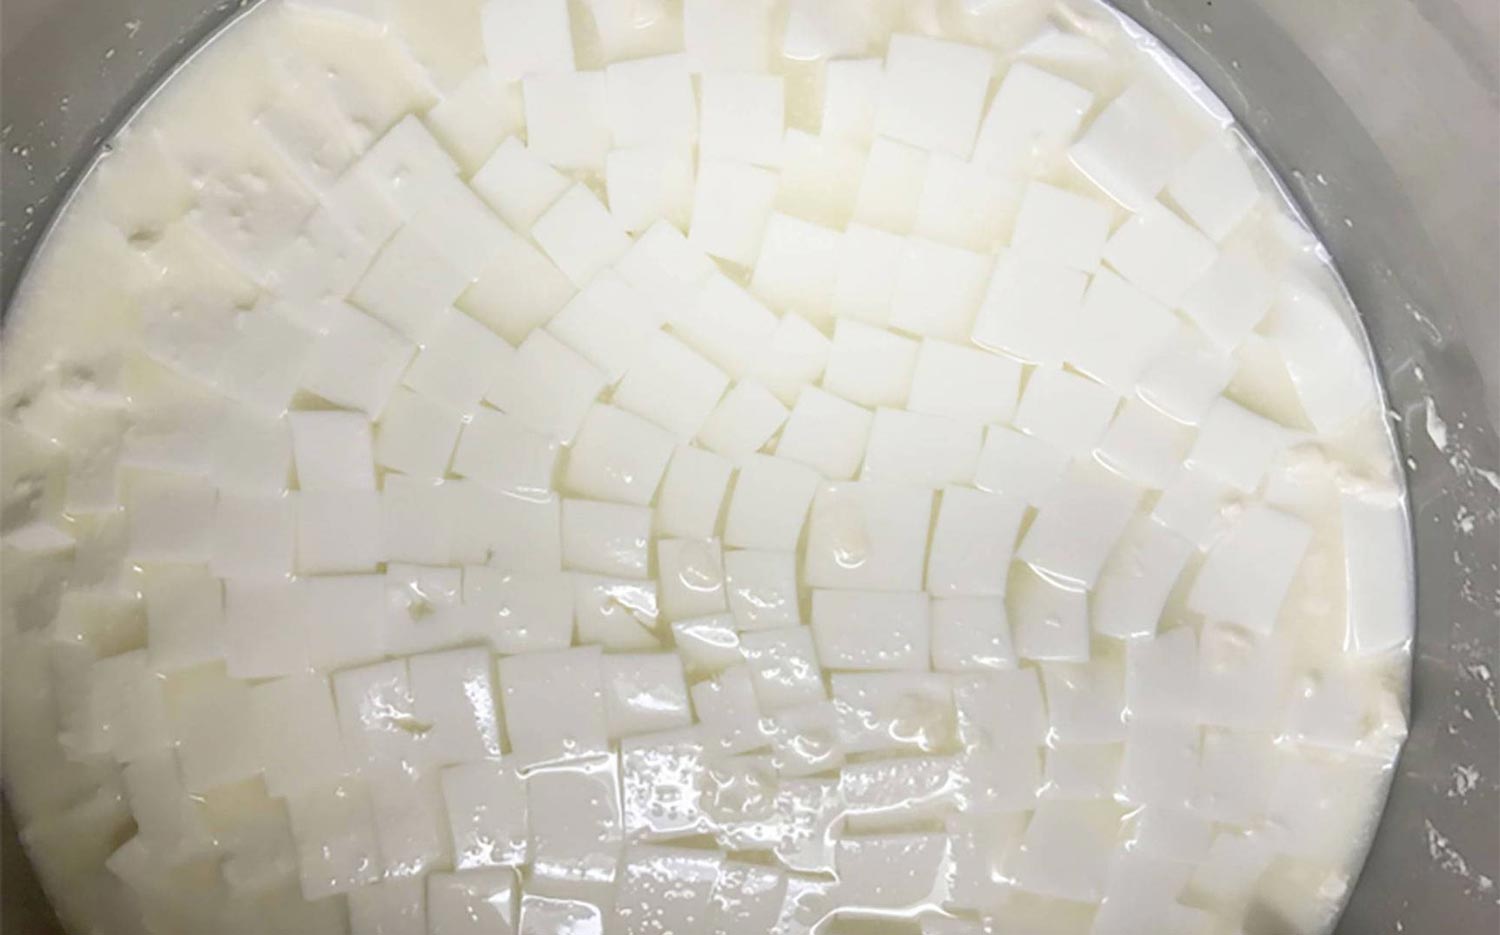
Cutting Uniform Curds
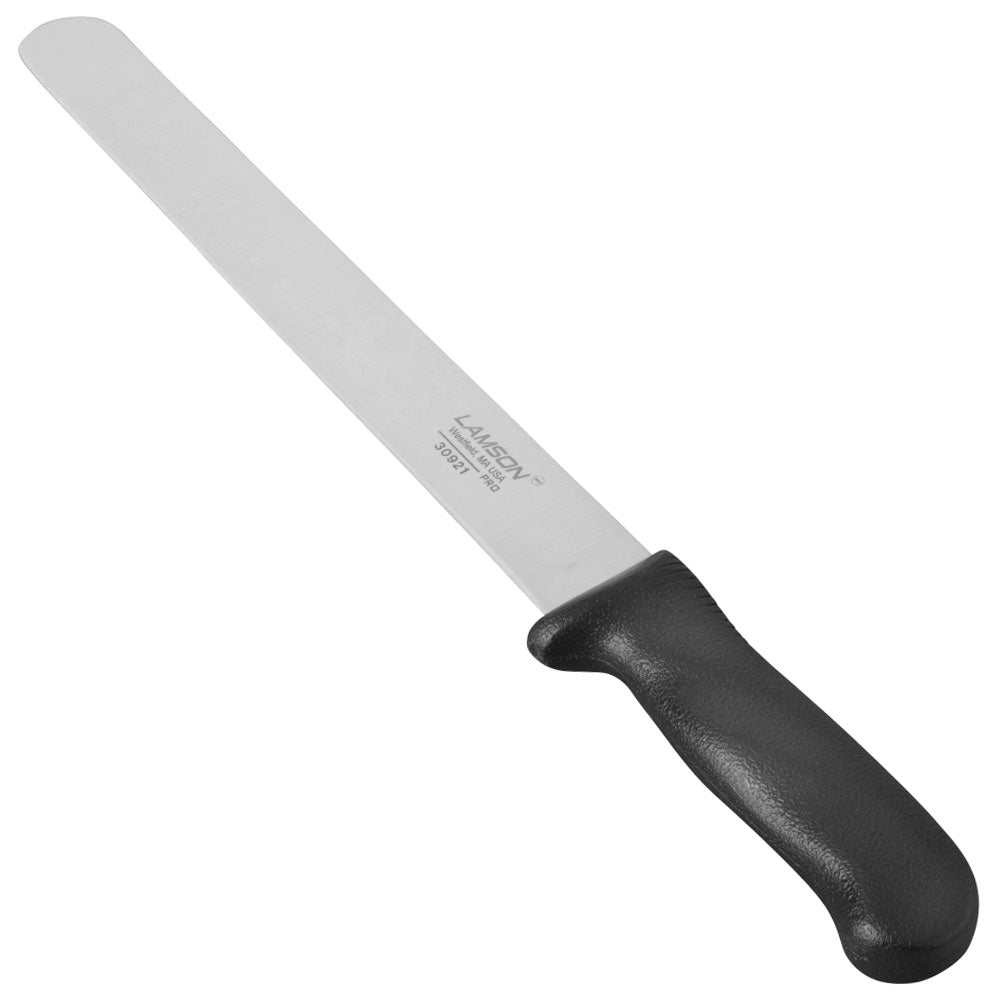
If using a knife make evenly spaced vertical cuts throughout the curd from one side of the pot the other. Turn your pot 90 degrees and make the same cuts so you end up with a checkerboard on the surface. Next cut the curds horizontally by inserting your knife along the same cut lines but at an angle. Turn your pot 90 degrees and repeat the horizontal cuts once more. When finished you should have a consistent curd size throughout the whole pot. At this point there should be a nice clear separation of the curds and whey.
There's a Whale in my Curds
If there are a few larger curds, often referred to as whales, don’t worry, as they appear you can cut them with your knife or ladle. First let your curds set for 5 minutes to firm up then taking care to be gentle, stir your curds slowly. As the whales appear cut them down in size.
Note: If your recipe calls for 1/4” cubes you can use a wire whisk to cut the curds down in size. Do be gentle with the whisk and go slow so your curds maintain good form

Cooking Curds
The process of cooking curds helps them expel whey, firm up and reach the desired acid levels. You will notice the curds get smaller and form a more solid texture the longer they cook. Different cheeses need different amounts of moisture left in the curd. You will want to refer to your recipe as a guide for how long and at what temperature to cook your curds. Increase the heat slowly; unless your recipe suggests otherwise a good rule of thumb is to increase the heat by two degrees every five minutes. If curds are heated too quickly a skin will form and trap moisture inside the curd, this can create problems with moisture pockets in your finished cheese.
Stir While Cooking Curds
When cooking curds they will need to be stirred to prevent settling on the bottom of the pot and clumping together. We recommend using your perforated ladle for this. In the beginning the curds will be delicate so you will want to stir gently. As your curds firm up they will be able to withstand more agitation.
Letting The Curds Settle
Some recipes will call for the curds to be pitched; this term refers to curds being allowed to rest at the bottom of the pot after cooking and before draining.
Draining Curds
Once the curds are cooked they will be ready to drain. You will want to follow the steps for the particular type of cheese you are making.
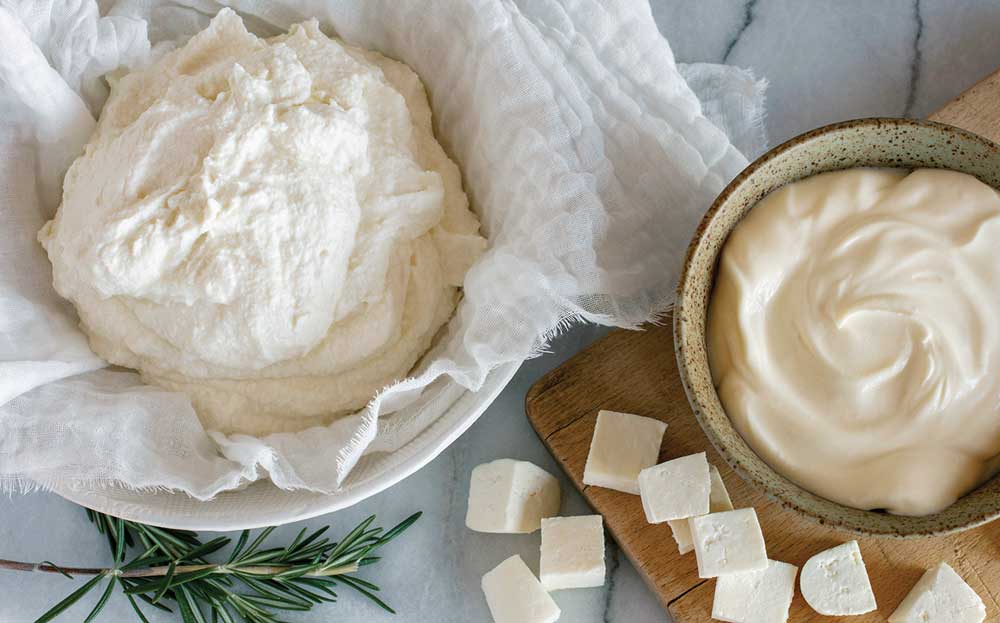
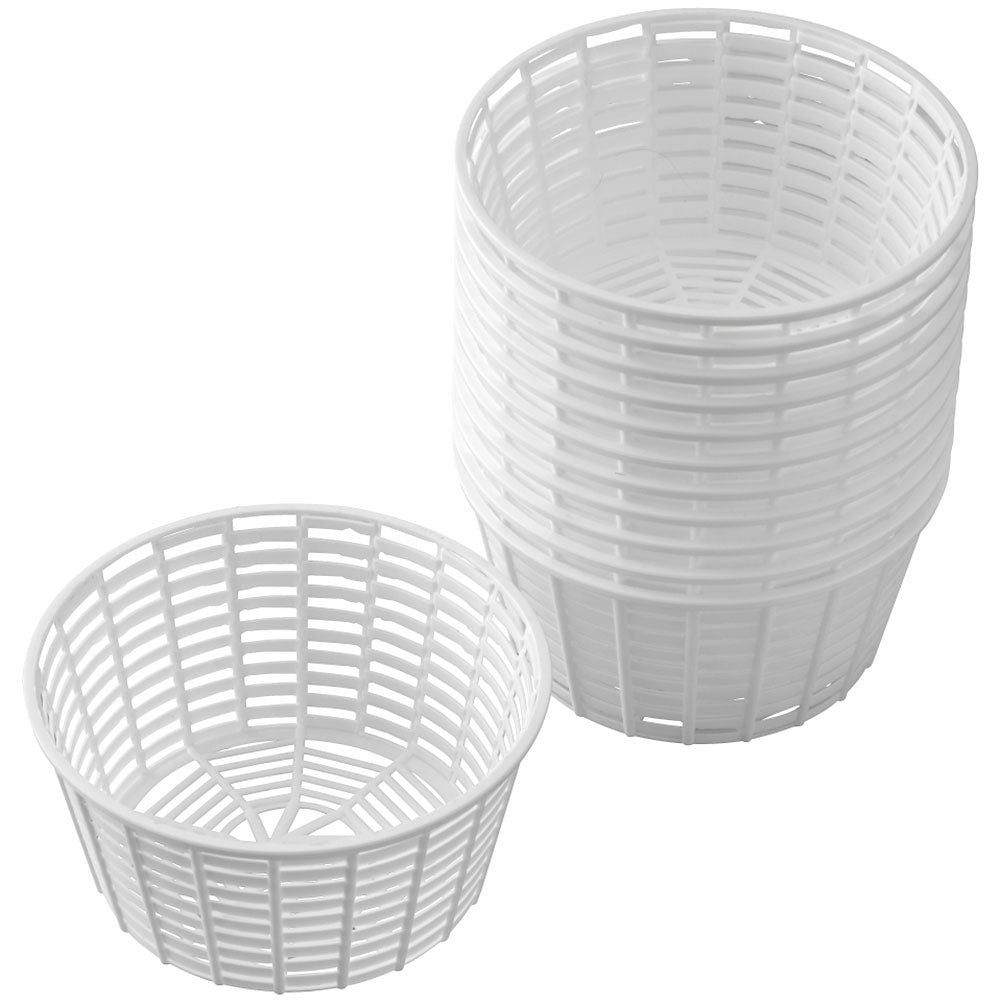
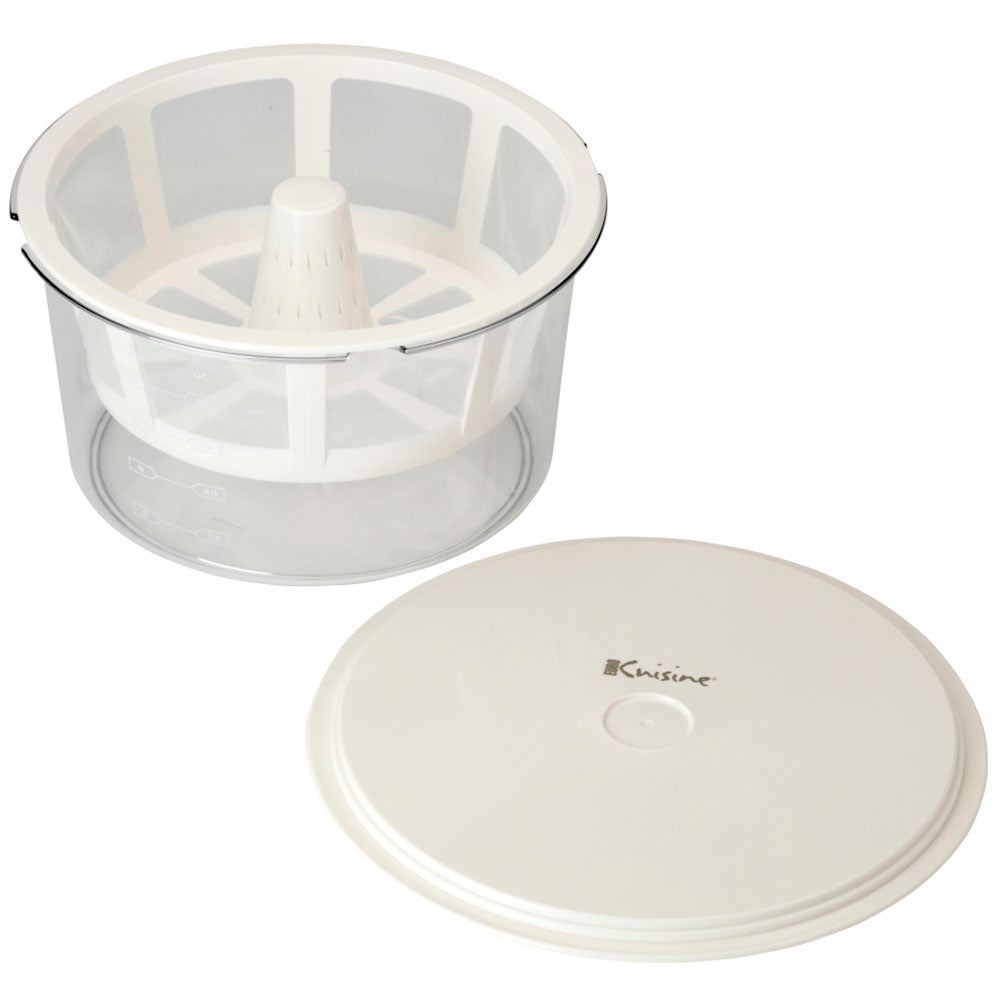
Soft Cheese
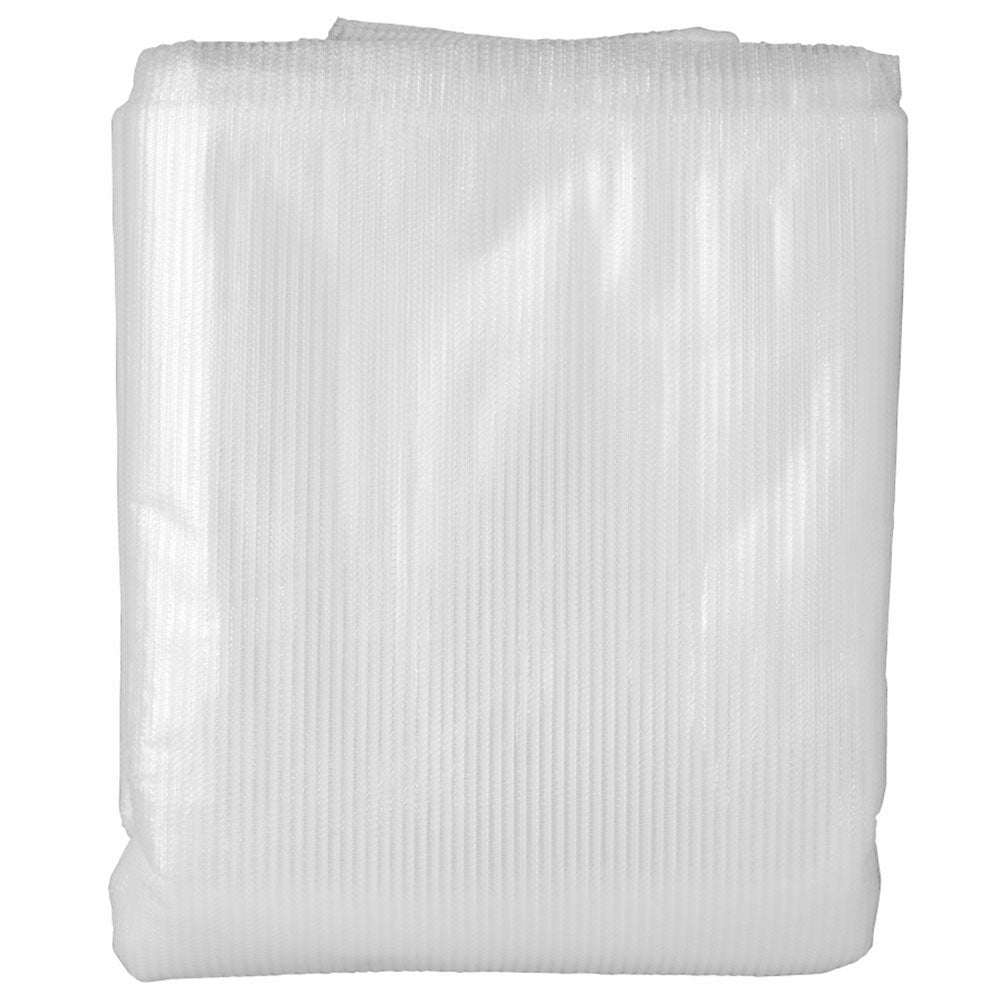
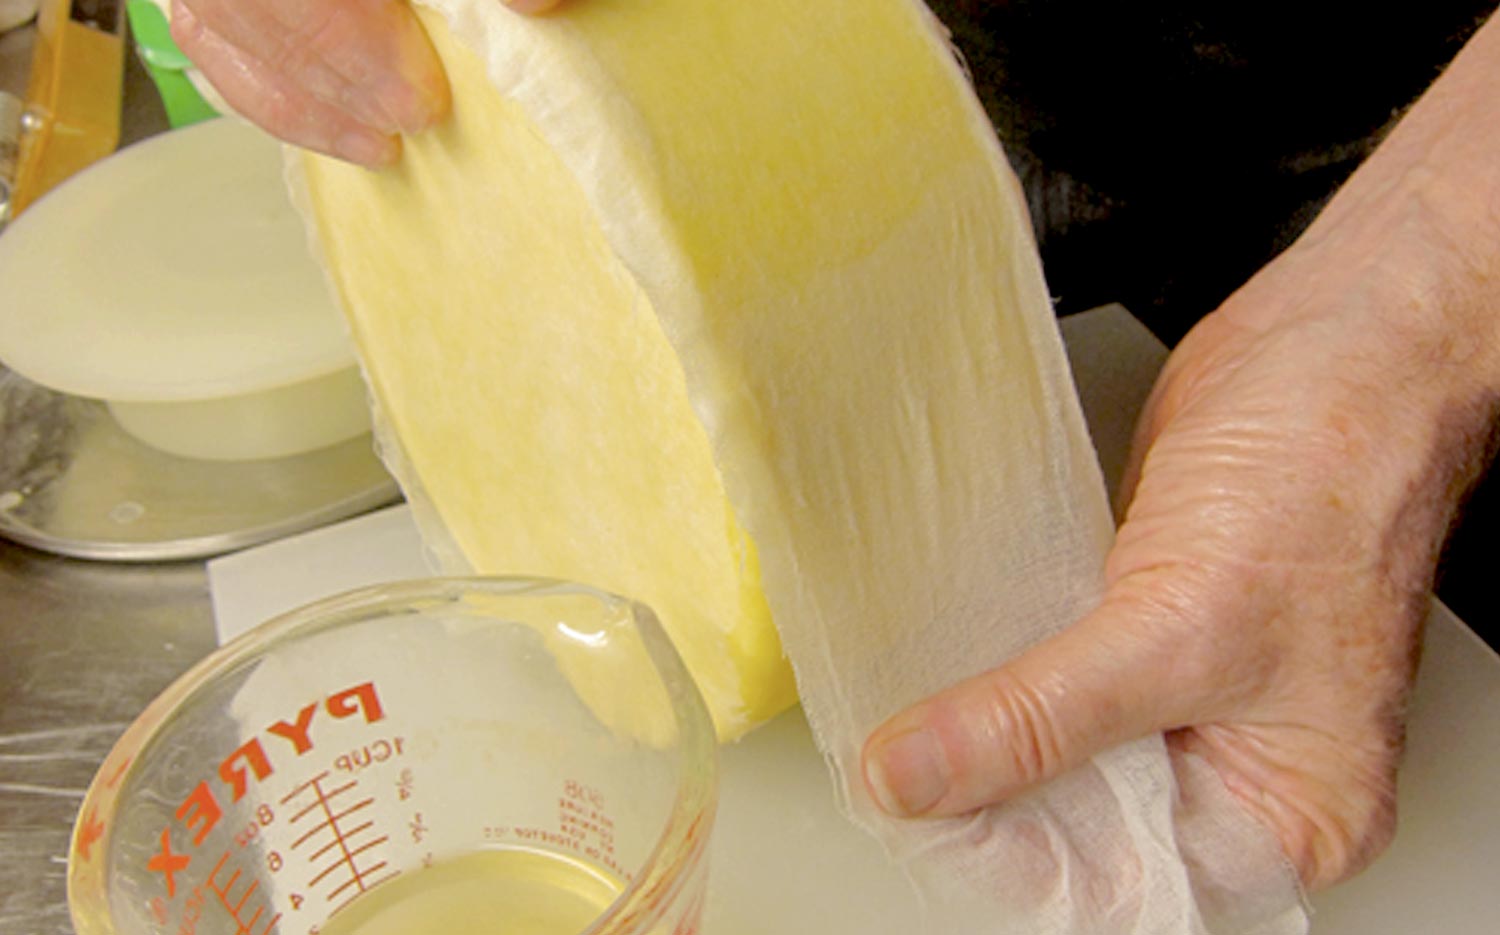
To drain curds for a soft cheese place a colander lined with butter muslin into a sink and gently ladle in your curds. Once all your curds have been ladled in you can use one of the following methods and drain your cheese for the specified time in your recipe.
- Tie the ends of your muslin together and hang to drain. Be sure to place a pot or bowl underneath to catch the whey or drain directly over a sink.
- Cover your curds by folding over the ends of cloth, place the colander inside a bowl or pot to catch the whey, and then place in your fridge to continue draining. Please note this method can take a little longer to drain to your desired consistency.
During this process you may want to check on your cheese once or twice for even drainage. If you notice the center is much soupier then the edges you can scrape down the edges and move around your cheese to help it drain evenly.
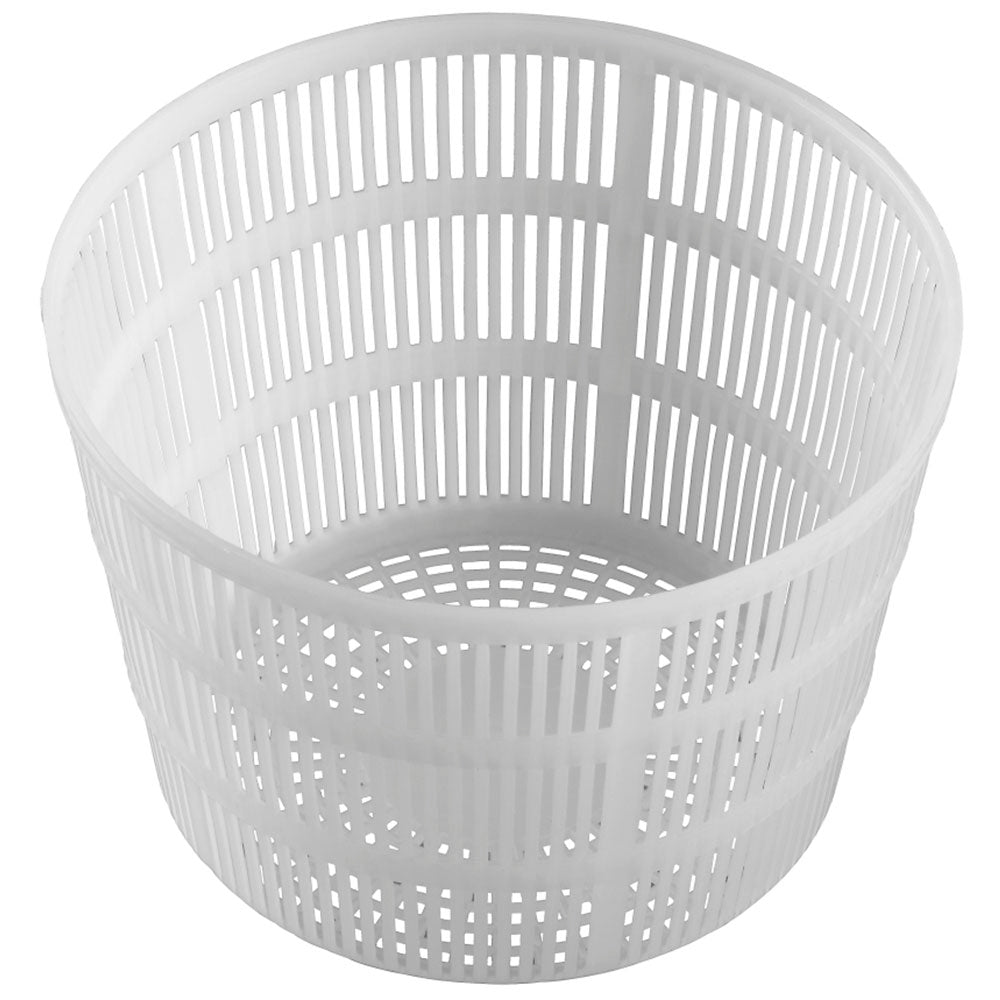
Hard Cheese
To drain curds for a hard cheese line a colander with butter muslin, place it in a sink or over an empty pot, and then gently pour the curds and whey into the colander. Follow your recipe as a guide for how long to let your curds drain.
If you catch your whey in a pot it can used it to make ricotta or saved for soup stock, chicken or hog feed, poured over tomatoes in the garden, used to substitute water in baking recipes, and much more.
Mold Ripened Cheese
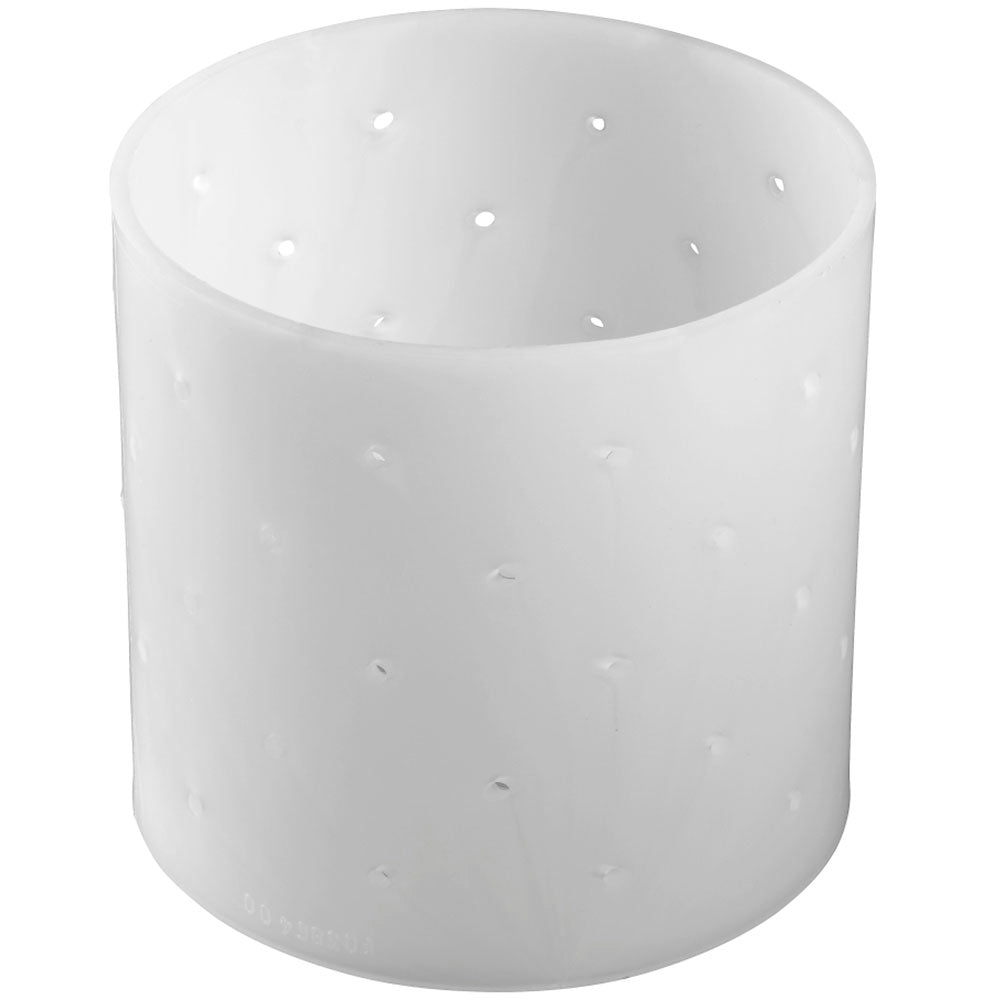
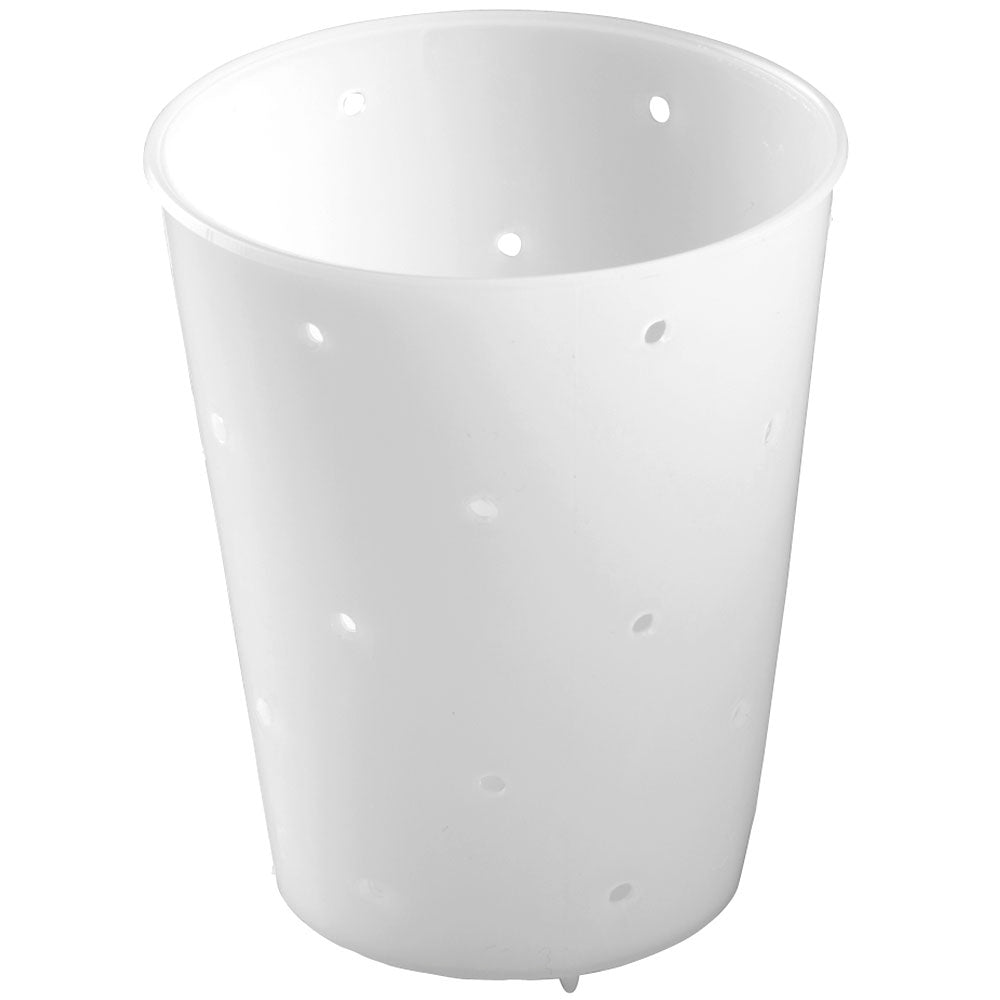
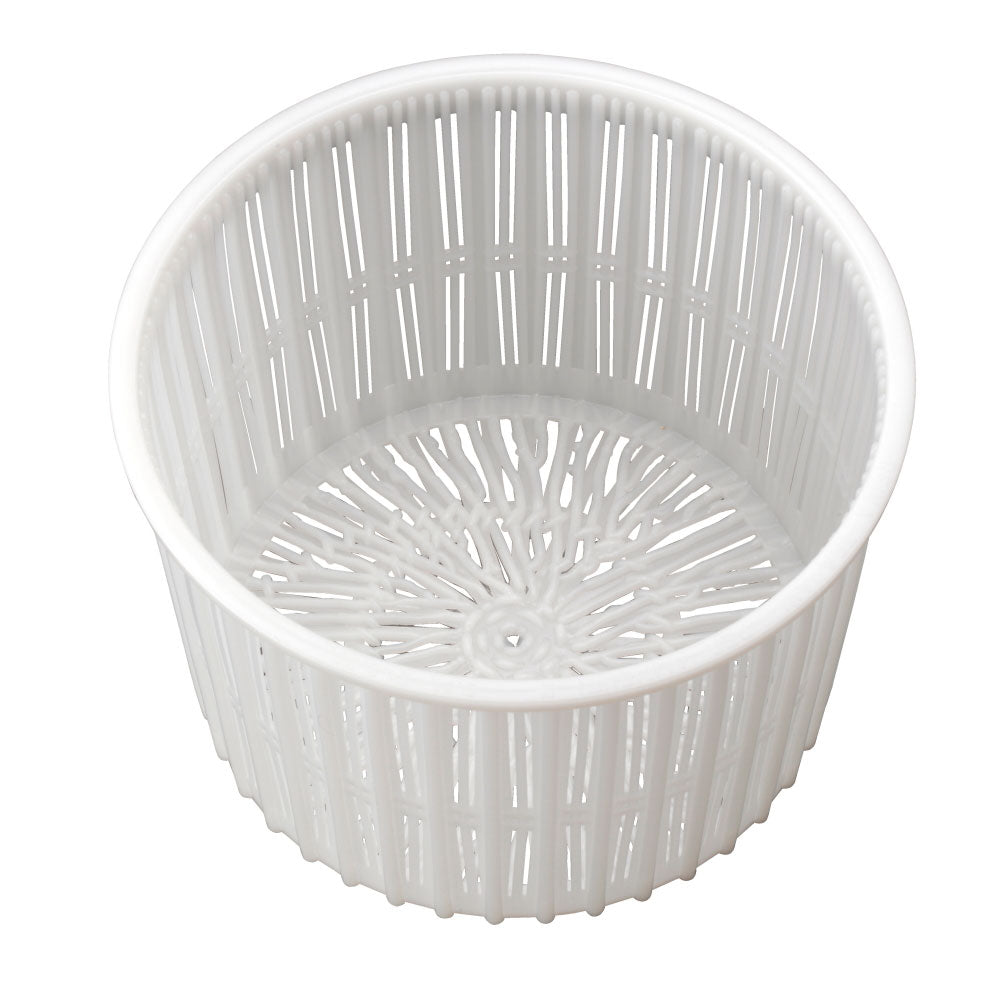
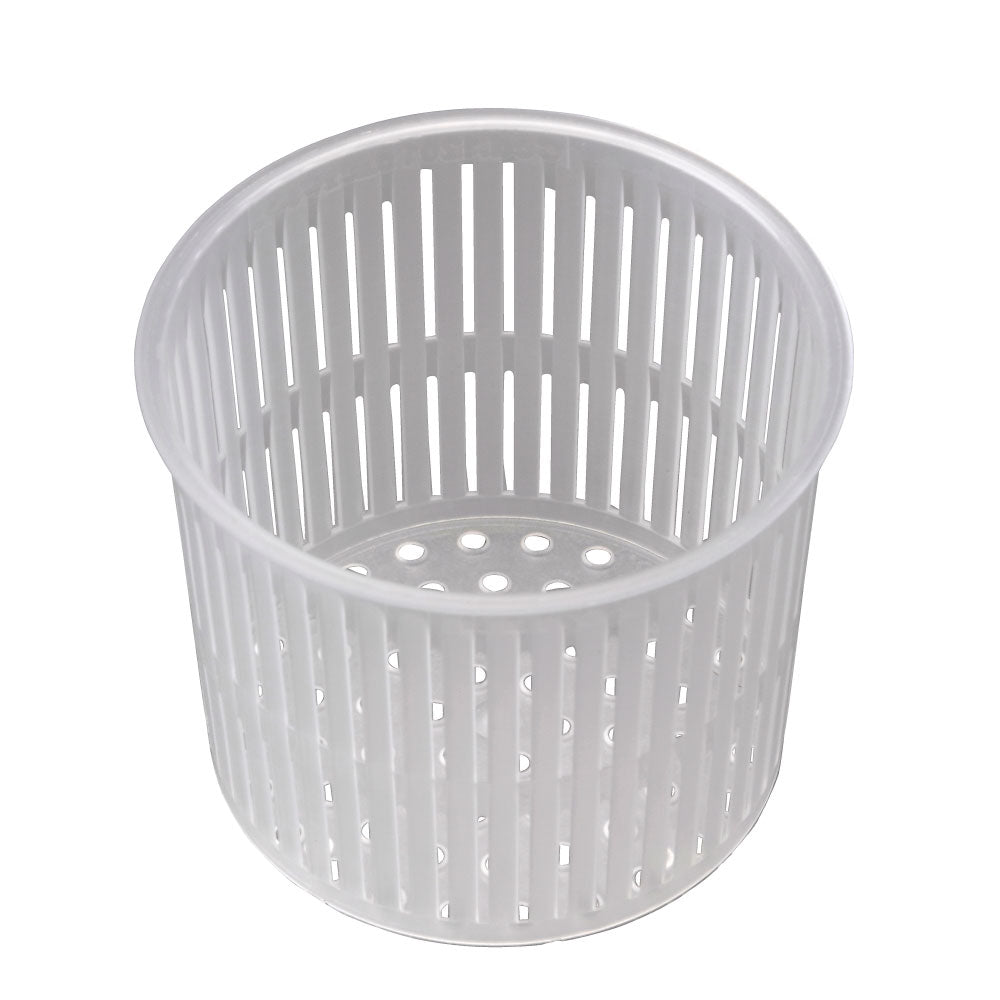
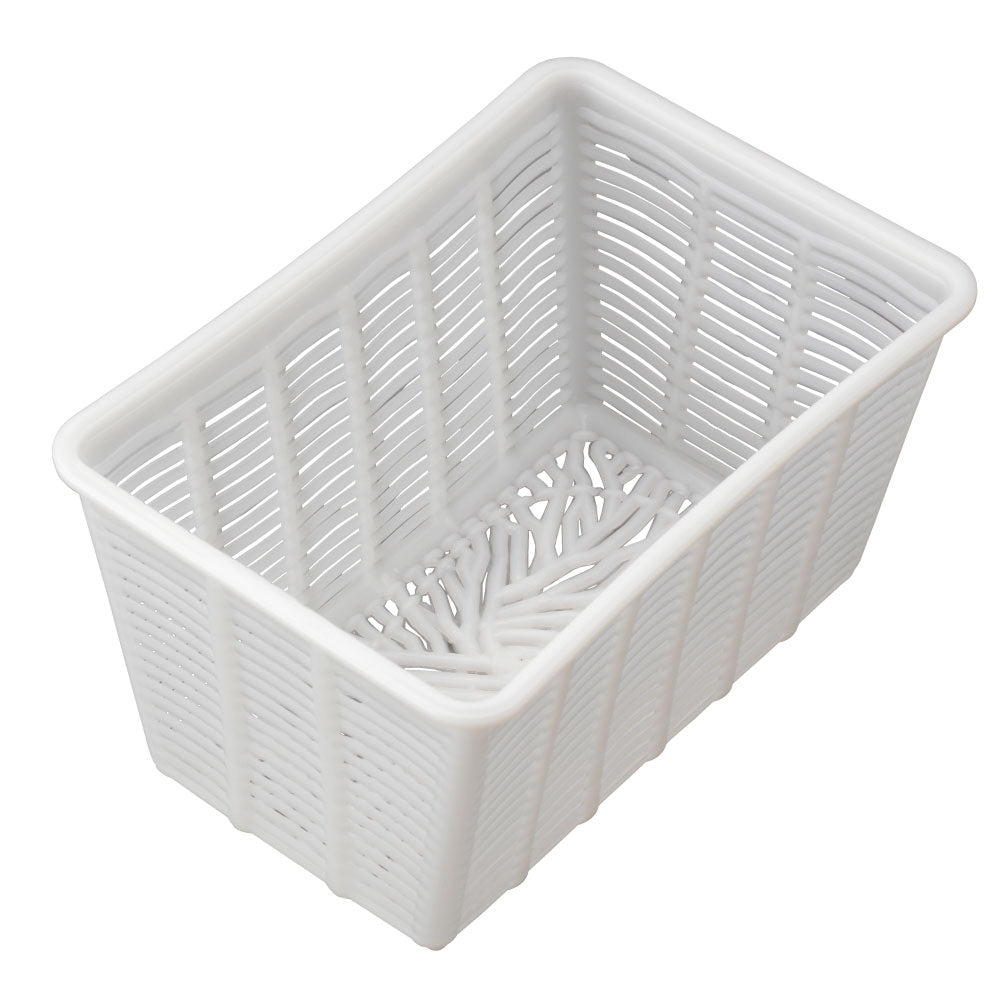
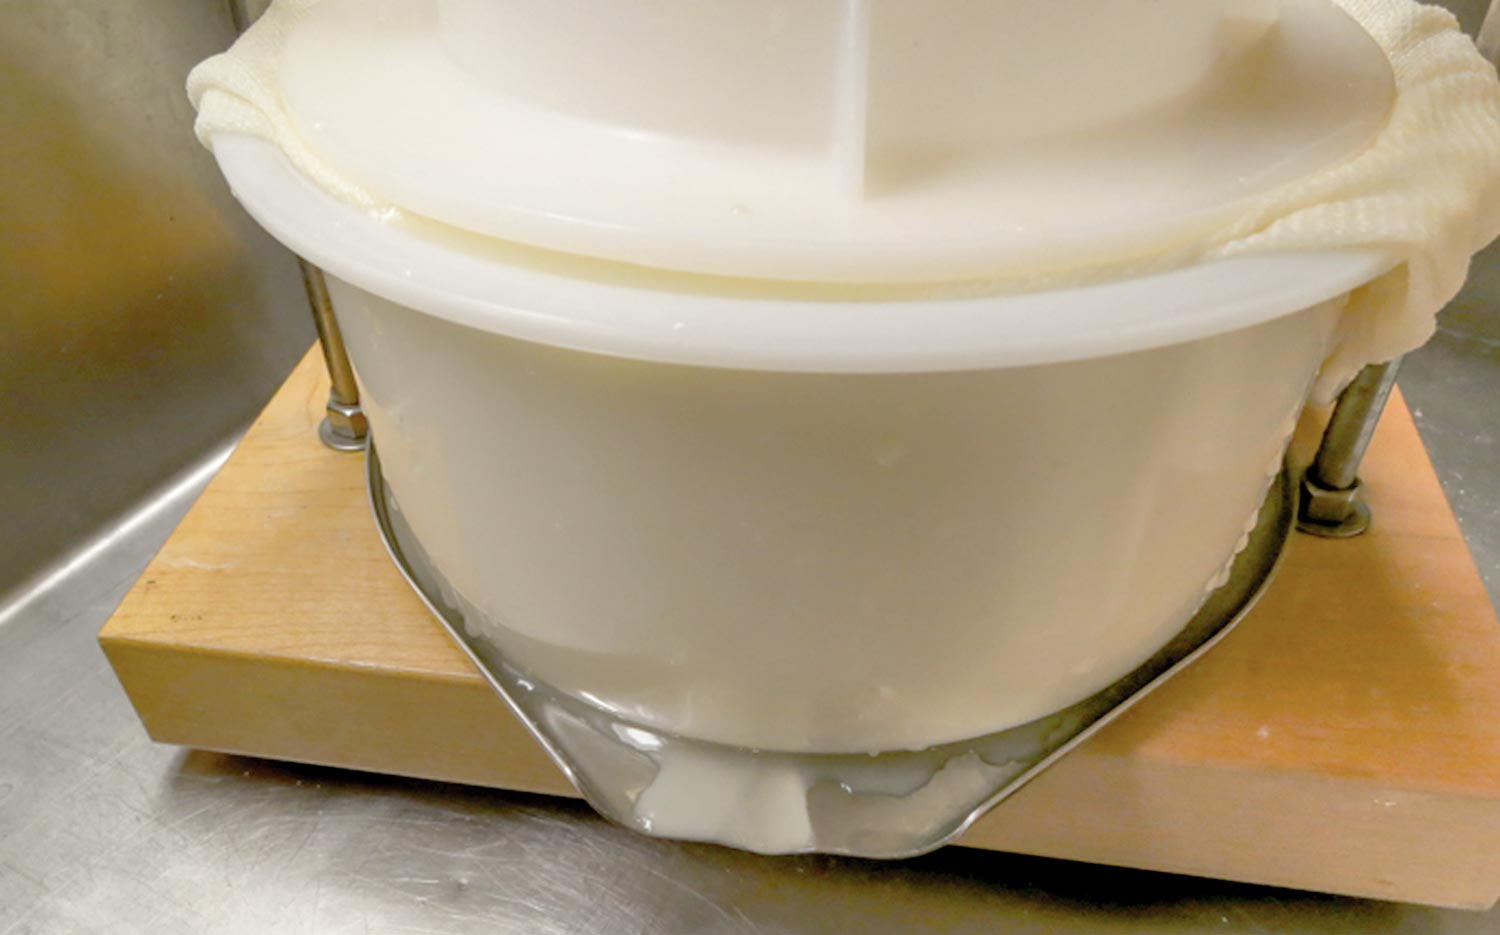
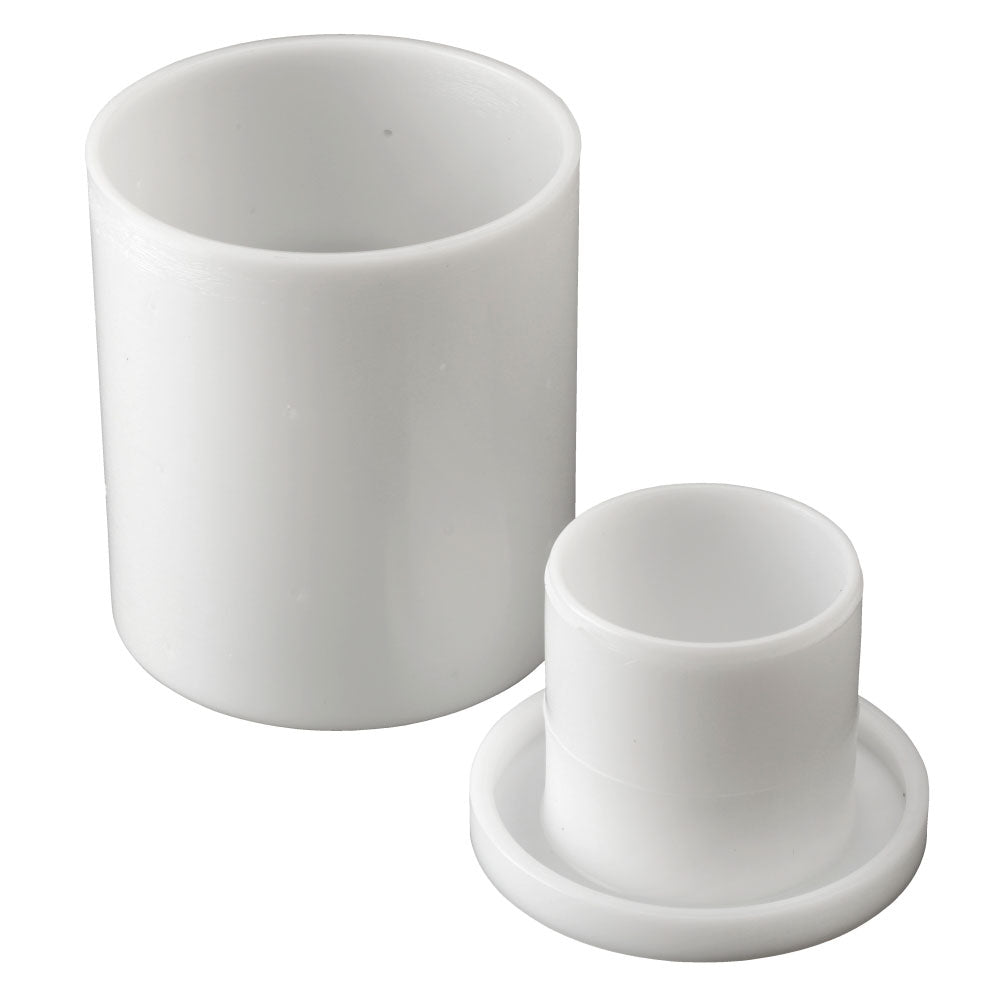
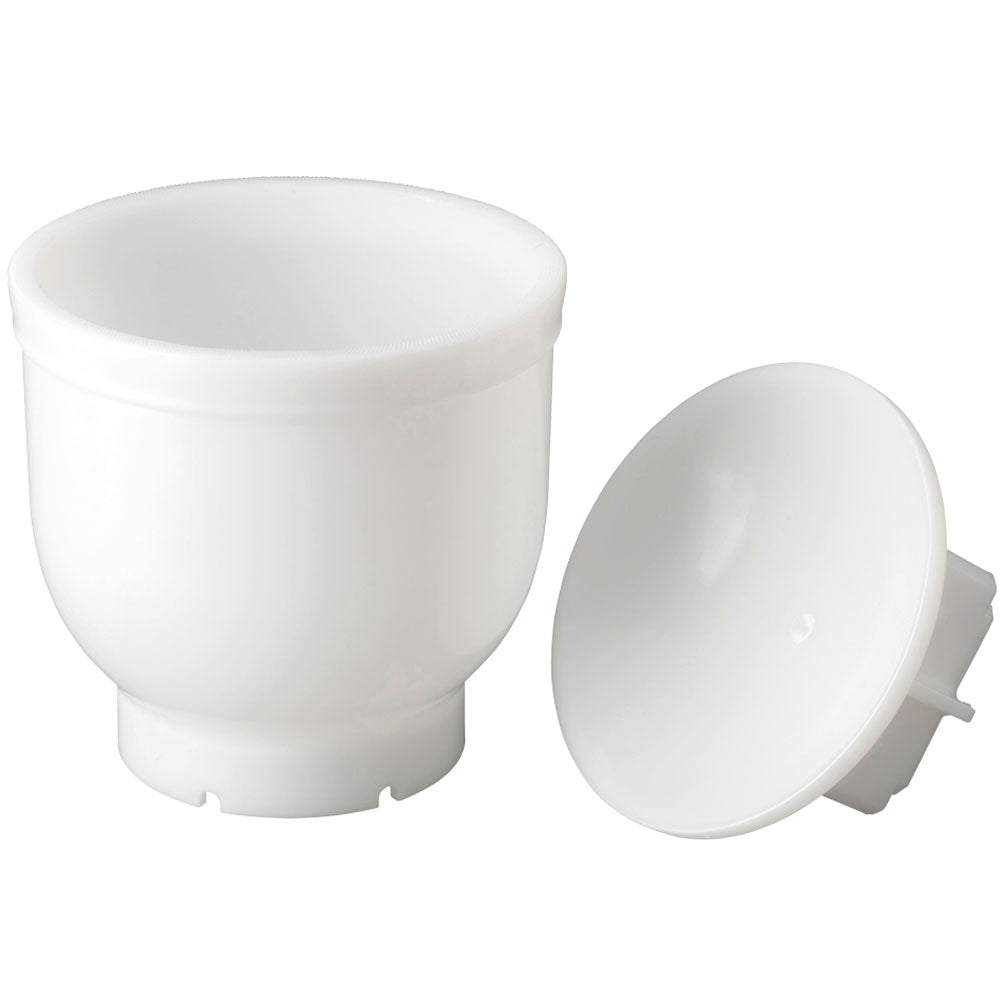
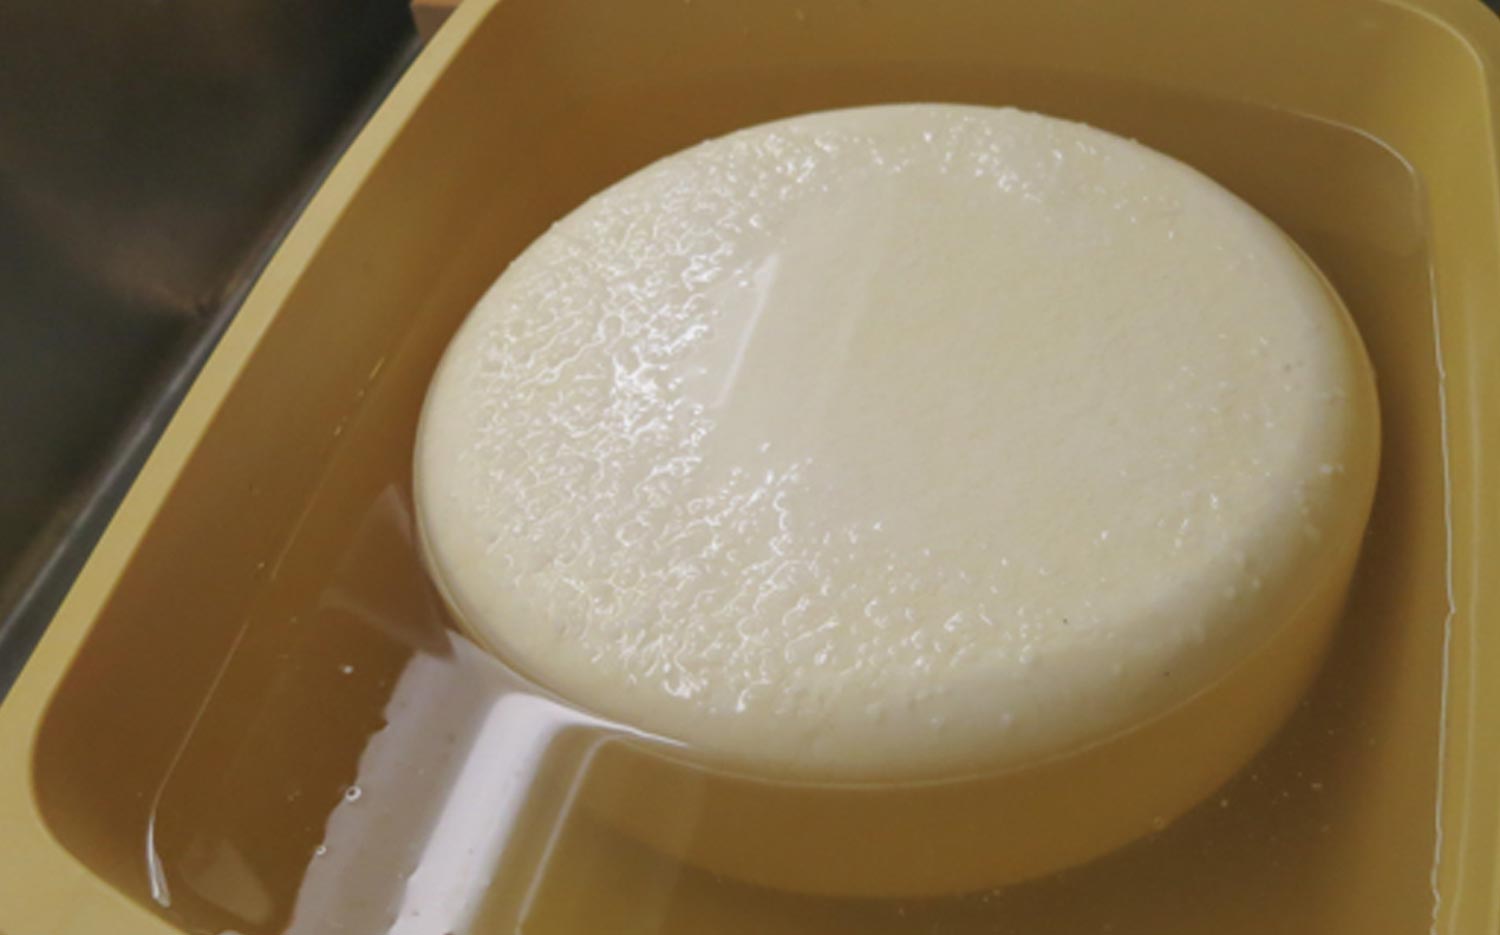
To drain curds for cheese such as Triple Cream, Camembert and Brie. the curds are placed directly into a soft cheese mold and the weight of the curds will compress themselves, these types of cheese will not need to be pressed later on.
Place molds onto a draining rack with a container underneath to catch the whey or a drip tray. If the mold has an open bottom, first place a draining mat underneath the mold. Once your molds are set up, ladle the curds in and fill to the top. The curds will compress to about half their initial size. During the draining process flip your cheese in the molds according to the directions in your recipe.
Note: If you would like to have a line of ash or dried herbs half way through your cheese you will want to add that once your mold is filled 1/2-3/4 with curds. Once you make the addition fill the mold the rest of the way with curds
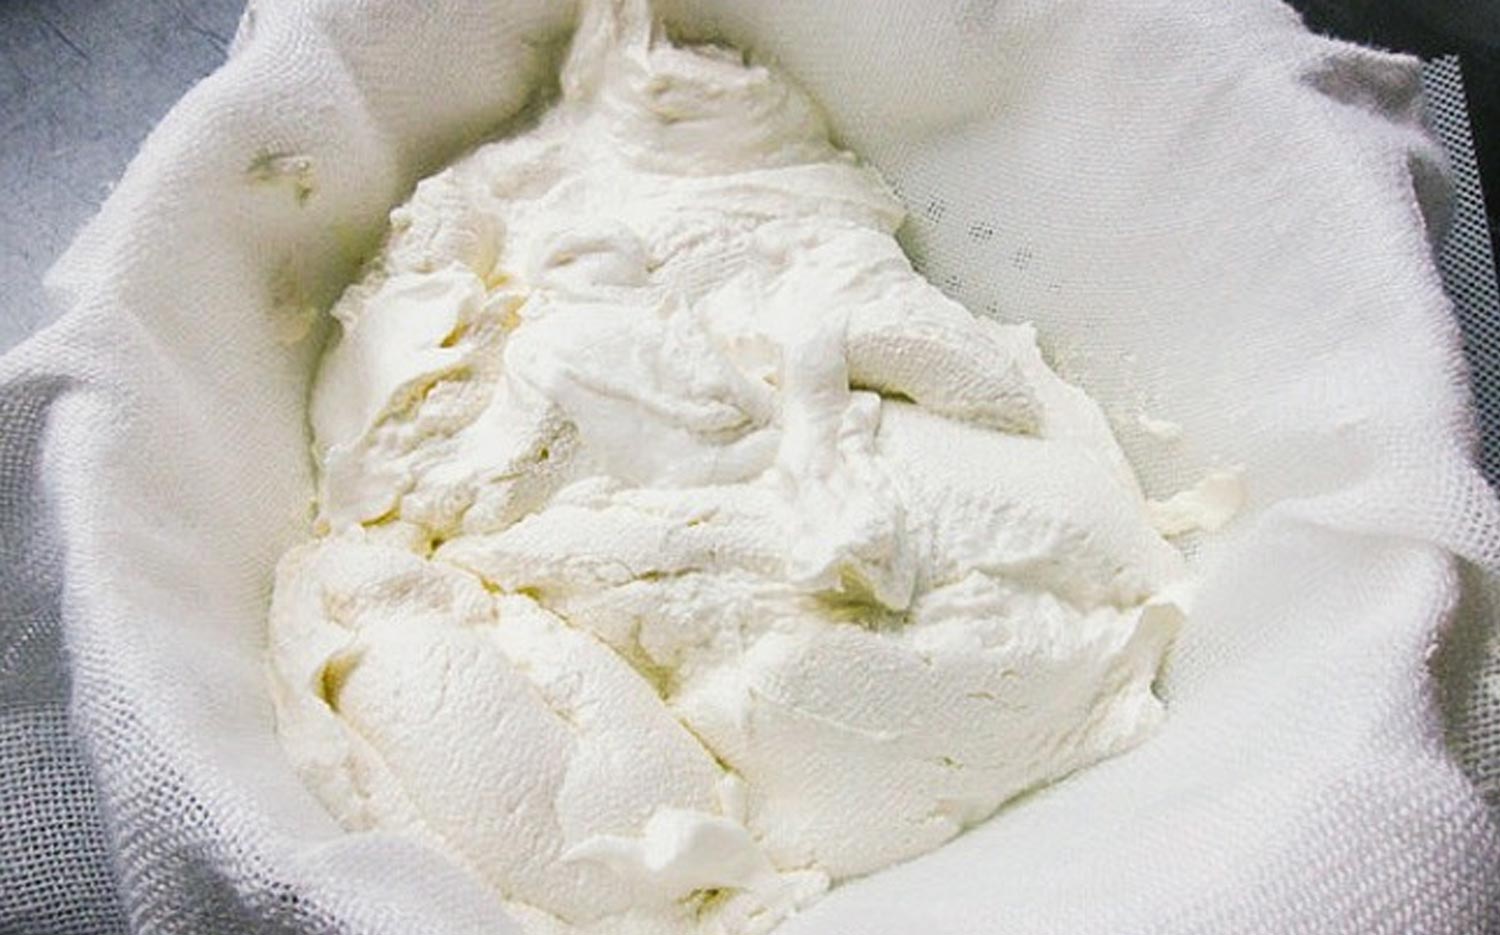
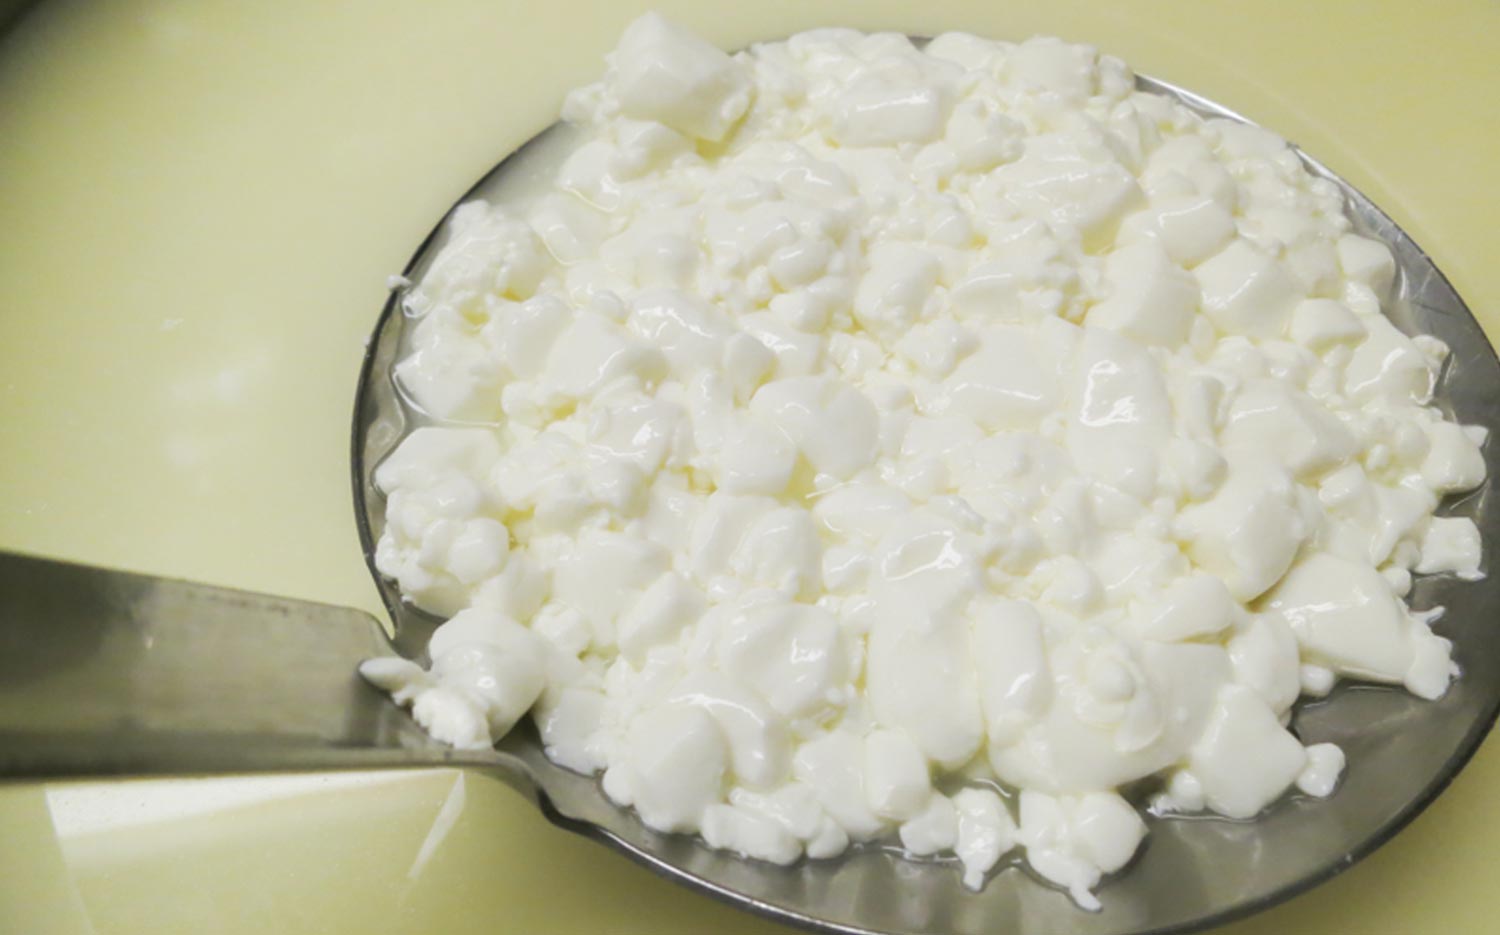
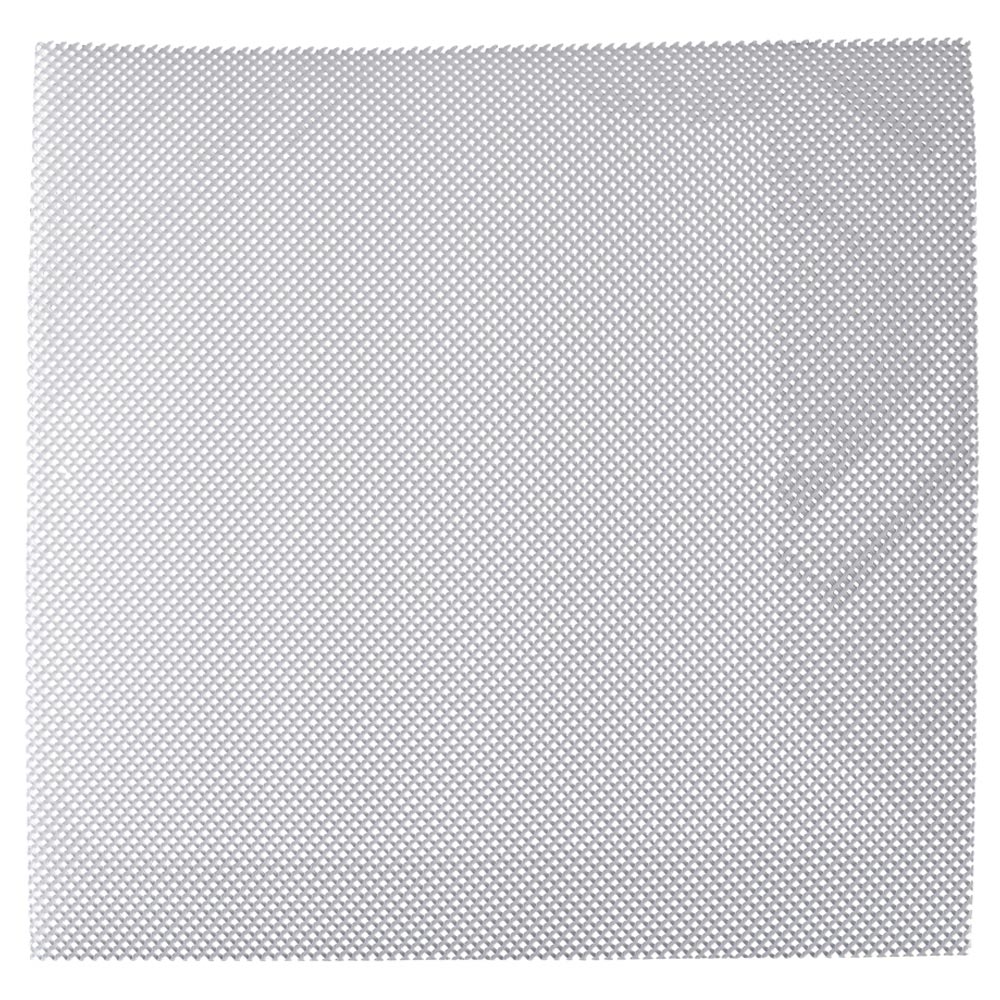
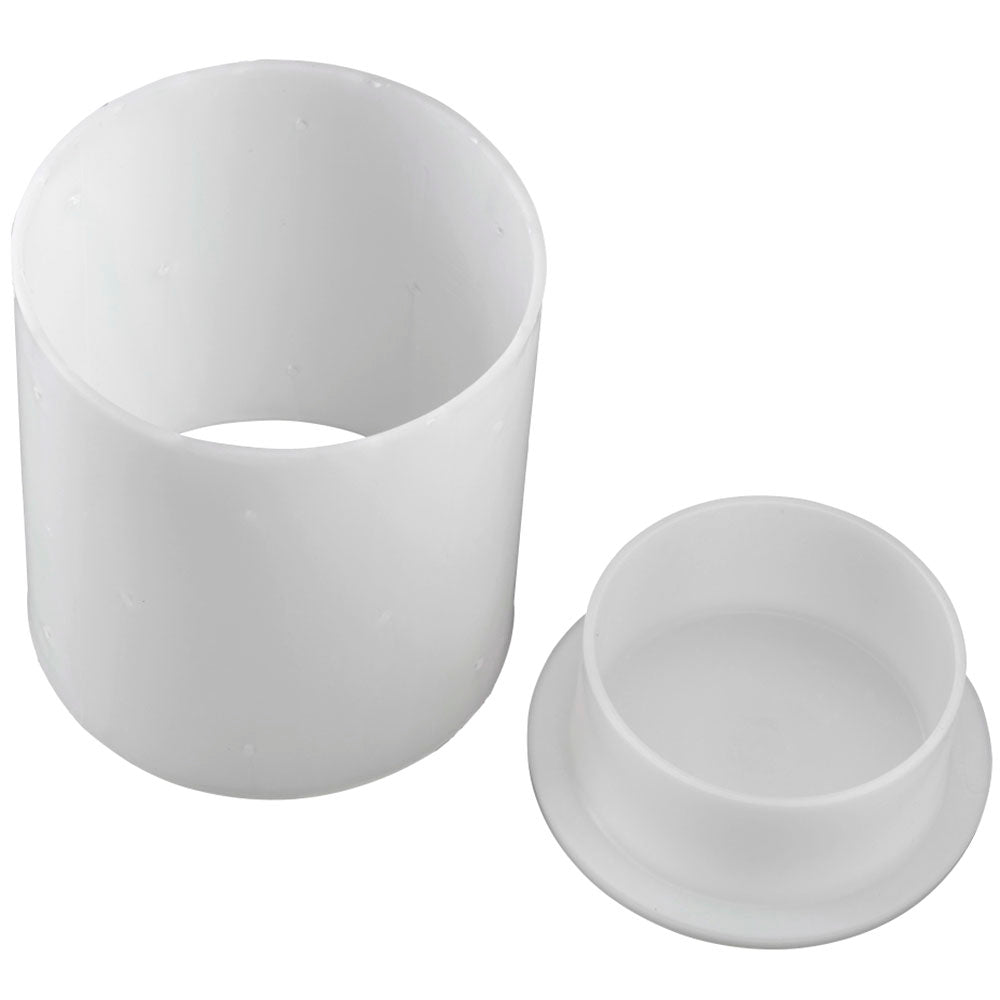
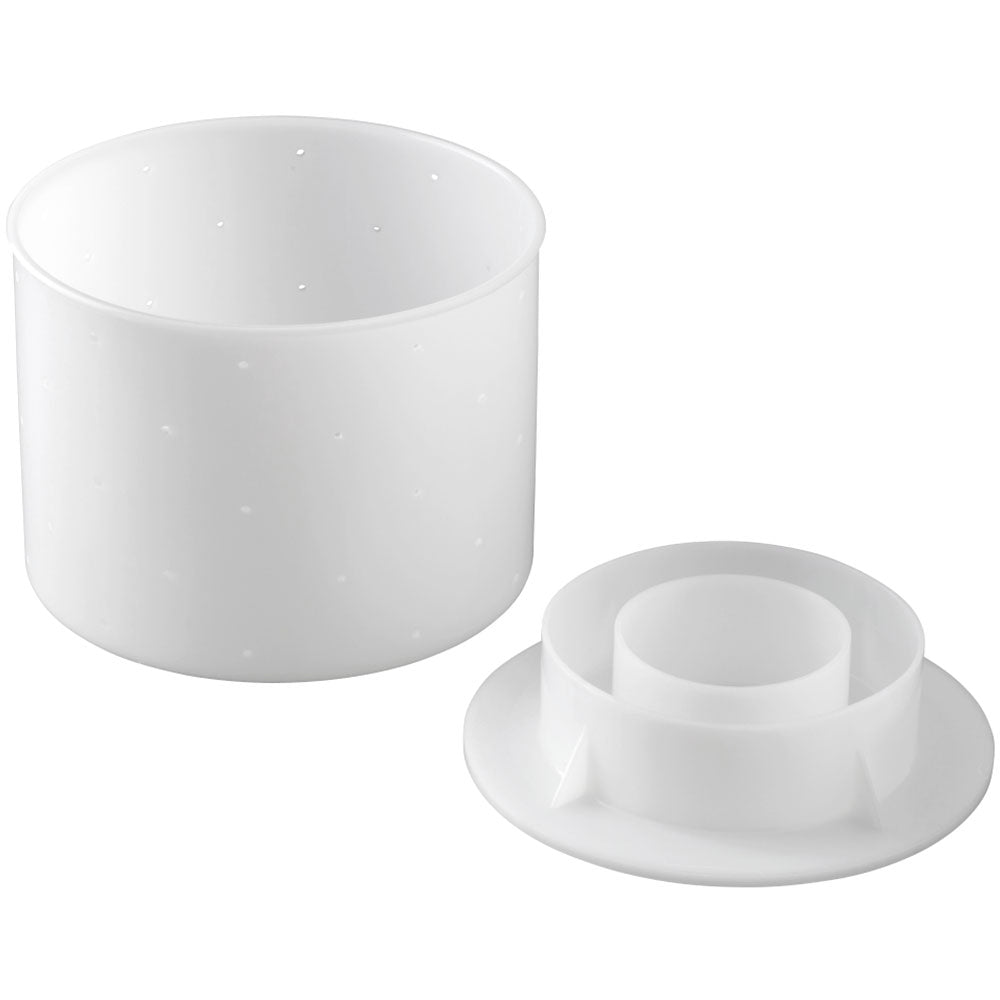
Draining Soft Cheese Curds
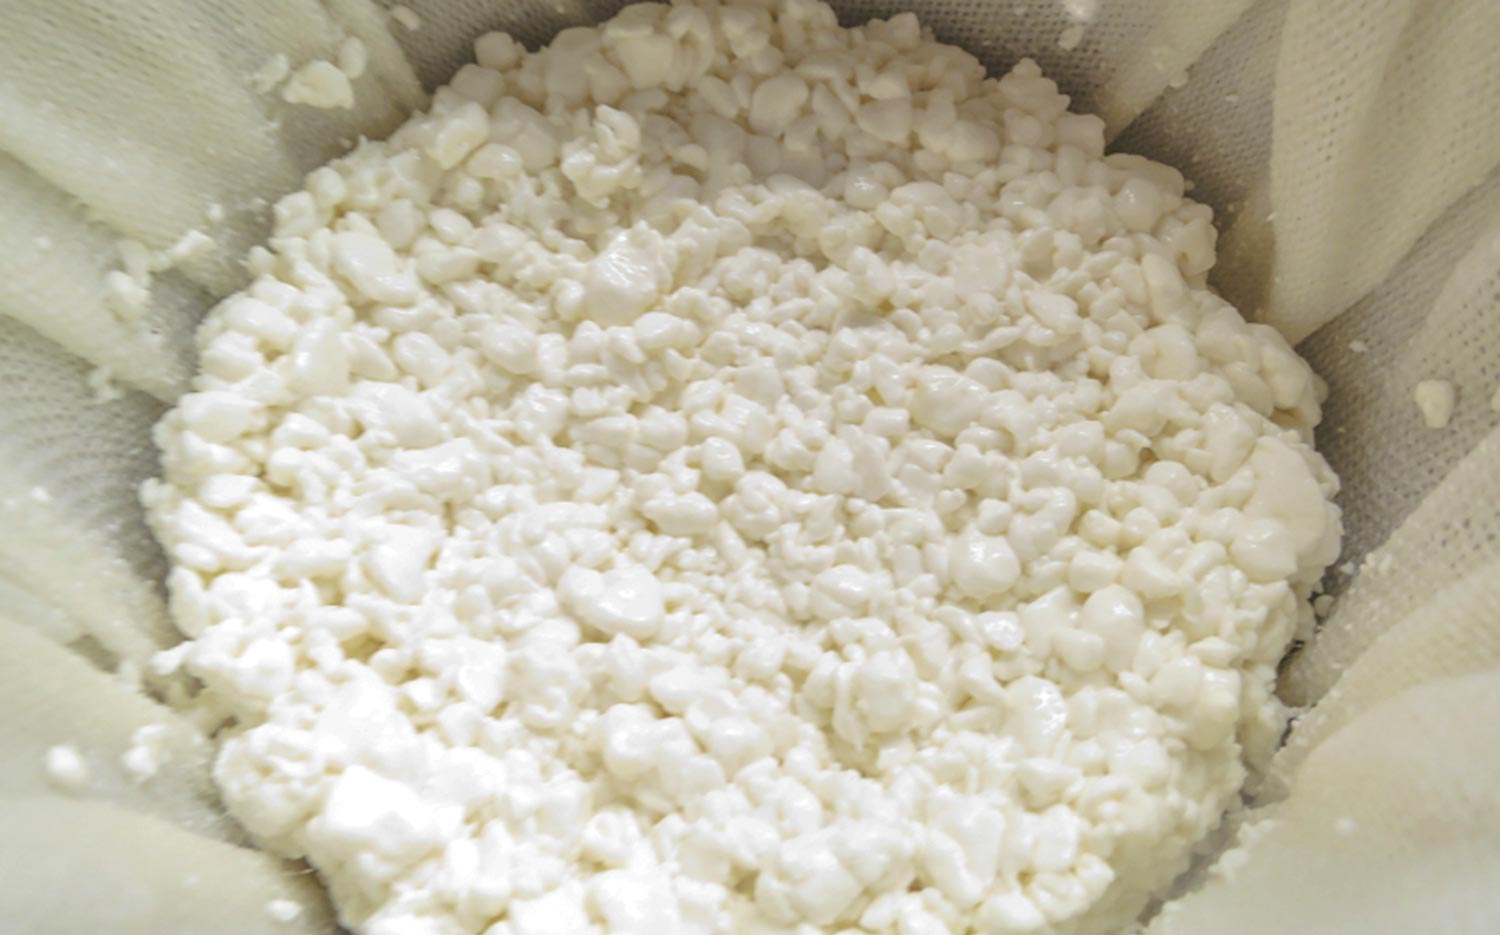
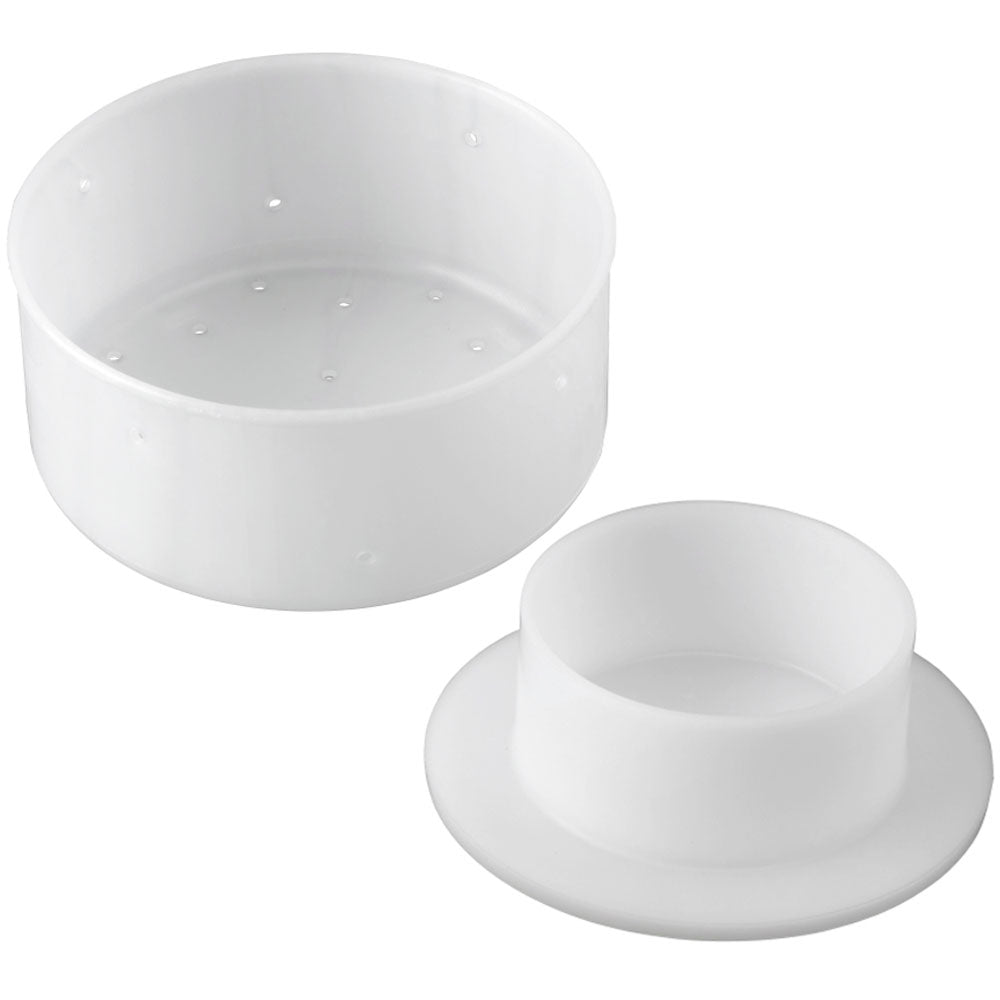
Draining Hard Cheese Curds

Molding & Pressing Hard Cheese
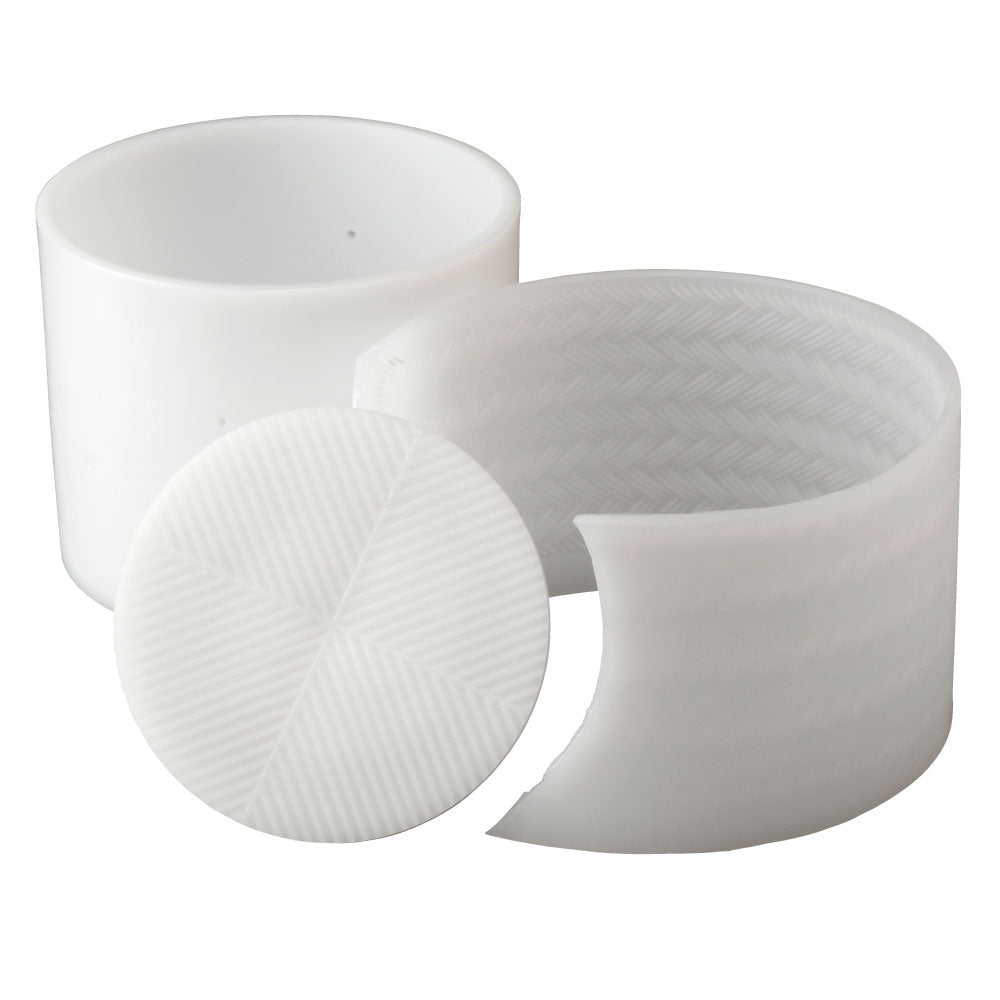
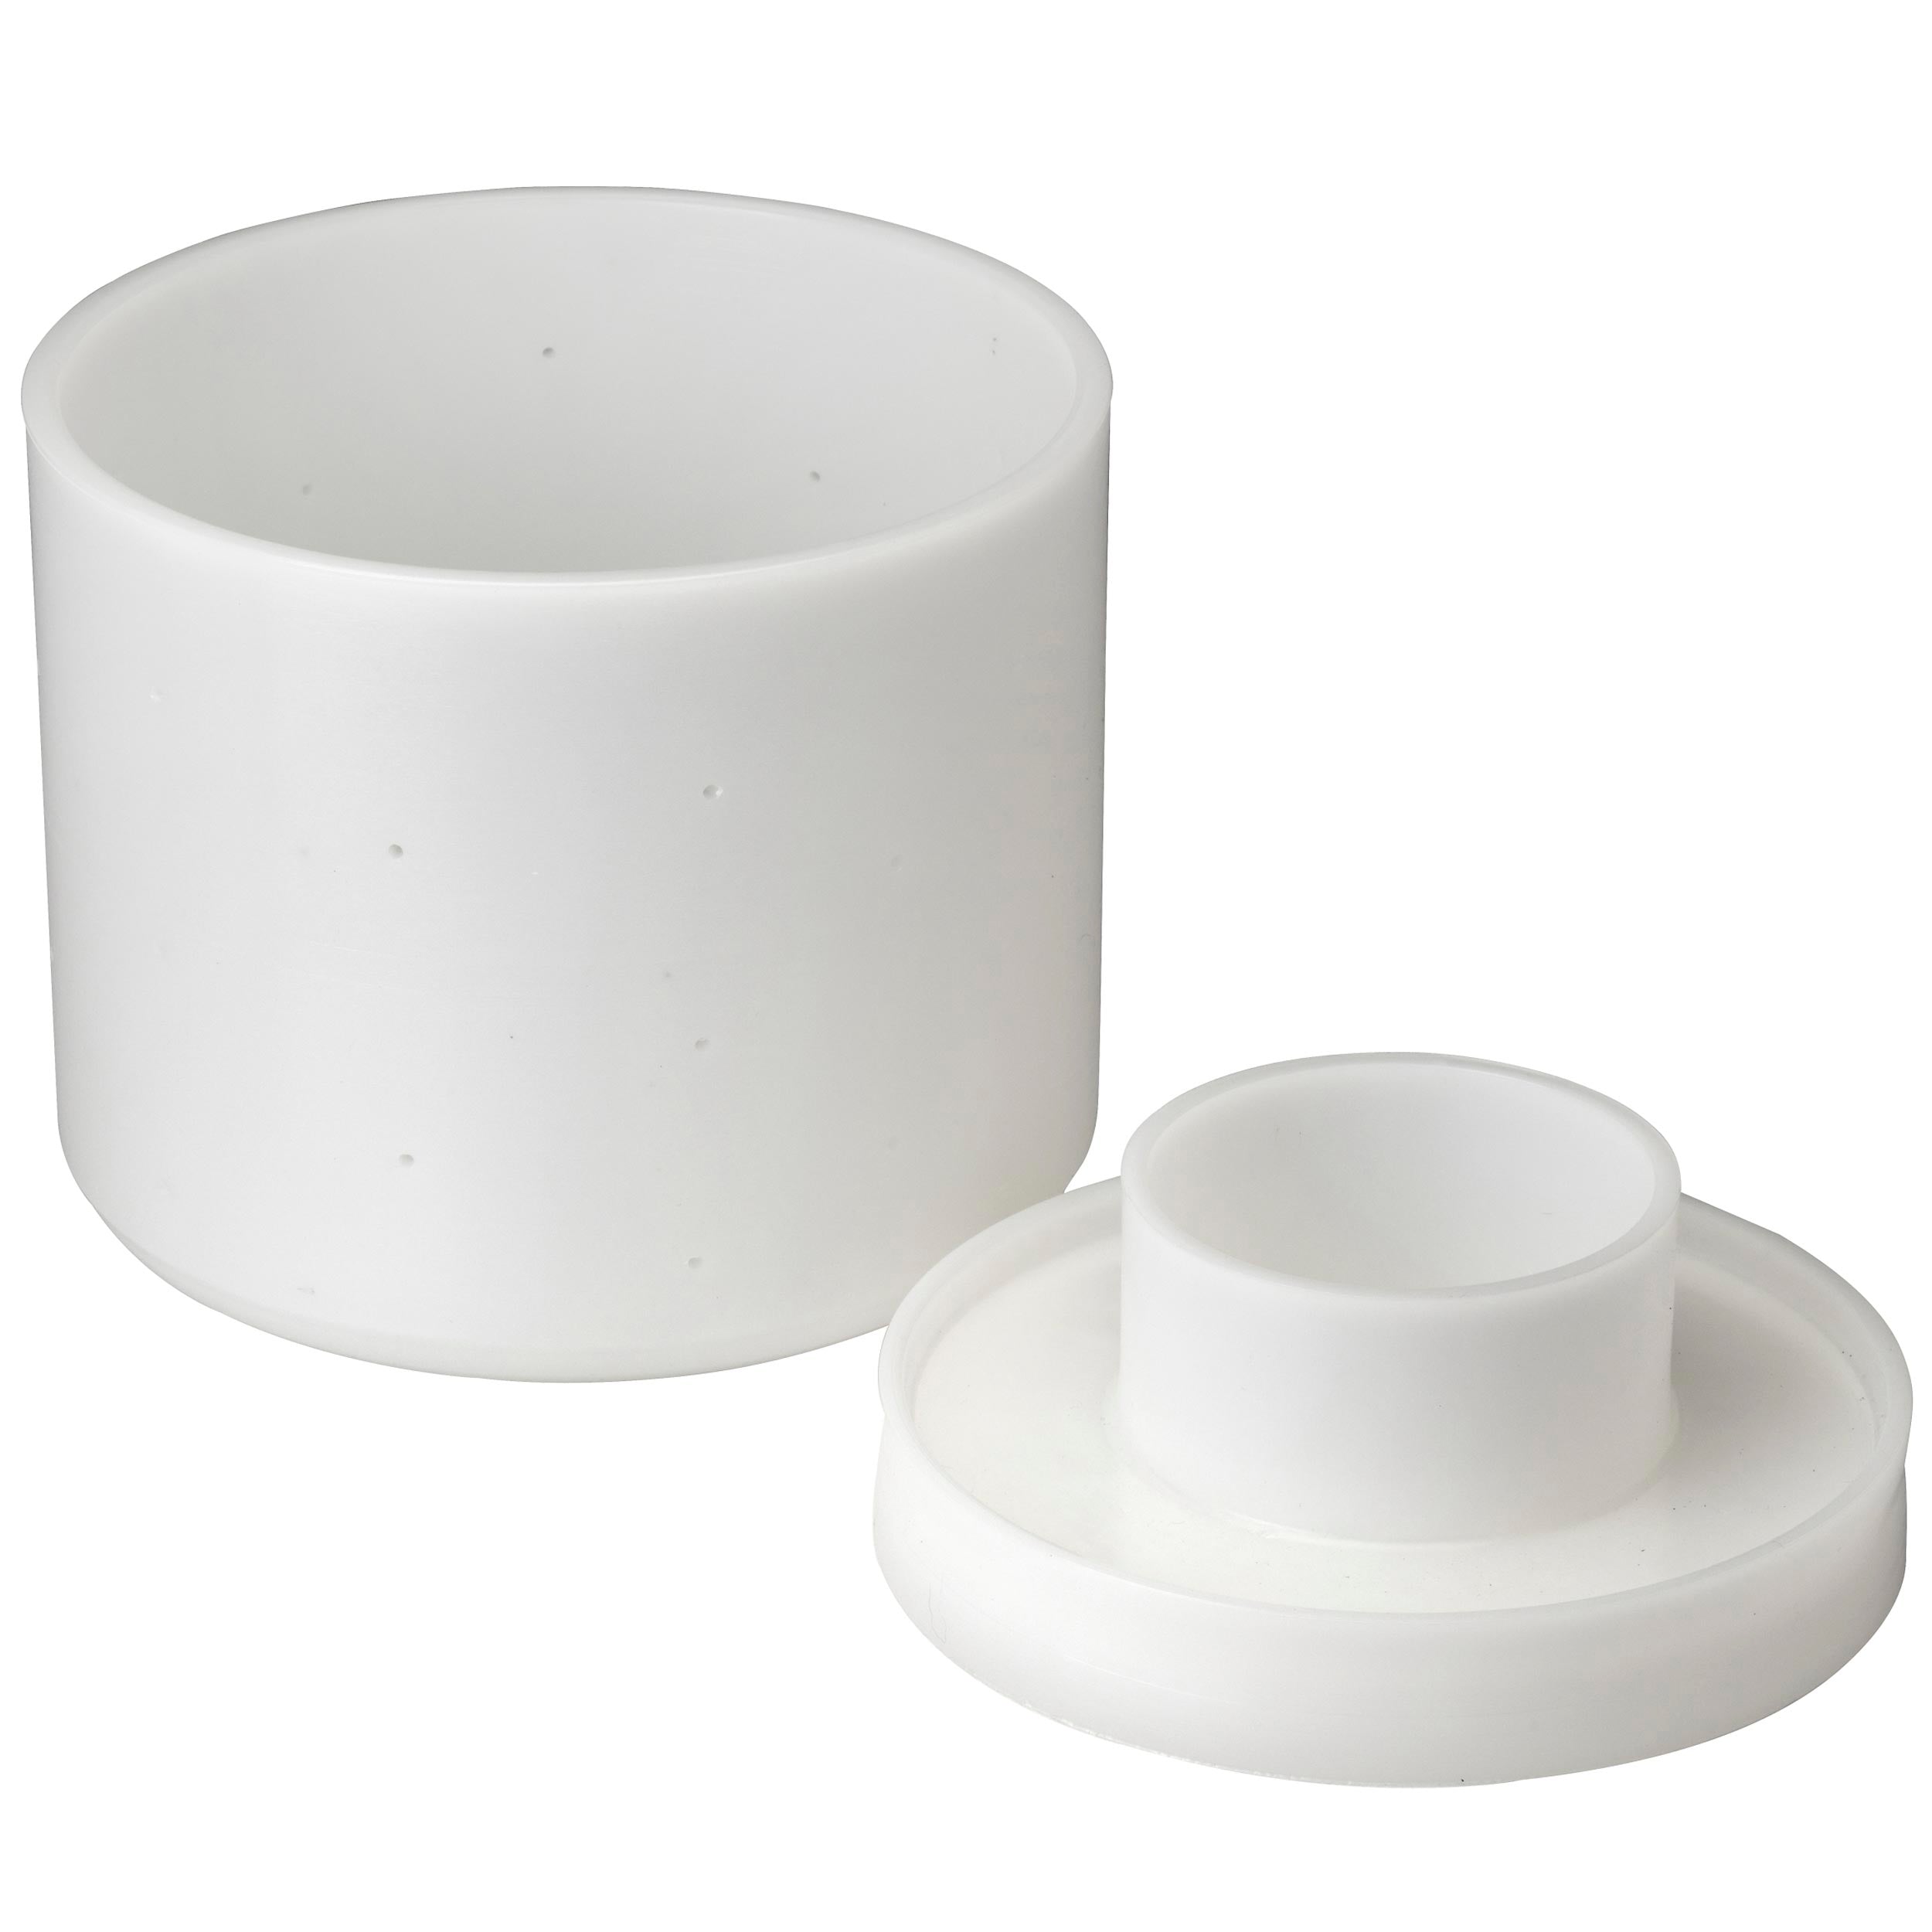
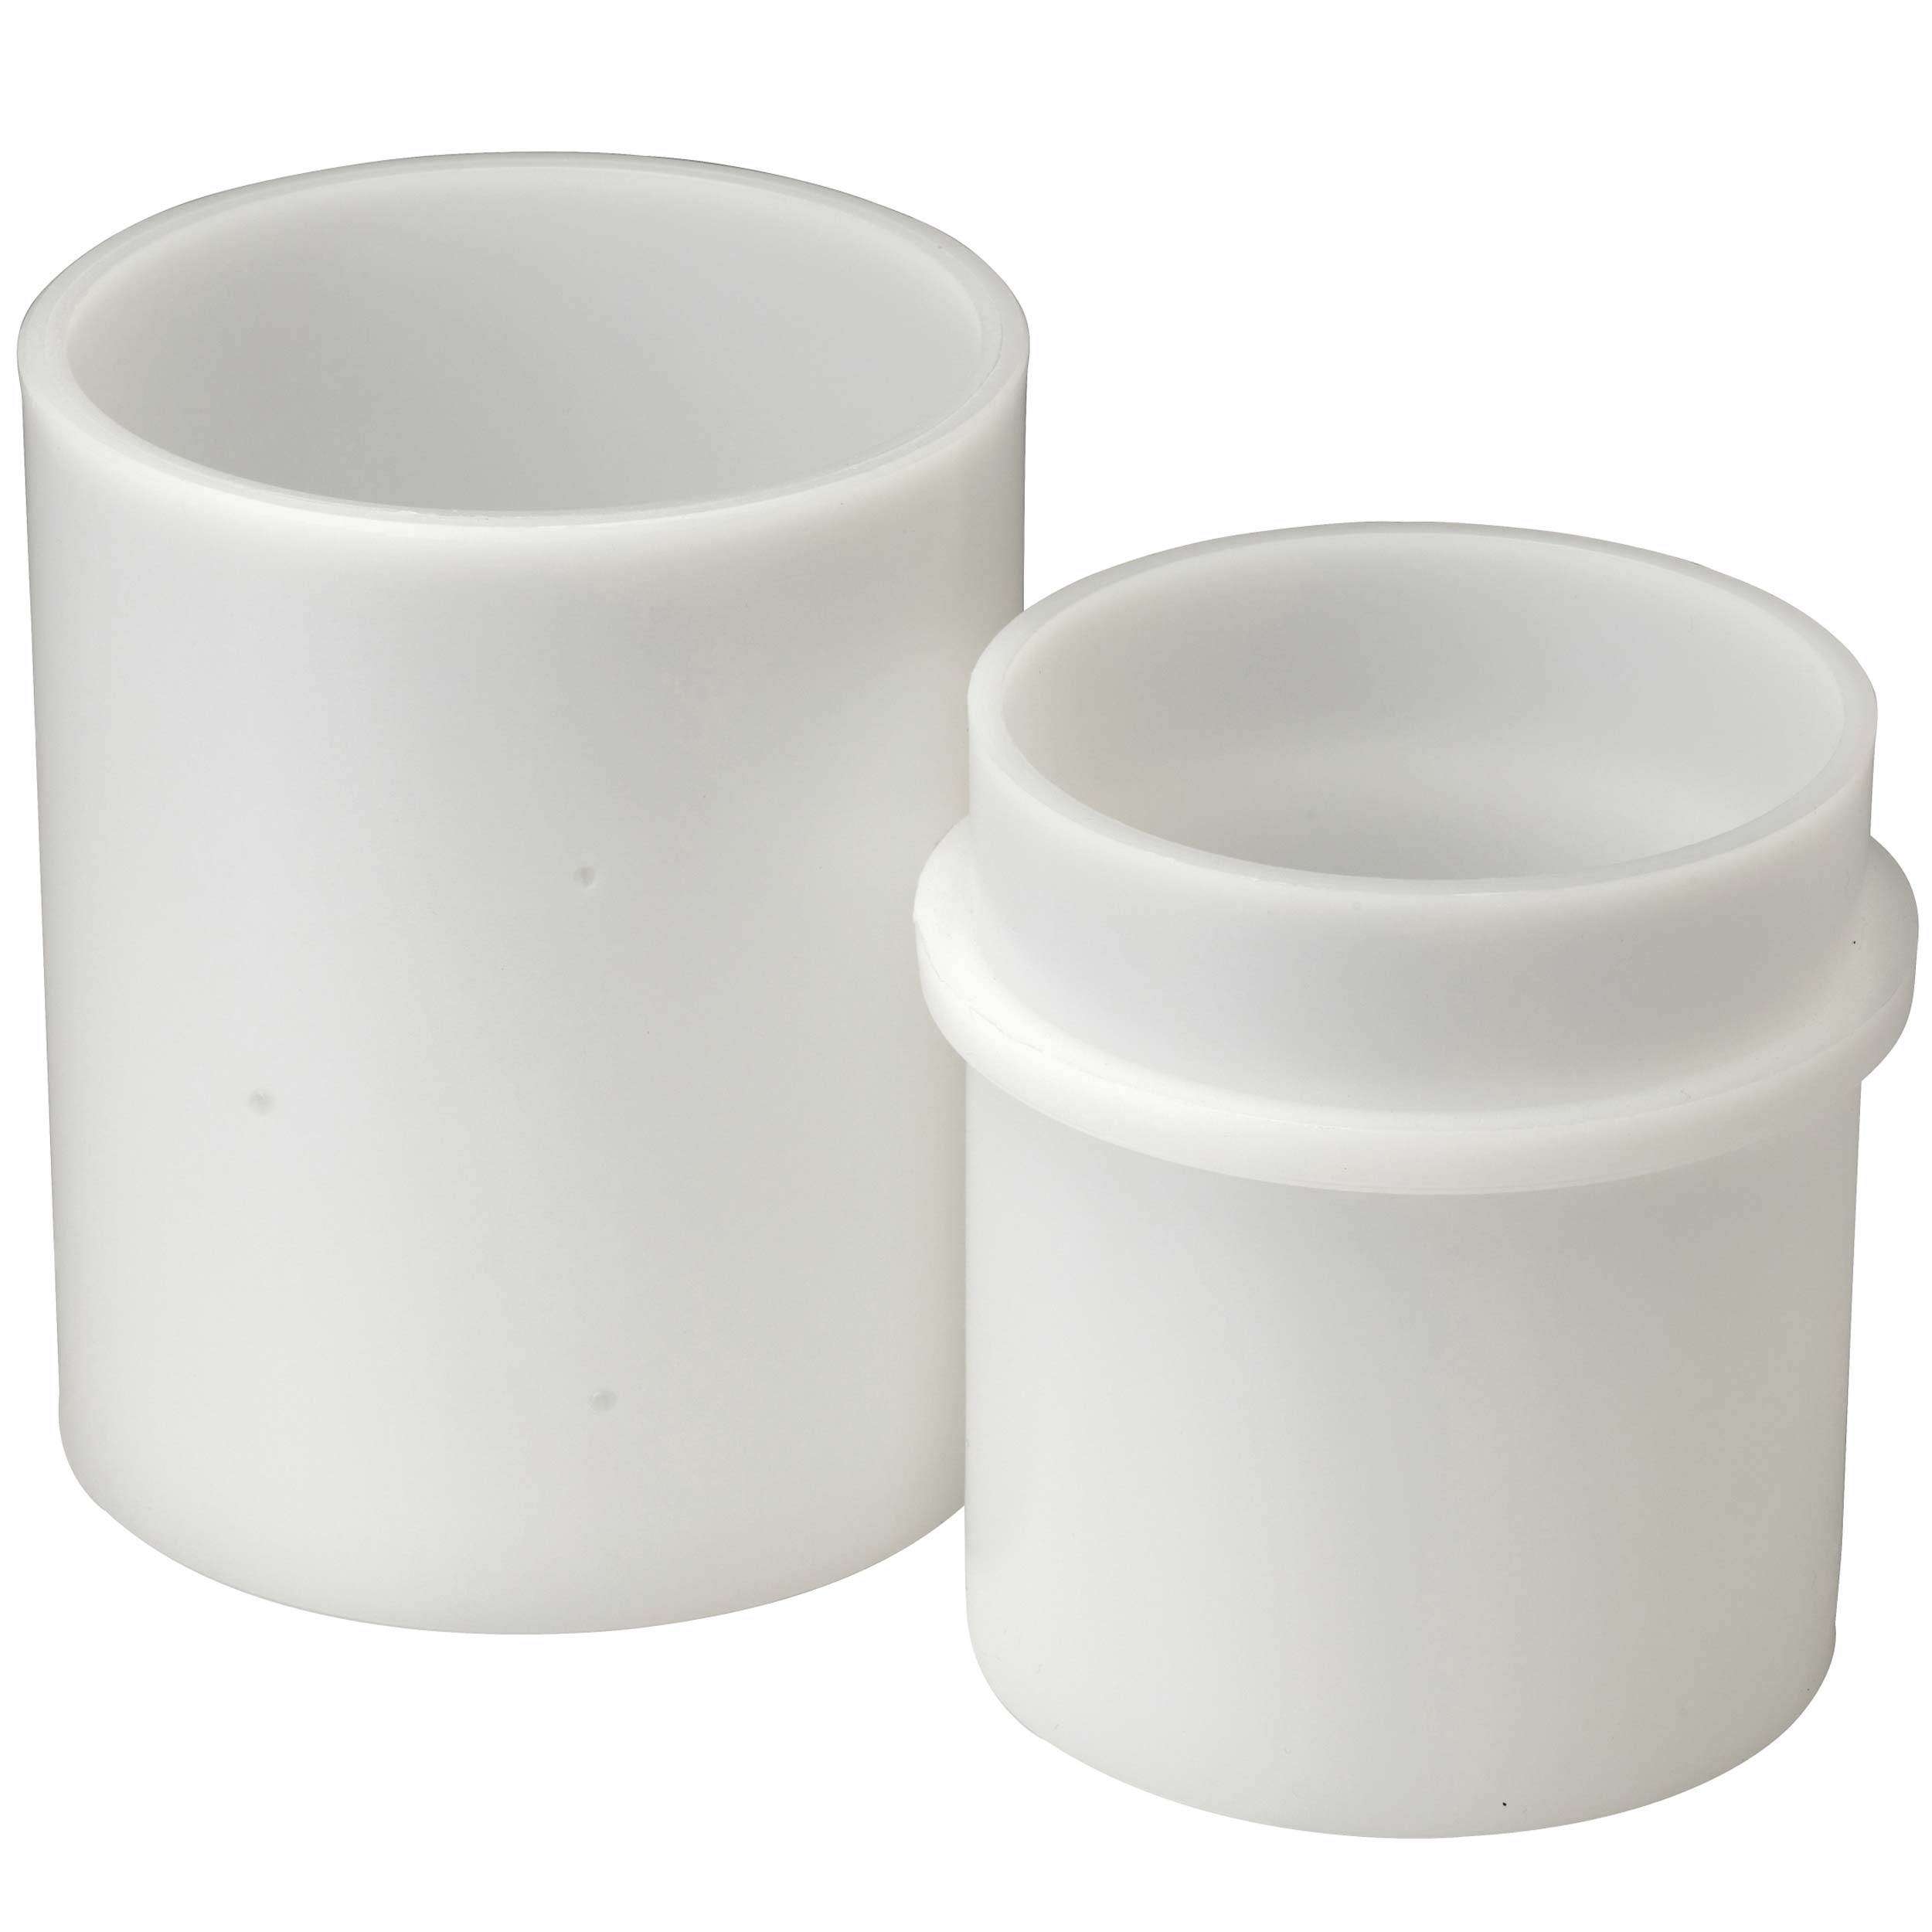
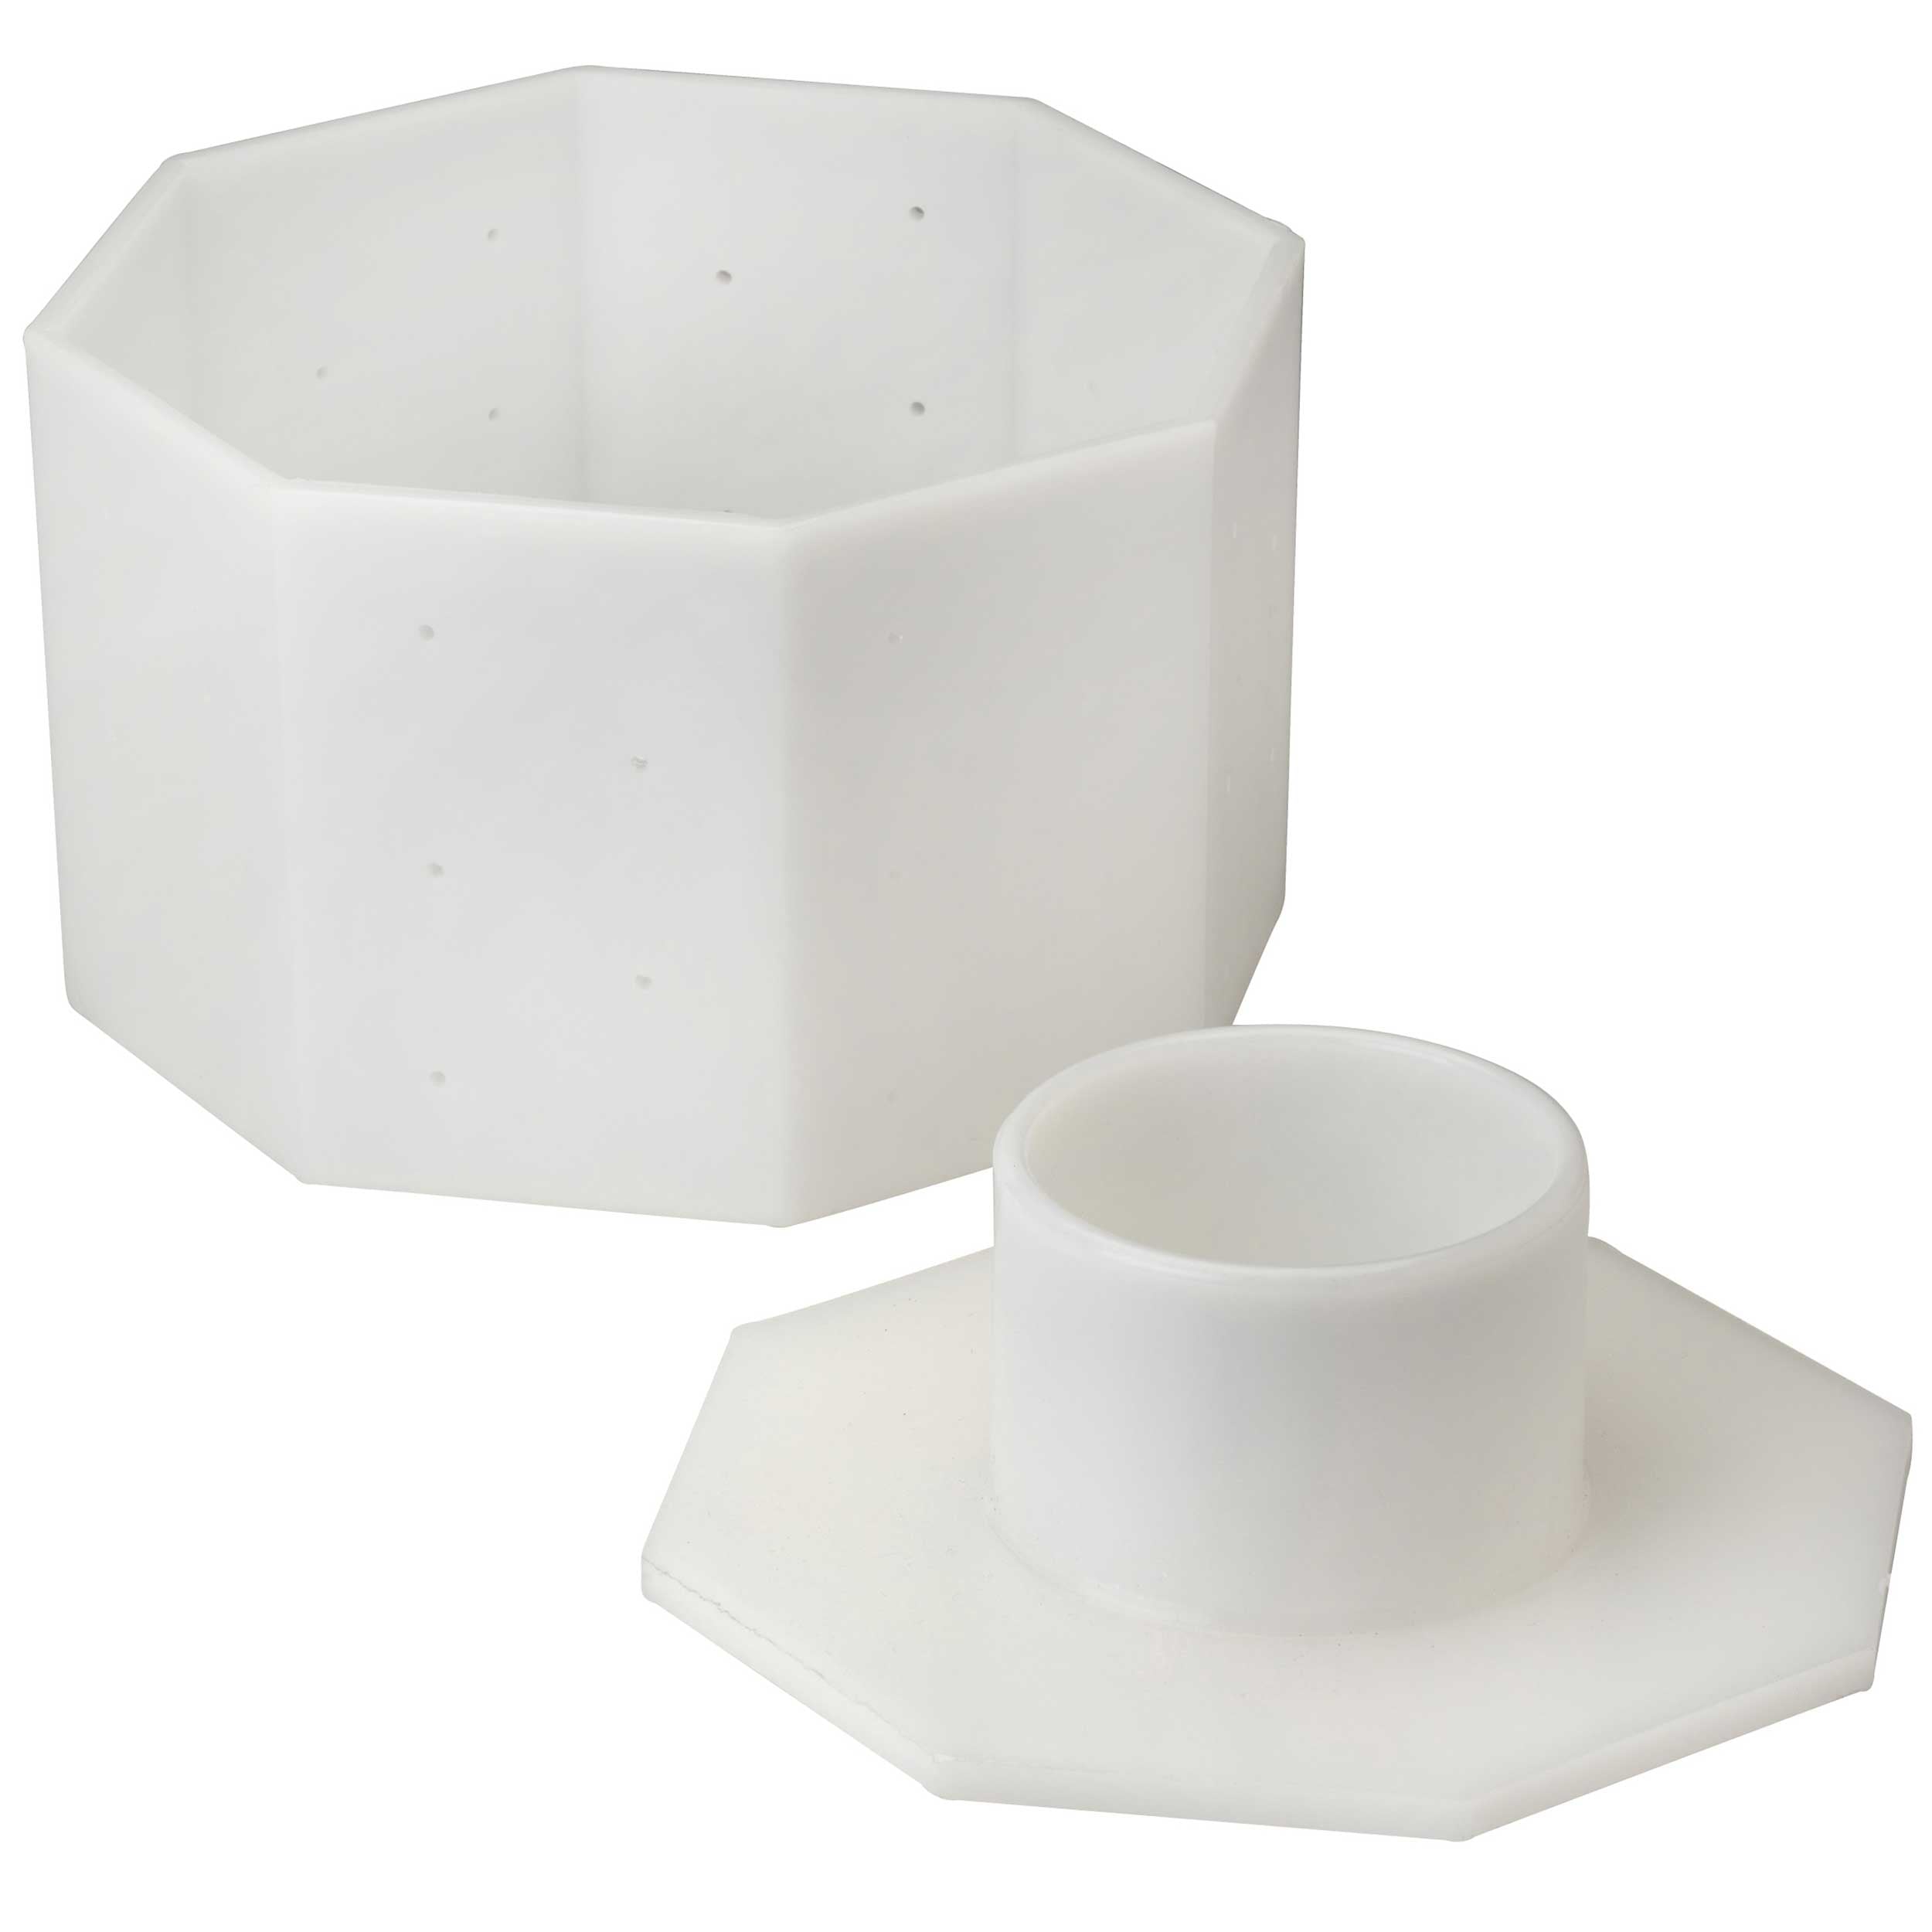
Molding Curds
Once your curds are drained it will now be time to mold them. When selecting a mold consider what size and shape you want for your cheese. A two gallon batch of cheese should fit into one mold, a four gallon batch can be divided into two molds or ago into one large mold. Before filling your mold line it with cheesecloth or butter muslin. Next you can fill your mold with curds using your perforated ladle. We suggest filling molds all the way to the top, by the time the final pressing is done the curds will have consolidated to about half their initial height. If you only fill a mold with curds half way you may be left with surprisingly thin cheese. Once the curds are packed in nicely place a follower on top, the follower should have a small piece of cheesecloth or butter muslin placed between it and the curds.
Removing Wrinkles
After packing your curds and placing the follower on top take a moment to pull on the edges of the cloth lining your mold to eliminate any wrinkles. This will help give your cheese a nice smooth uniform finish.
Note: If you would like to add dried herbs to your hard cheese you can do so by sprinkling them over the curds while filling the mold
Pressing Cheese
Now that you have your curds molded it is now time to press them. Follow your recipe as a guide for how much pressure to apply to your curds. During the pressing phase whey will be expelled and the curds will consolidate. You will want to have a pan to catch the whey or have a drip tray underneath your mold and directed into a sink. The best way to apply pressure is in a cheese press; if you don’t have access to a press you can use hand weights, jugs of water or heavy books. If using weights found around the house use a scale to weigh them first so you know how much pressure is being applying.
The initial press is typically about ten minutes with only a small amount of pressure; please refer to your recipe for specifics on weights and time for pressing. Once the initial press is done you will need to flip your cheese. To do this, remove your mold from the press, take off the follower and gently take out your cheese by lifting up on the edges of your cloth. Gently remove the cloth from your cheese and reline the mold then flip your cheese and insert it back into the lined mold. Place the small piece of cloth and the follower back on top and begin pressing at the next interval of pressure. For the initial flip your curds will have begun to consolidate but will still be delicate. For each subsequent flip you will notice the curds coming together more and more, this is quite an exciting process to watch. For each time the pressure is increased first remove and flip your cheese in the same manner as above


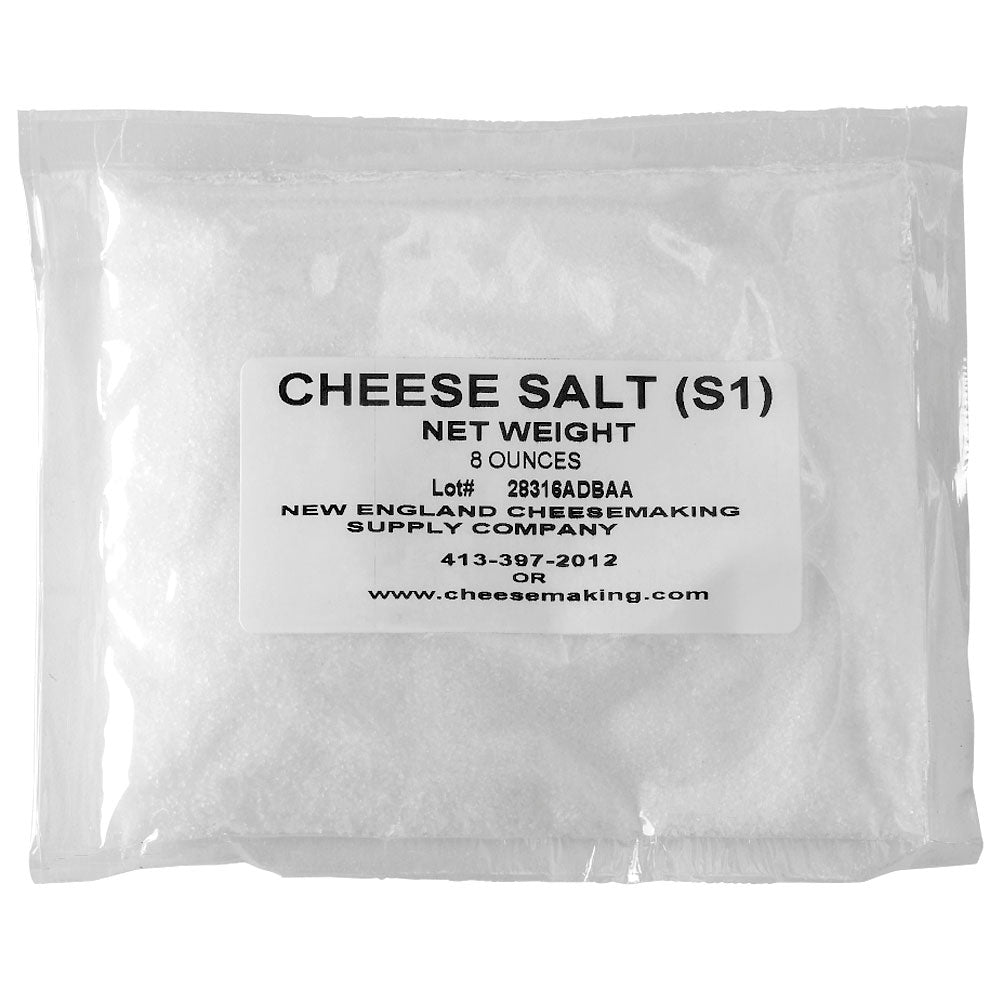
Salting Cheese
Brining Hard Cheese
After pressing, hard cheese is typically placed in a salt brine to help slow down acid development and encourage rind formation on your cheese. To brine your cheese fill a none reactive pot with a brine solution and place your cheese inside. Your cheese will float within the brine so sprinkle the top of your cheese with a small amount of salt. Half way through the brining time flip your cheese for even absorption. Refer to your recipe for the type of brine required as well as how long to leave your cheese in it.
Combine the following to make a saturated brine solution
1 gallon water
2.25 lbs salt
1 tbs calcium chloride
1 tsp white vinegar
Salting Soft Cheese
Salt can be added directly to your draining curds. Adding salt can help encourage whey to drain off. Refer to your recipe for the proper amount of salt to add.
Salting Mold Ripened Cheese
Once your curds have consolidated fully within their mold most bacteria and mold ripened cheese recipes will have you apply a small amount of salt to the exterior. This will encourage whey drain off and help with the final acidity levels.
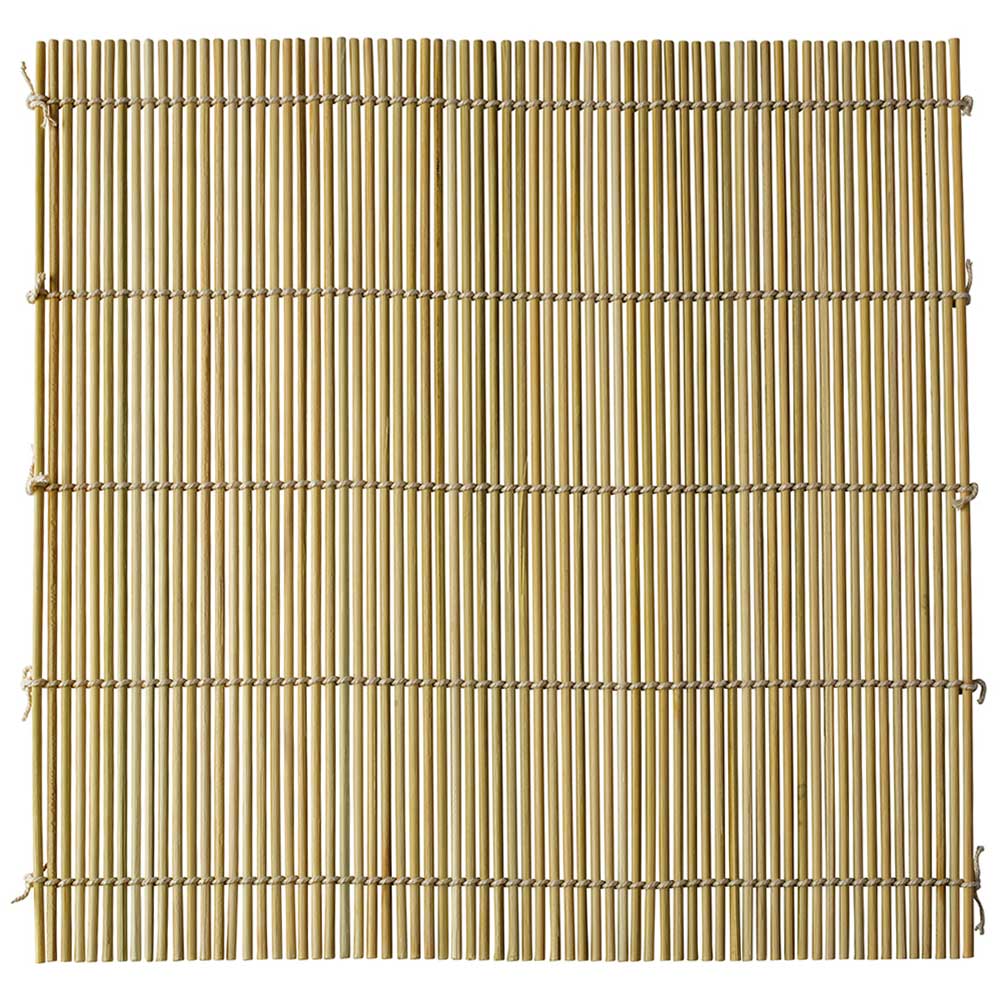
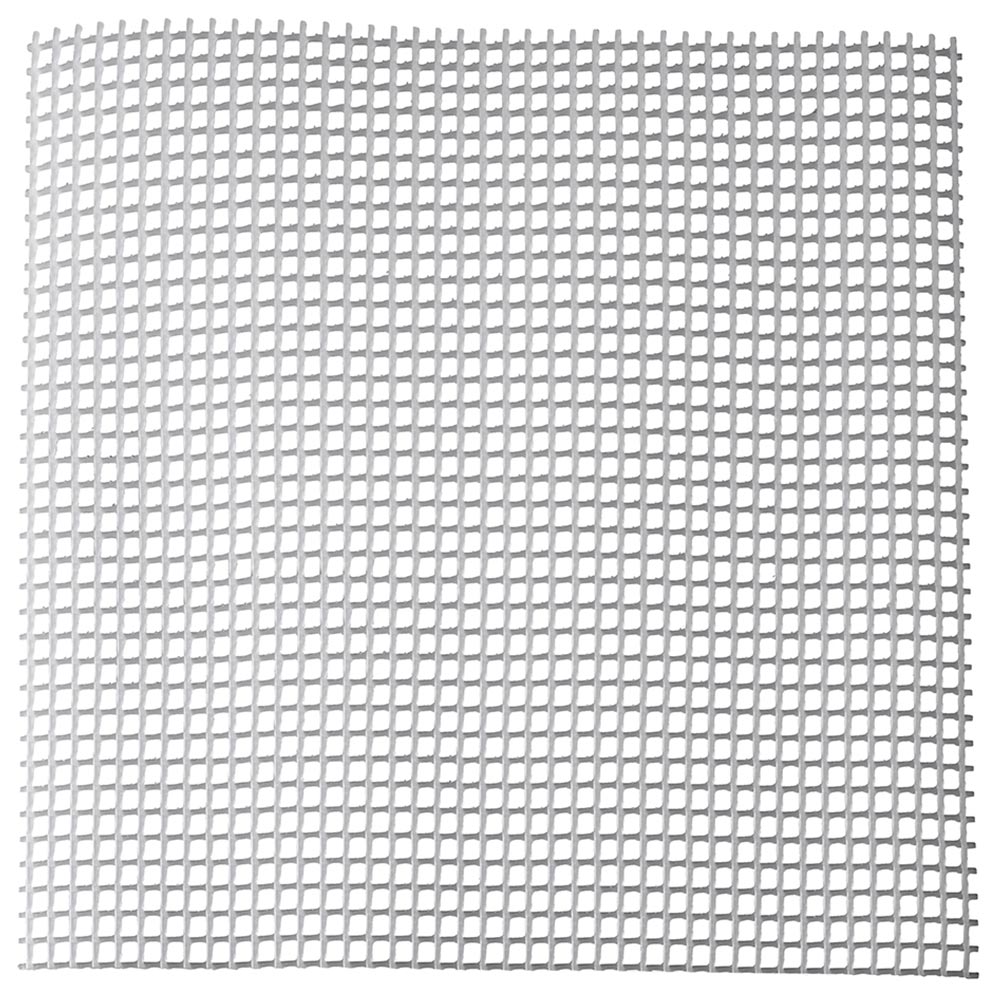
Preparing Cheese for Aging
After your cheese is pressed or formed and salted, if needed, it will be time to air dry. If your cheese is has been pressed and is still in the mold take it out of the mold and gently remove all cloth. If your cheese was formed but not pressed simply remove it from the mold. To air dry place your cheese onto a cheese mat or wooden board, cover with cheesecloth or muslin, and allow it to dry for the specified amount of time found in your recipe. During the drying phase flip your cheese throughout the day to be sure all surfaces are drying evenly.
Once mold ripened cheese is finished air drying it should be ready for aging.
If you are not leaving a natural rind on your hard cheese, here few different options to prepare hard cheese for aging.
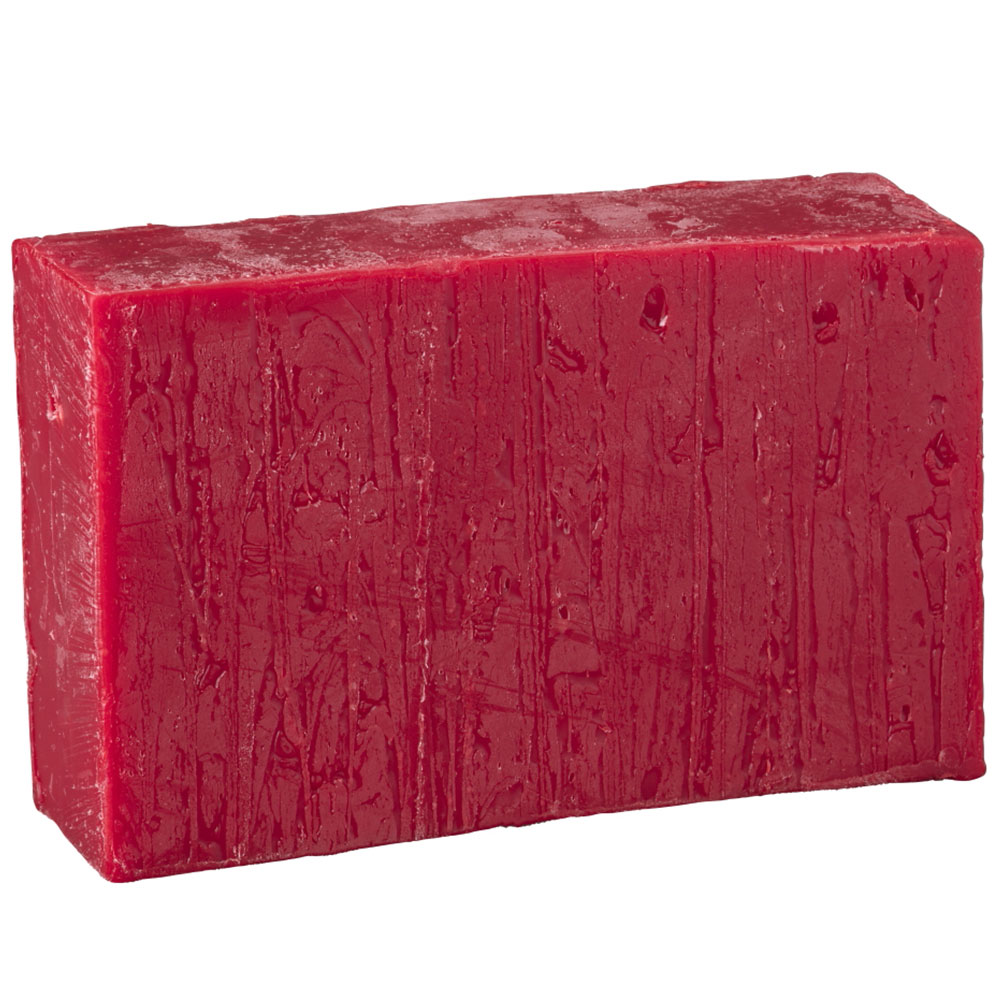
Waxing Cheese
Waxing will help limit moisture loss while aging your cheese and is one of the easiest ways to protect your cheese during the aging process.
We recommend setting aside equipment and using it solely for cheese wax since it will help cut down on clean up time. If you have an older pot or can find one at a garage sale use this to melt your wax in and keep your wax in it until the next time you need to wax. If brushing your wax on use a natural bristle brush, synthetic bristles can melt right off into your wax.
The safest method is to use indirect heat such as a double boiler or water jacket to melt your wax. When melting be sure wax does not reach temperatures above 250F.
Option One | Brushing on Wax
Begin by melting your wax in a double boiler or water jacket. Before going on it is a good idea to place a piece of aluminum foil down to catch any drips. Once your wax is melted, use a natural bristle brush and apply a thin coat of wax to the exterior of your cheese. You will want to work quickly, try not to over brush. Apply first to the top surface and as much of the side as you can reach. Let the wax cool and harden on your cheese for a moment. Flip your cheese over and apply wax to the remaining surfaces. For best results apply at least two coats. Allow the wax to cool and harden on your cheese before storing for aging. When finished allow your wax to cool within the pot and store it covered until you need to use it again.
Note: With this option wax will not be hot enough to destroy any surface mold that has formed on your cheese so keep an eye out for any changes under your wax while aging
Option Two | Dipping Cheese Into Wax
Begin by melting your wax in a pot on a stove-top. Keeping a watchful eye on the temperature, bring your wax up to 224-236F. Once this temperature is reached turn off your burner and if needed carefully slide your pot to a cool surface on your stove-top to prevent overheating. Before going on it is a good idea to place a piece of aluminum foil down to catch any drips. Next carefully dip the top surface of your cheese into the wax, let the wax cool and harden slightly on your cheese then dip once more. Once the wax has hardened after the second dip flip it over and dip the bottom surface in the same manor. Once the bottom is cool roll one half of the cheese edge in the wax (like a tire rolling along the road), repeat once cooled. Then rotate your cheese and roll the remaining edge in the wax twice. Allow the wax to cool and harden on your cheese before storing for aging. When finished allow your wax to cool within the pot and store it covered until you need to use it again.
Use caution with this method since the wax will be extremely hot, you may even want to use a pair of heat proof gloves for safety.
When heating wax never allow it to reach or go above 250F since it can become flammable.
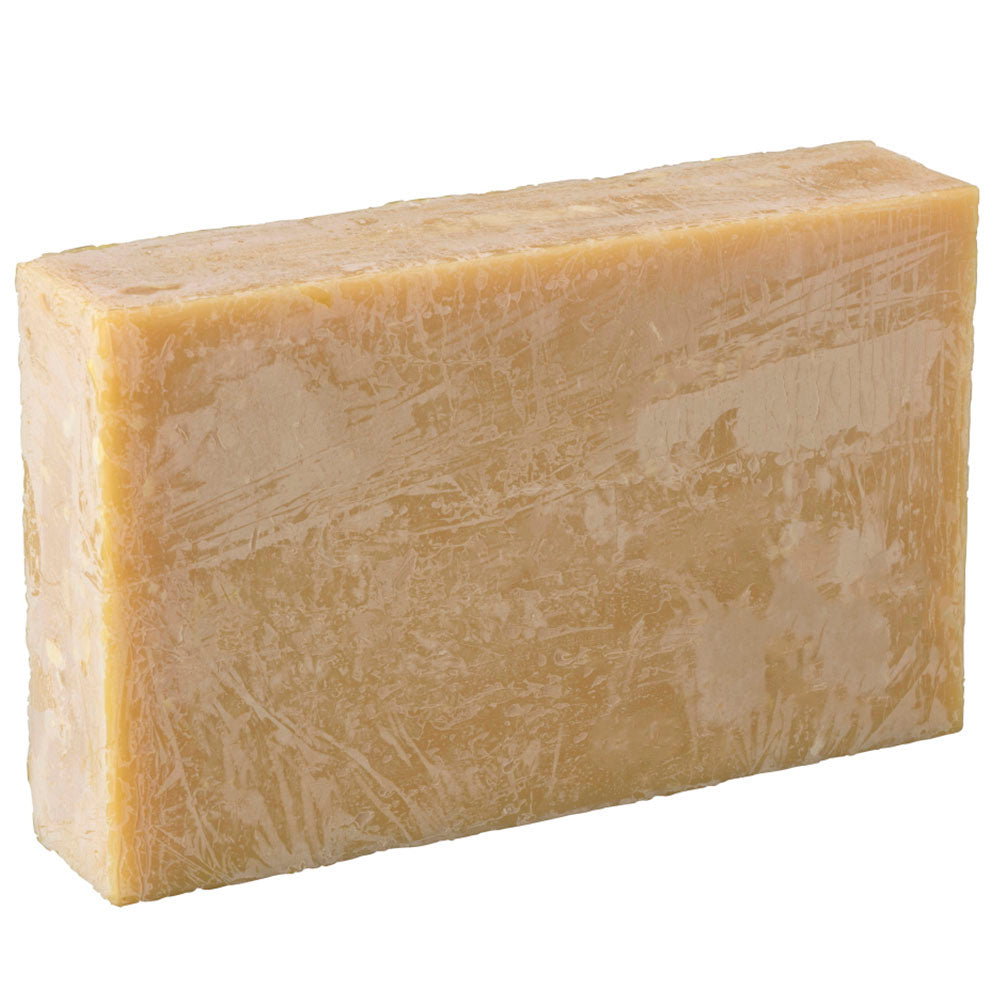
Bandaging Cheddar
Waxing will help limit moisture loss while aging your cheese and is one of the easiest ways to protect your cheese during the aging process.
Once you have pressed your curds and removed your finished cheddar from the mold, your cheese can be bandaged. Start by cutting two circles from sanitized butter muslin slightly larger than the top surface of your cheese. Soak the cloth in warm water, and then spread evenly over the top and bottom surface of your cheese. Be sure to smooth the cloth out from center to edge. Remold your cheese with only the cloth you just applied and press it using the final pressing weight you used previously. After about an hour of pressing remove your cheese from the mold. Now cut a strip of butter muslin to fit around the circumference of your cheese. Let this strip soak in warm water then apply it to your cheese taking care to remove any creases or wrinkles. Now remold your cheese once more and using the same amount of weight press your cheese overnight. After pressing remove your cheddar from the mold, it will now be ready for aging
Applying Oil to Cheese
Another method for preparing cheese for aging is to simply rub it with food grade oil. Olive oil is a good choice and can be mixed with herbs, spices, or flavorful powder such as coffee grinds, or cocoa powder. Your cheese should air dry before oiling. Once dried check the cheese surface for mold growth, if you see any remove it by rubbing the spot with cloth dipped in a brine solution, then let the cheese dry once more. Once your cheese has properly air dried you can rub the surface with oil to prevent moisture loss and cut down on mold growth. Simply rub the oil into the surface of your cheese and it will be ready for aging. You will want to reapply oil as needed throughout the aging process.

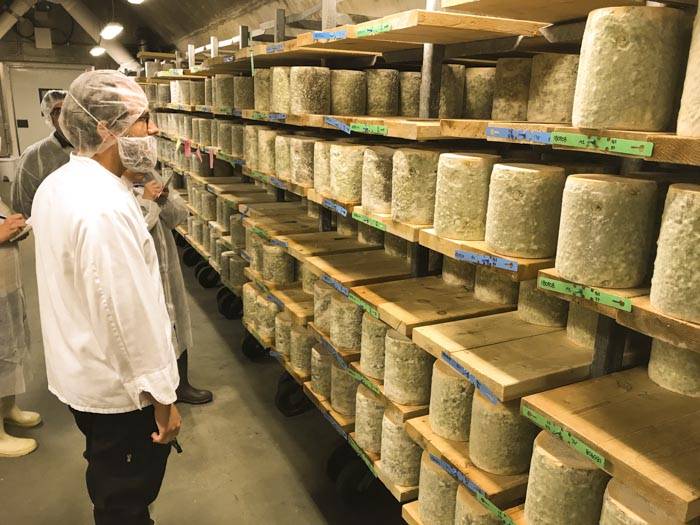
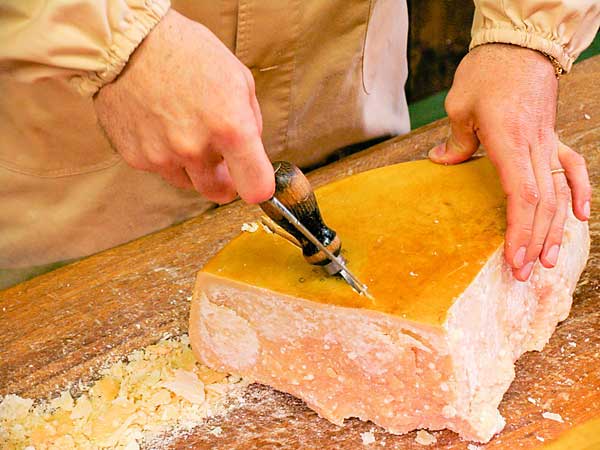
Aging Cheese & At Home Cheese Cave
Aging is where your cheese will really start to develop true flavor and is an art in itself. There are many people who devote their time solely to aging cheese; they are referred to as an affineur.
To become your own affineur at home you will want to create an environment that is between 52-55F with a relative humidity of 80-98%. This location will be your cheese cave.
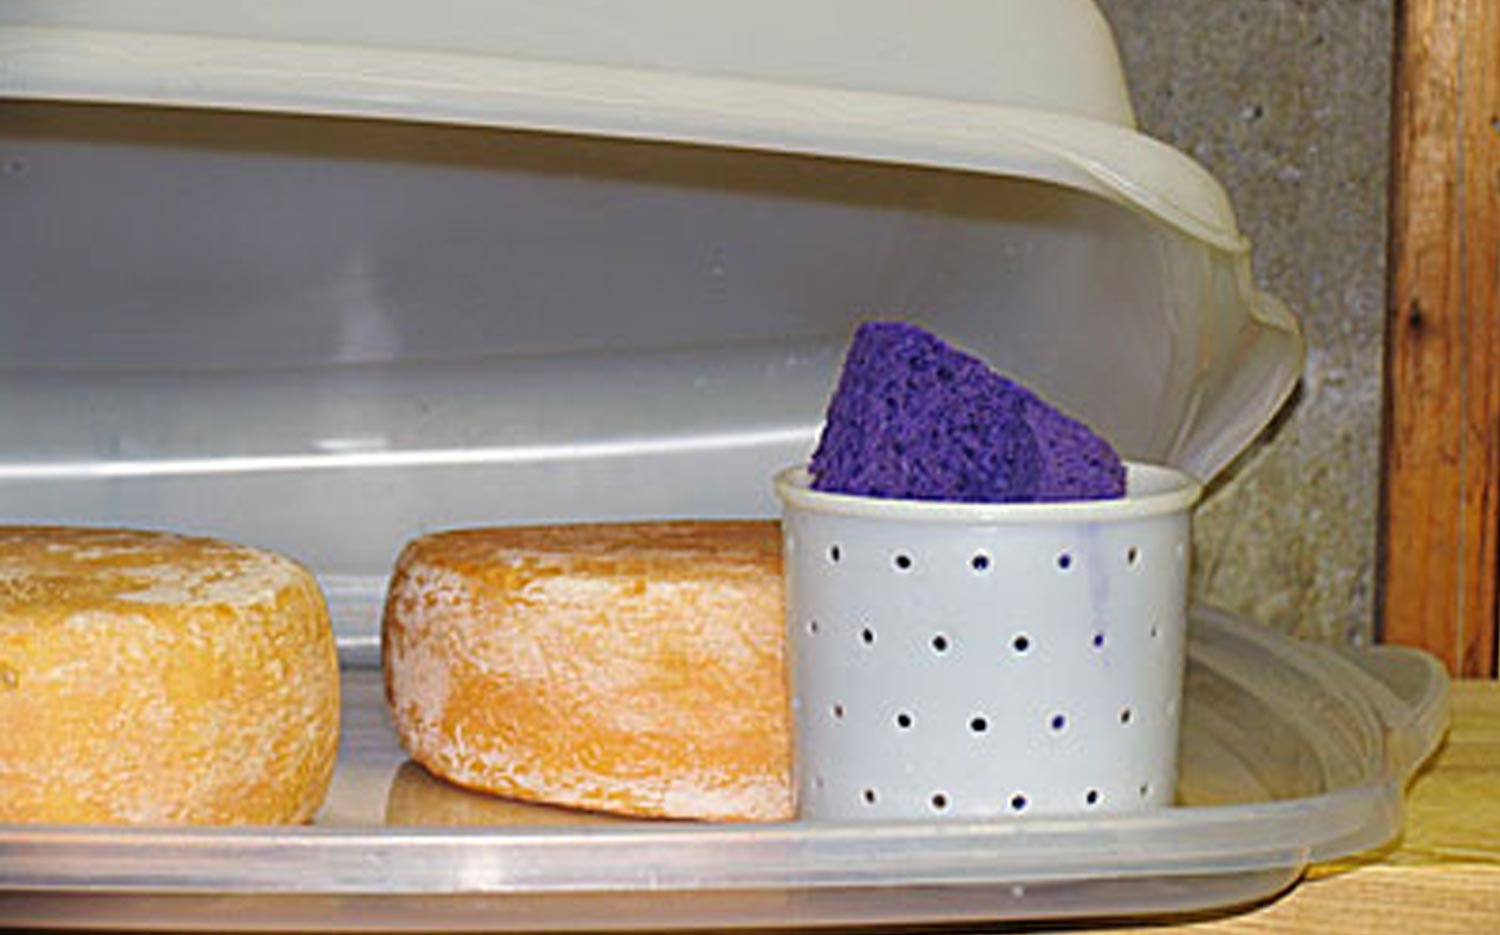
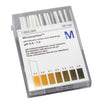
Regulating Humidity While Aging Cheese
To create the optimum relative humidity for aging we often place cheese inside of a clear plastic container with a lid. The cheese should take up no more than 1/3 of the space in the container. It is best to place a cheese mat down first within the container to allow even air flow on the bottom of your cheese. Sometimes the cheese alone will add enough humidity to the air within the container while other times we place a small bowl of water or even a damp cloth inside. A hygrometer can be set up to check on the humidity levels within the container. If there is not enough humidity your cheese can dry out and even crack, if there is too much humidity your cheese can mold excessively. Your recipe should indicate what humidity range will be best for your cheese.
Placing Cheese in a Container While Aging
When aging in a container try not to let too much moisture build up inside and drip onto your cheese. If you see moisture condensing on the lid or collecting in the bottom, make sure you wipe it off when turning your cheese. You do not want a wet surface to develop or mold may become an issue. When using a container for soft ripened and high moisture cheeses that continue to drain for several days, pay extra close attention to moisture build up.
Through the aging process your cheese should be flipped on a regular basis sometimes even daily. Your recipe should suggest the frequency at which to flip your cheese. If stored in a container, opening the container daily will also allow gasses to exchange for fresh air
How to Age Cheese is a Refrigerator
You can use your existing refrigerator if needed but they will typically be 10-15°F degrees cooler than a cave and tend to remove moisture from anything that is unprotected. The lower temperature tends to slow down the rate of acid development in your cheese.
To protect your cheese, place it in the warmest part of the refrigerator, usually a crisping drawer. An airtight container can also help with the humidity levels, as talked about above.
Converting a Refrigerator For Aging Cheese
Many customers will set up a dorm size refrigerator since they have a small foot print and they use a cooling element which helps retain moisture. You can modify an old refrigerator since the temperature can be easily controlled with a regulator like our refrigerator thermostat. If converting a fridge plug it into the thermostat and set the temperature to 52-55°F. The humidity can be controlled by placing a bowl of water or a wet cloth inside. Be careful to not leave the door open any longer than necessary, your moist air will be replaced by you house's drier air.
At times you may need a higher humidity level, for these moments we suggest using a container as mentioned above.
Using a Wine Cooler to Age Cheese
A wine cooler can be a great option since their typical temperature range is 50-60°F. Most use a cooling element rather than exchanging air like a refrigerator, this helps keep the moisture in the wine cooler. If the cooler is fairly full of cheese, the humidity will stay in the mid 80% relative humidity. Otherwise to help increase the humidity you can place a bowl with water or a wet cloth inside the unit or use containers as mentioned above. Be careful to not leave the door open any longer than necessary, your moist air will be replaced by you house's drier air.
Aging Cheese in a Basement or Root Cellar
A basement or root cellar often maintains a good temperature for aging cheese. If the temperature is close to the range above then you can set up a shelf for aging your cheese. For your shelf you can use unfinished wood that is low in tannins, such as white pine without knots, ash, or poplar. Place a cheese mat on top to help with air flow. When a higher humidity is needed you can use a container for aging as talked about above.


Learn More About Cheese Making
Most Popular Content