


This article will guid you through common questions on aging cheese at home. From humidity and temperature of a cheese cave to preparation of the cheese before aging. Proper aging is the final step in cheese making great cheese at home.
General Info
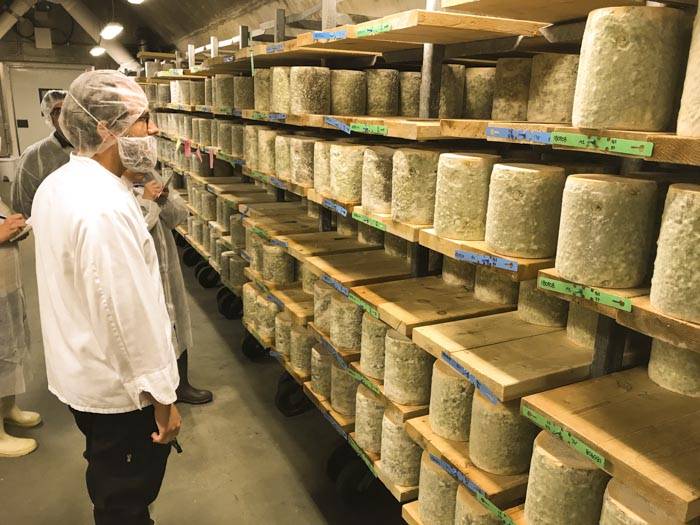
Where to Age Cheese
It is important to have a consistent temperature and humidity in the location where cheese is aged. This space is often referred to as a cheese cave.
A hygrometer can be used to measure the humidity, many digital hygrometers can even alert you if the humidity levels drop too low.
Regular Refrigerator
You can age cheese in a regular refrigerator. Unfortunately, a standard refrigerator is 10-15 degrees cooler then a cheese cave and has the tendency to remove moisture from the air, causing unprotected cheese to dry out. The lower temperature causes the aging process to slow down.
For the best temperature, place cheese in the warmest part of the refrigerator. To keep it from drying out, the cheese should be in an airtight container. The size of the container will depend on the size of the cheese, a general rule of thumb is 40% cheese and 60% empty space within the container.
The proper humidity in the container usually maintained from the moisture within the cheese, as the cheese ages. If needed, you can add humidity to the container by using a wet paper towel, crumpled up in a ball and placed in a corner of the container.
Converted Refrigerator
Converting a regular or dorm sized refrigerator is a good way to age cheese at home. The temperature in a refrigerator can be easily controlled with a regulator like our refrigerator thermostat. Simply plug it in and set the temperature to 52-55F. The humidity can be increased by using a shallow pan of water with a sterilized sponge or butter muslin, to help the moisture evaperate.
At times you may need to increase the humidity, especially when there are only a few cheeses being aged. In this case, you may need to spray the inside walls with sterile water. You may also notice abrupt changes to the humidity levels as the seasons change.
The amount of cheese inside the cave affects the humidity levels, because as cheese ages it naturally adds moisture into the air.
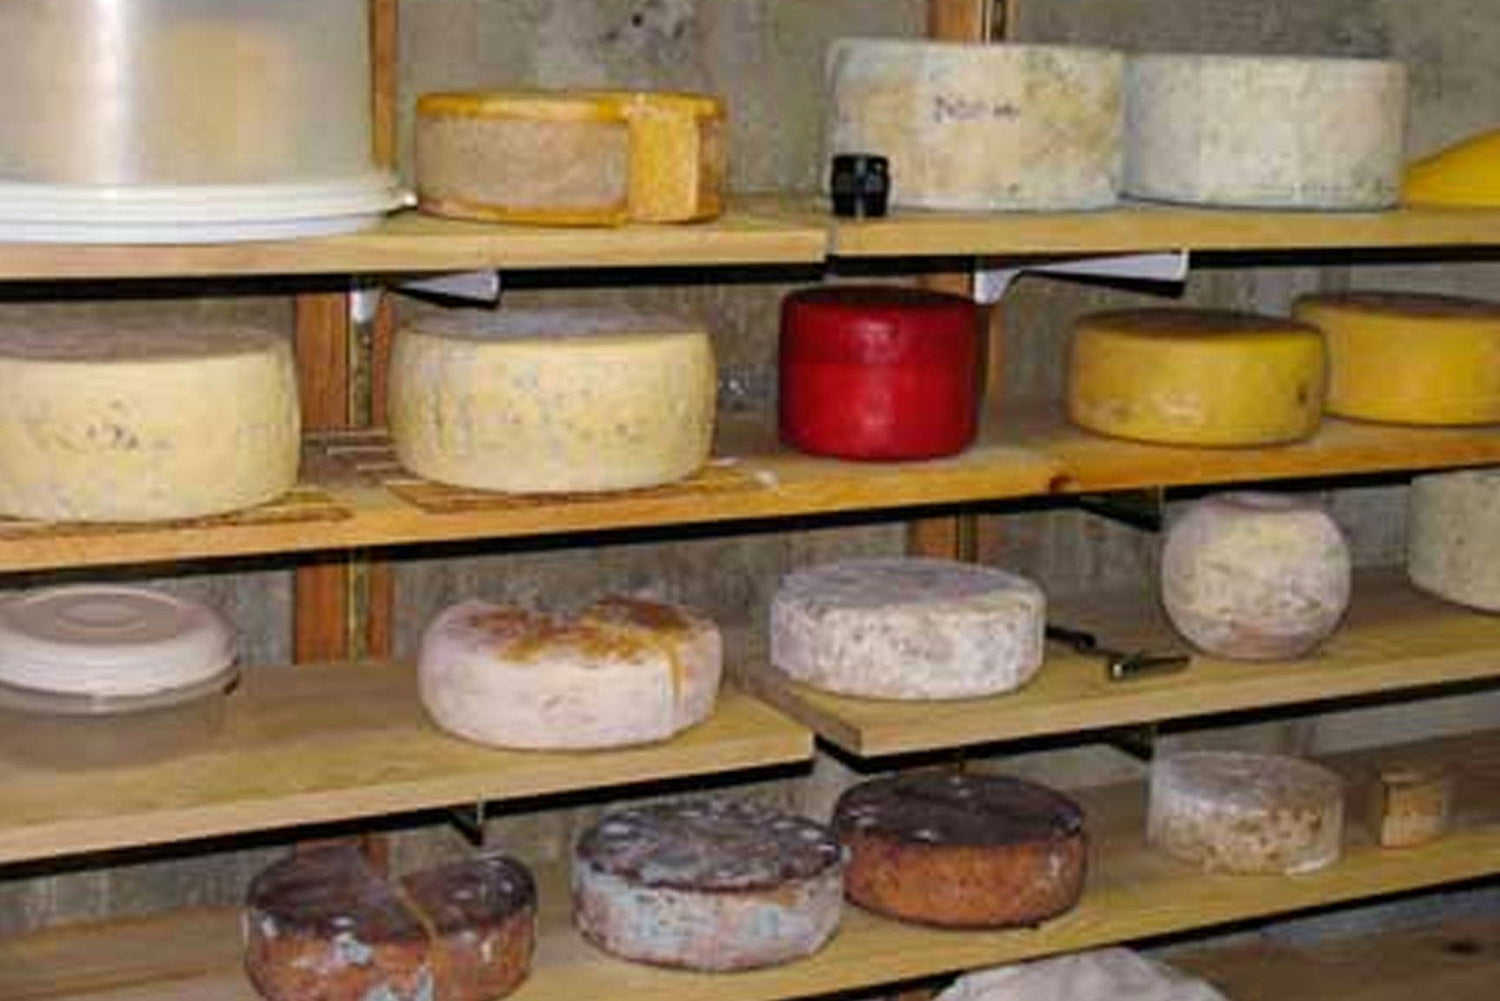
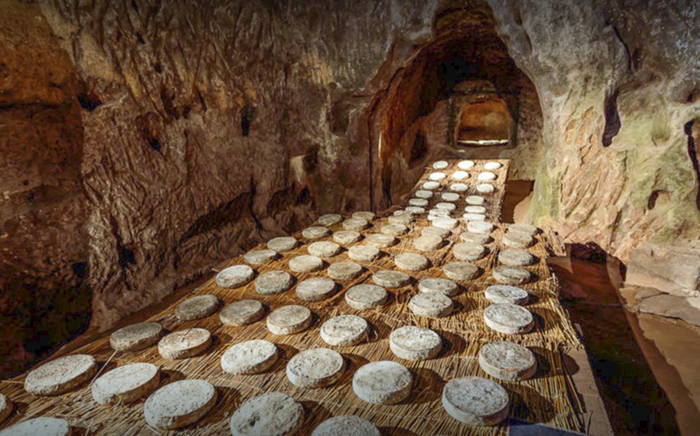
Cellar
A cool space in the cellar where the cheese can be protected in a cabinet or in covered plastic box, is a great choice for aging.
Cellars usually have consistently cool temperatures for most of the year. However, controlling the humidity can be a challenge. Placing cheese into a plastic box with a lid will help regulate proper humidity for aging.
To elevate the humidity within the container, simply place a damp sponge or paper towel in the corner of the container, not touching the cheese. The goal is to add moisture to the air, not to have standing water in the container. The air should be damp, not the cheese.
Using Boxes to Regulate Moisture
When using a plastic box/container for aging cheese, there are several considerations.
The size of the container will depend on the size of the cheese, a general rule of thumb is 40% cheese and 60% empty space within the container.
Do not let too much moisture build up inside on the container. If the condensation is building up and dripping onto the cheese, there is too much moisture in the container. You may need to leave the container slightly ajar for some moisture to escape.
If moisture is condensing on the lid or collecting in the bottom of the container, wipe it off when turning the cheese. You do not want a wet surface to develop because mold growth can become a problem.
When aging soft ripened and high moisture cheese, that continue to drain for several days, pay close attention to the moisture build up. Cheese mats should also be used in the containers to keep cheese slightly elevated, allowing it to breathe. Cheese mats also prevent the bottom of the cheese to become too moist.
Since the volume of air in these boxes is limited, they should be opened frequently to exchange the gases, from the ripening cheese, with fresh air. This is especially important with higher moisture young cheese.
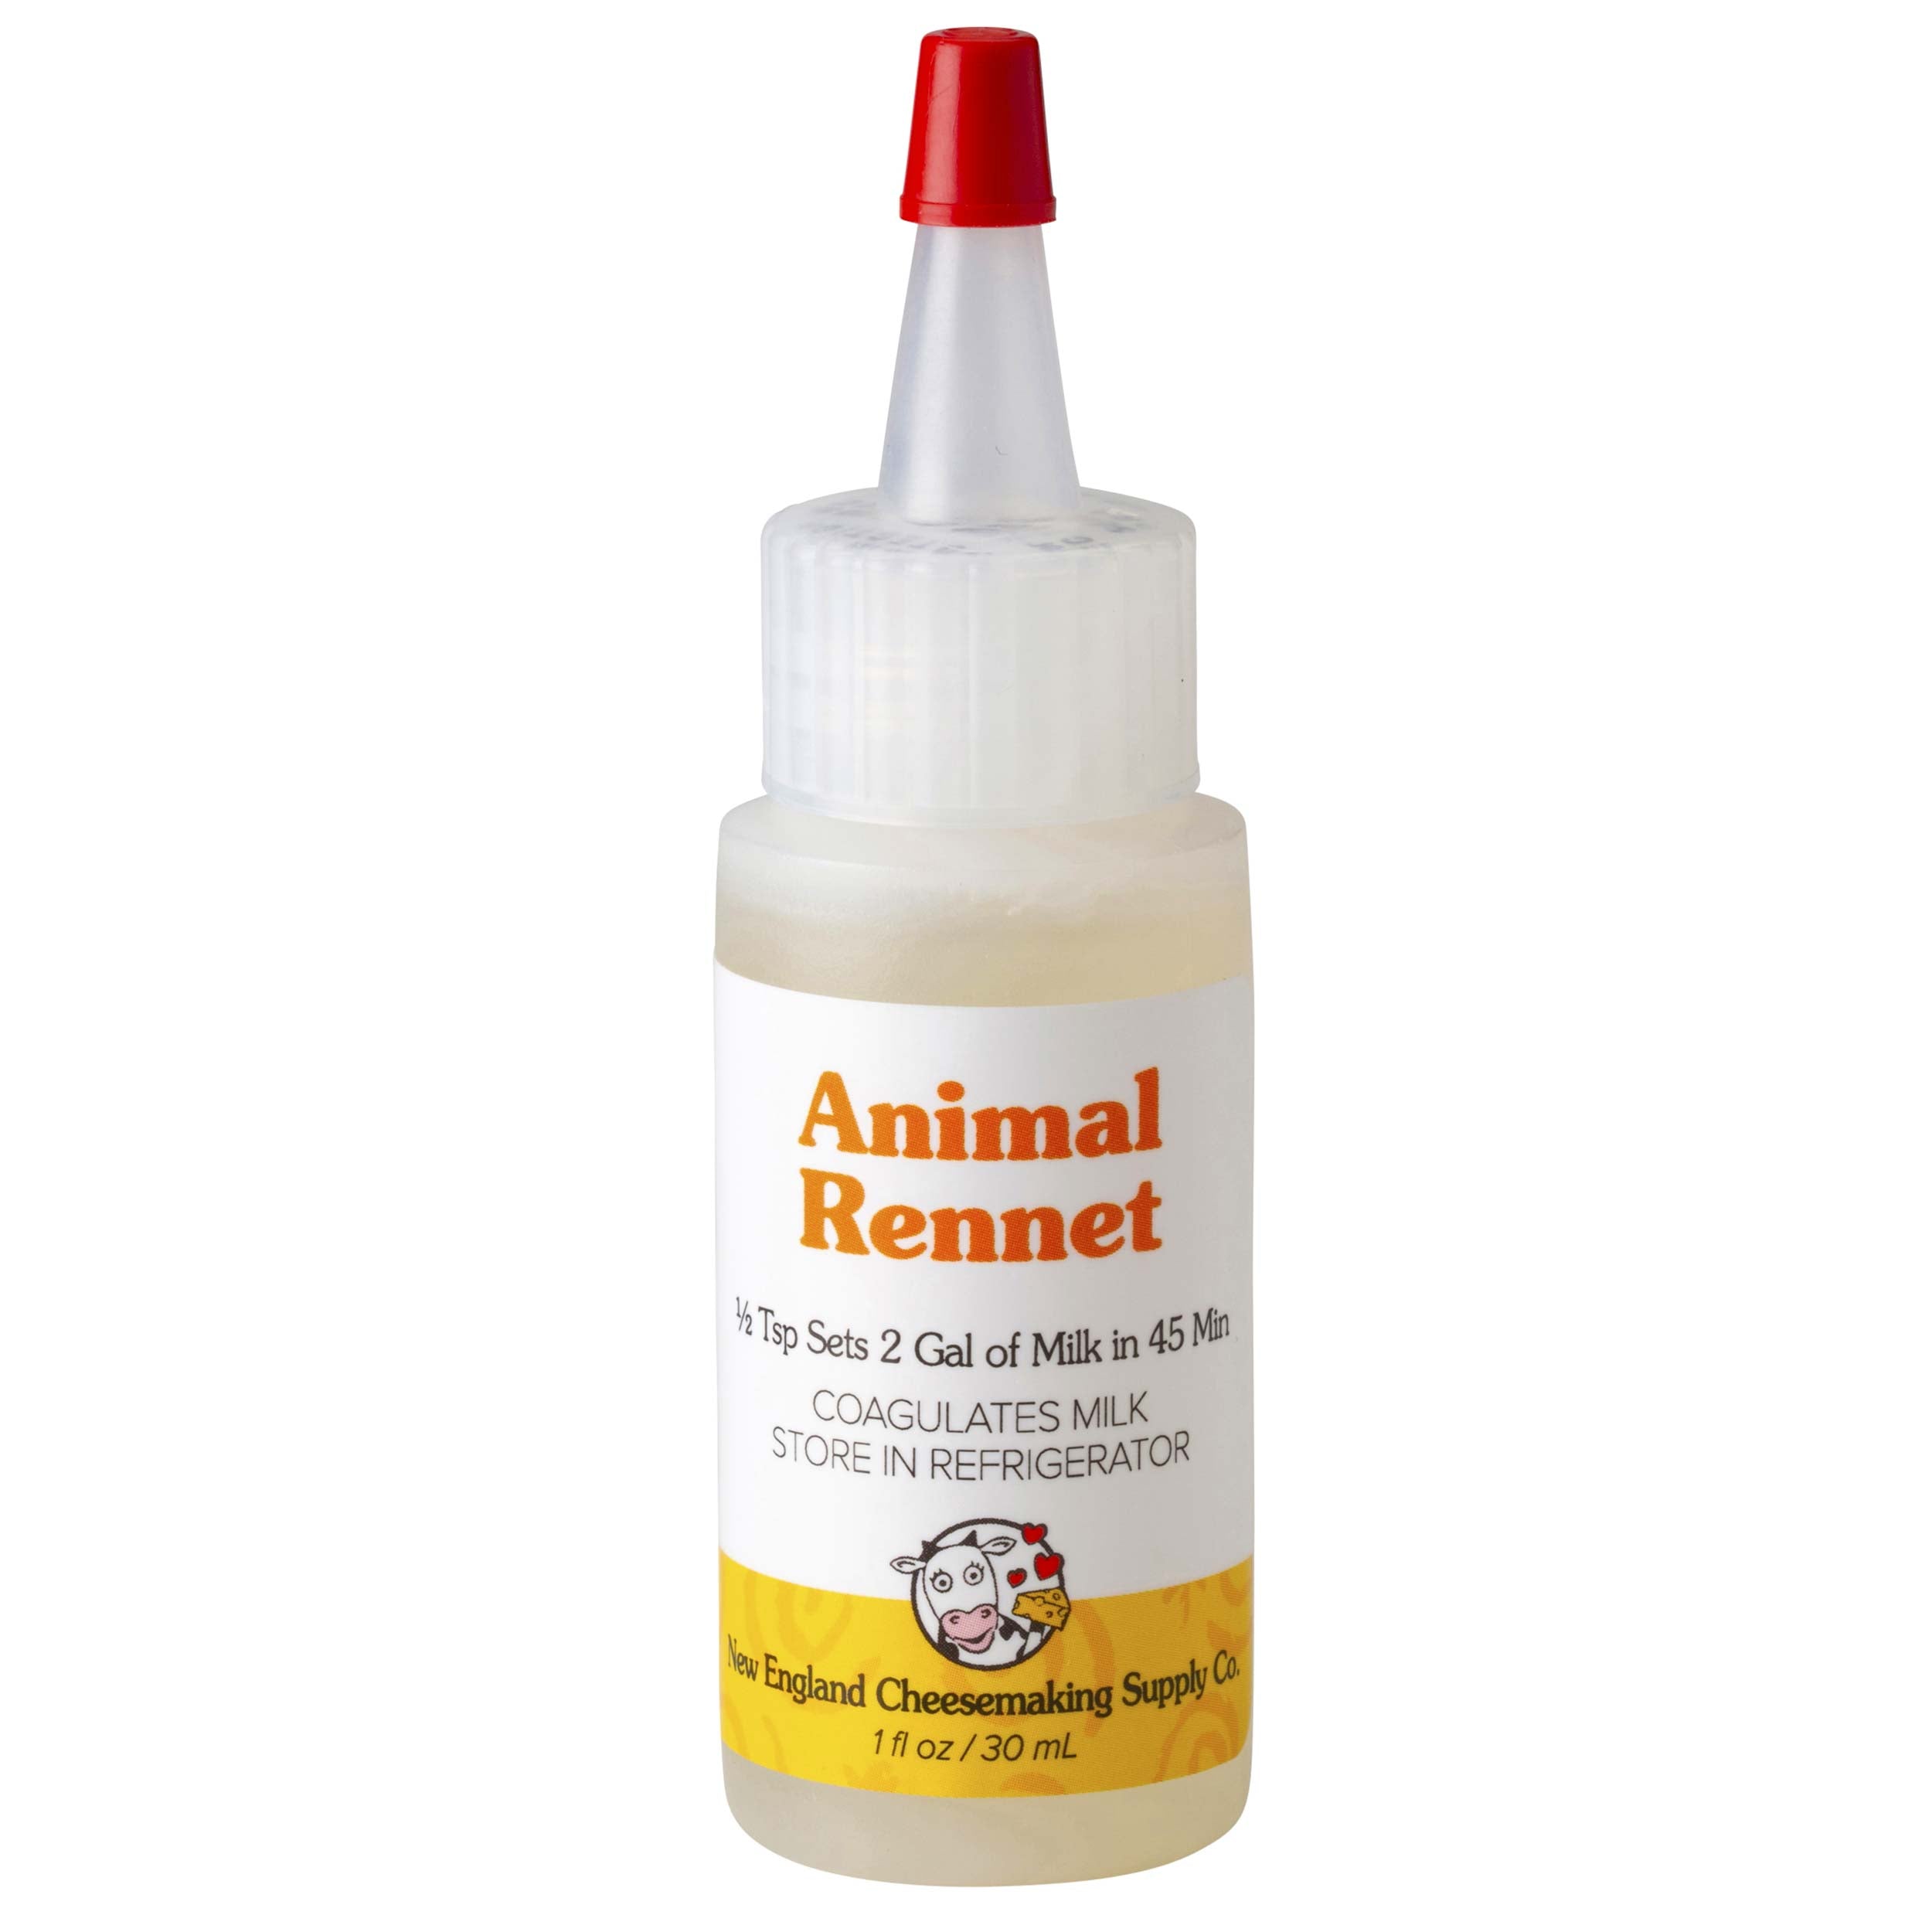
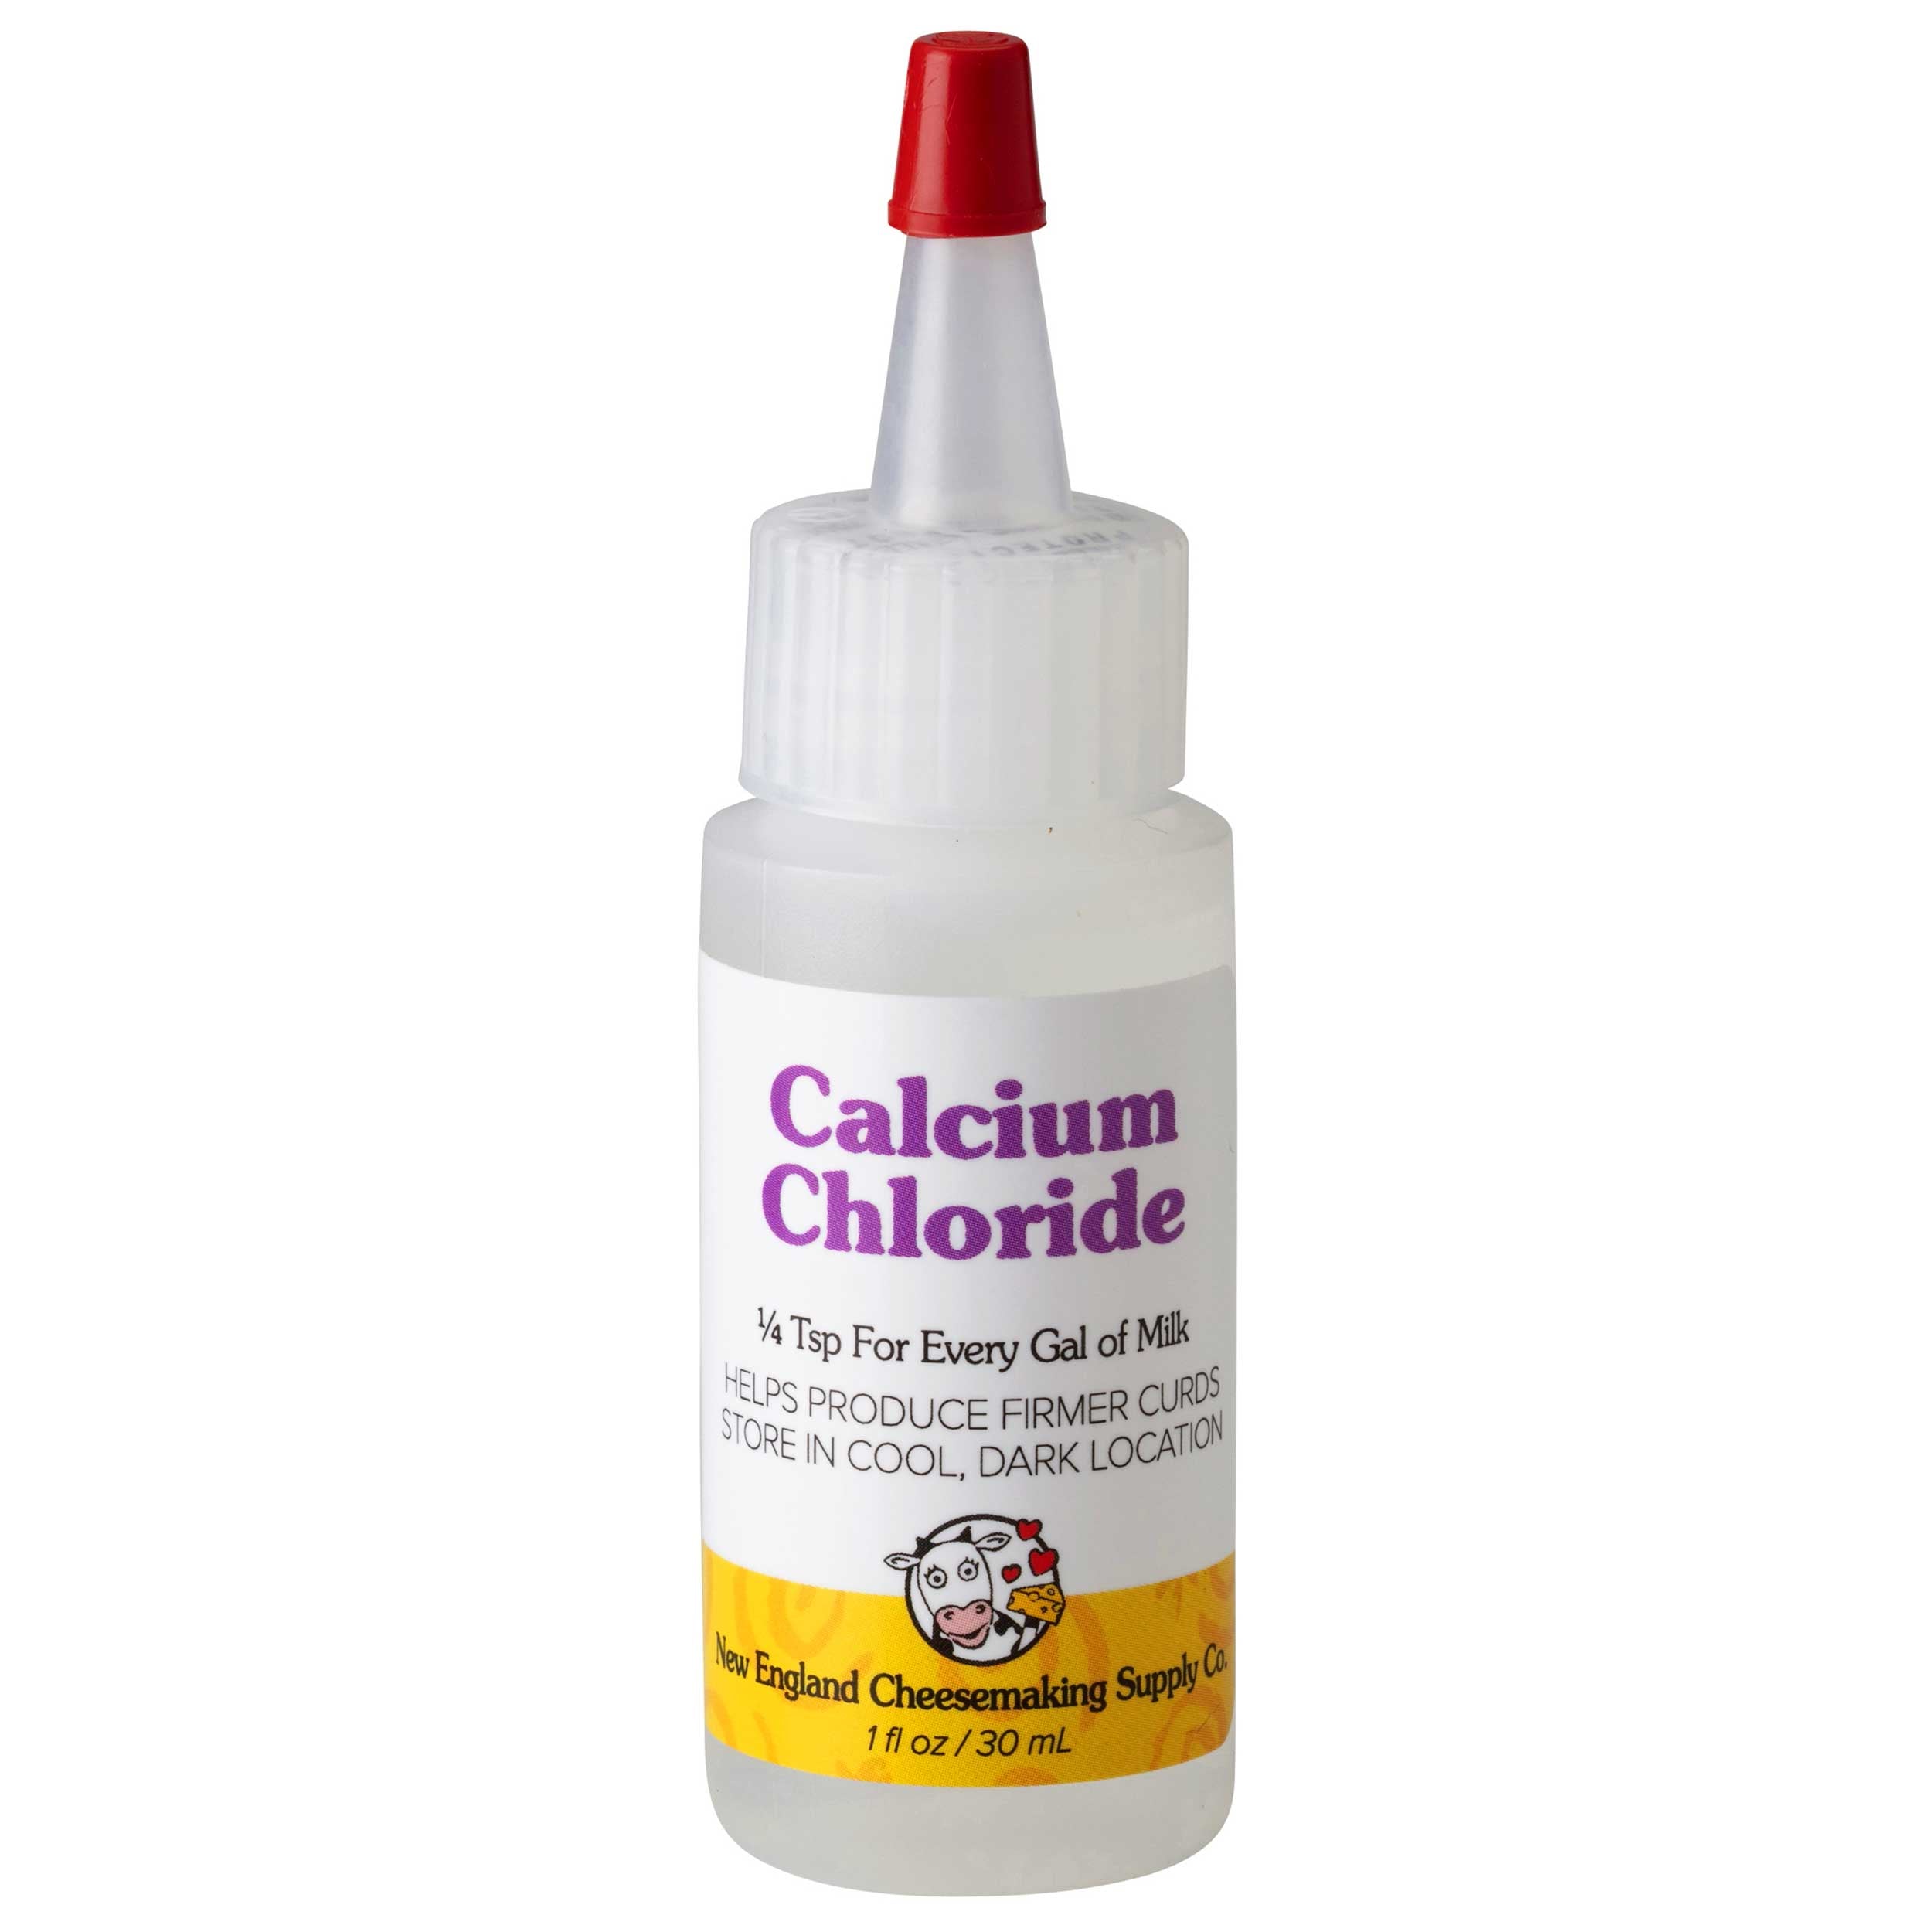
Related Supplies
Tips and Techniques
For the best results, it is important to properly prepare cheese for aging. Each step of the cheese making process brings it closer to the final step, aging. Many of the issues that arise, while aging, can be fixed through adjustments in the make process. Here are some tips and techniques to help your cheese age properly.
Cheese Safety
Even if the temperature and humidity are not right on target, cheese is usually safe to eat. For healthy cheese, be sure the milk was fresh, and it was collected and stored in a clean environment. Also be sure the cheese making process was done in a clean environment and the recipes guidelines were followed properly
If the milk had any bad bacteria, it can easily survive the cheese making process and cause health issues. This is why it is important to have a healthy starter culture, to prevent other bacteria from growing in your cheese while aging.
Of course, sanitation is always essential.
Mold Growing on Cheese
It is natural for cheese to have mold growth, even after just a few days. Simply, wipe it down with a cloth dampened in heavy salt water.
Surface Cracks in Cheese
If your cheese is cracking, the humidity in the air is probably too low. In the winter, humidity can be especially low.
Cracks in the cheese surface, is a common problem during the winter. To prevent this, the cheese will need to be placed in a more humid environment, 65-75% humidity. This can usually be achieved by placing the cheese into a plastic box or aging container.
In our large cheese cave, we add about five gallons of water, per week, into the air, during the cold winter months.
Dry or Crumbly Cheese
If cheese is too dry or crumbly, it is usually because of too much acidity development when the cheese is being made. As acid increases, it causes the calcium balance to change, resulting in less calcium in the cheese. This can cause a weaker bond for the curd and a less elastic, more brittle cheese. The excess acidity can also cause the curds to shrink and expel too much moisture over time. This is commonly known as 'acid cut.'
To much acidity is typically caused by one of the following:
- Too much culture or too long of a ripening time, resulting in more acid development.
- Not stirring the curds long enough to drive off excess lactose, after heating. The retained lactose will affect the later stages of the cheese making process and provide fuel for increased acid development.
For your next batch of cheese, use 20-50% less starter culture. Also, when cooking, stir the curds longer until they seem drier. Following these tips should get you back on track.
If using our small cultures packs, use 1/2-3/4 of a packet for two gallons of milk, or increase the batch size to 3-4 gallons of milk and use the full packet.
Mold on Interior of Cheese
If your cheese has mold throughout, not just on the surface, after being aged, it was not properly prepared for aging.
The interior of finished cheese, should be a single consolidation of the curd. This prevents mold from developing internally, because mold needs air to grow and when curds are properly prepared and pressed there should be no holes or cracks on the surface for air to permeate.
The curds may have been too dry or too cool before pressing, preventing them from knitting together properly. Not using enough weight when pressing and/or not pressing long enough could also be the cause.
Little or No Color in Cheese
The rich, creamy color of cheese comes from the milk it is made with. If the herd is grass fed you will get a rich creamy to yellow hued cheese. If it is silage fed, the milk will be white.
Most store bought milk will produce white cheese with little to no color.
You can use all natural Annatto Cheese Coloring to add a slight yellow or deep orange hue, depending on how much is addd, to store bought milk.
White Mold on Recently Cut Cheese
White mold growing on recently cut cheese could be either a fine white mold developing on exposure to air or lactate crystals that sometimes find their way to the surface. Either way, it is not dangerous. Simply wipe the surface with brine carefully.
Puffy Cheese with Holes Throughout
After aging, if your cheese is puffy and filled with holes, it may be a sign of contamination by a late gas producer such as a butyric bacteria. This can even develop enough gas to split a cheese in half. It is quite common in areas where silage was improperly prepared or hay was put away too wet. Unfortunately, we recommend discarding this cheese.
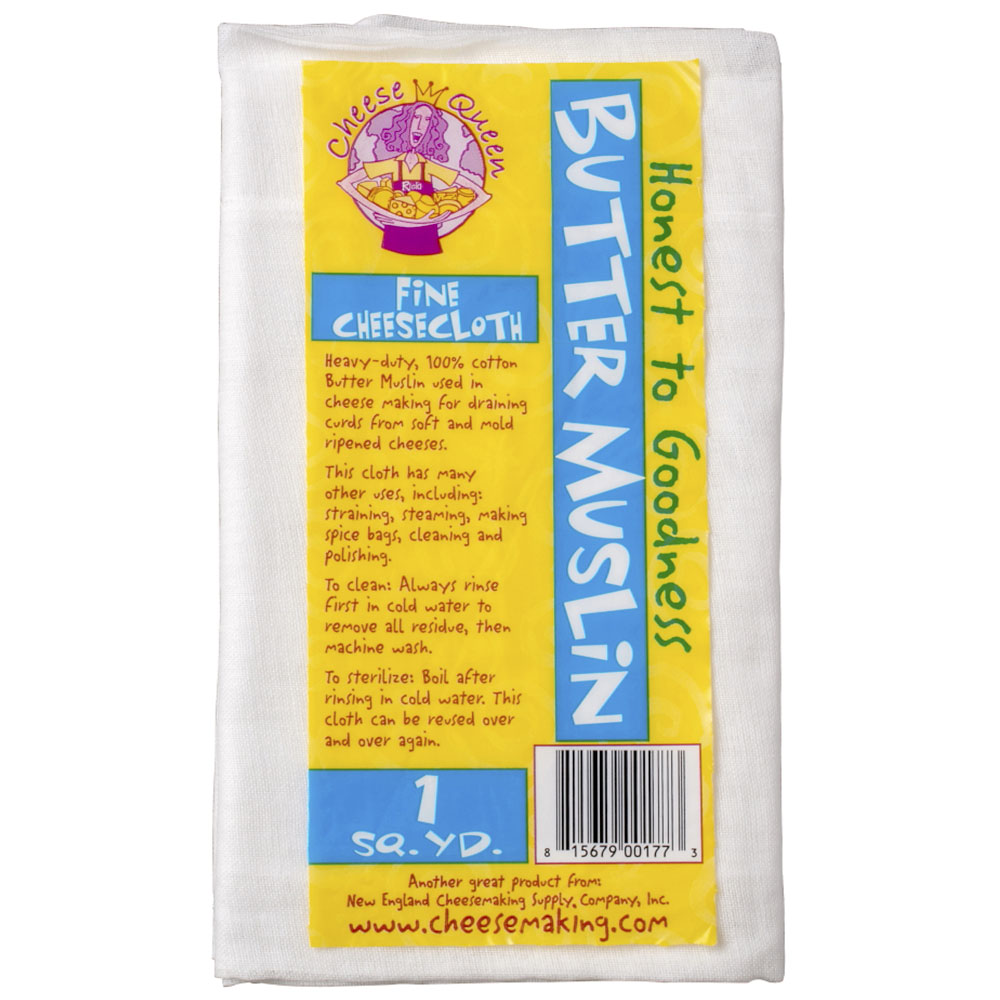
Related Supplies
Cheese Wraps
When wrapping, the cheese should not be too damp because the wrap will deteriorate with excessive moisture. Two-ply wrap can absorb a small amount of moisture into the inner wrap from the cheese, while the outer layer prevents excessive moisture loss. As the cheese ages, the absorbed moisture in the paper supplies needed moisture for the ripening cheese.
When to Wrap Mold Ripened Cheese
Mold ripened cheese can be wrapped when the mold has fully developed. Be sure the cheese is not too wet, because it will saturate the wrap.
Wrap Sticking to Cheese
If your cheese is sticking to the wrap, it may have been too moist when the wrap was applied, or there may have been extreme temperature fluctuations. Next time, wait until it the cheese is dry, before wrapping and keep the temperature consistent while aging and storing the cheese.
Mold Under Cheese Wrap
If black mold formed on your wrapped, washed rind cheese, it may have been caused from washing the cheese too frequently.
If black mold formed on your wrapped, mold ripened cheese, the white mold rind may have grown so thick that it holds excess moisture.
Related Supplies
Mold Ripened Cheese
Use Aging Containers
A simple way to age mold ripened cheese, at home, is in an enclosed container. The container should be placed in the same aging locating as other cheese, so it stays at the proper temperature. The container will help maintain the proper humidity for optimum mold growth.
The size of the container will depend on the size of the cheese, a general rule of thumb is 40% cheese and 60% empty space within the container.
Wash Hands Before and After
Always was your hands before caring for aging cheese. To prevent mold growth on other cheese, wash your hands again, after careing for mold ripened cheese, before handling other aging cheese.
Cheese is Too Runny
Mold ripened cheese being too runny, is a common problem caused by insufficient draining and drying of the curds before it is aged.
Starting with the proper moisture is important, because too much moisture will accelerate protein breakdown.
Since the protein breakdown begins near the rind, where the white mold is growing, it will result in a runny, overripe area, just under the surface.
As the curds are draining and drying be sure the temperature range is around 70-74F and the drying time is sufficient to eliminate any residual moisture on the surface of the cheese, before aging.
Skin Separating From Cheese
Skin separating from the surface of mold ripened cheese, is often a result of residual moisture in the early curd, caused by one or all of the following.
- The curd may not have been set long enough. This will prevent the milk from firming up properly, making the curds more difficult to drain.
- The curds may not have been drained enough in the cheese molds, before drying off. This is a common problem with late lactation milk. Remember, the curd will lose at least 10-20% moisture in the draining/drying phase.
- The cheese was not dried well enough enough or fast enough before the mold started to form. Using a small fan, to encourage drying of the cheese surface, may help. When draining the relative humidity should be 75-80%. The ideal target is to achieve optimum moisture in the cheese, coinciding with the beginning of mold growth, at approximately 5 days.
Too much residual moisture causes the mold to begin forming, before the cheese has dried down to its final size.
The mold forms a ‘jacket’ around the cheese, but the cheese continues to shrink, due to moisture loss. So, the cheese becomes a size too small for the exterior layer of mold.
The rind is also the area where too much protein breakdown ‘proteolysis’ happens the fastest, with excess moisture. This can result in a very runny paste, which is why the skin falls away. The cheese will likely ripen near the surface, very early, while still being chalky and firm in the middle.
Penicillin Allergy
If you are allergic to penicillin, there is no need to worry about eating cheese made with penicillium mold powders. A lot of research has been done, on both the blue and white penicillium molds, and they have found no relationship between the mold powdered used for cheese making and medicinal penicillin.
Related Supplies
Washed Rind Cheese
Brevibacterium linens
When aging washed rind cheese, the surface needs to be periodically washed with a saltwater solution or whey. The solution often has bacteria Brevibacterium linens, a reddish-orange smear bacteria, added for proper rind development. Beer, wine, hard cider and spices can also be used to was the cheese. The wash adds complexity to the aroma and flavor of the finished cheese.
What is Smeared or Washed Rind Cheese
Smear and washed rind cheese are essentially the same type of cheese. The key to this type of cheese is the red to orange yellow surface, with a characteristic B. Linens aroma that ranges from mild to strong.
The surface for this type of cheese is developed from washing or smearing the rind with a salt water and Coryneform (B. Linens) enhanced solution.
When aging this cheese, try to keep a moist, but not wet, surface. It should not be slimy or dried and cracking.
The final cheese should have a red to orange/yellow surface, sometimes with a light white mold growing through it. The paste should be fully ripened with little to no opaque curdiness in the center.
Unwanted Mold Growth
White or blue mold growth on smeared or washed rind cheese, it is typically a collection of molds propagating from other cheese in the aging space.
If the cheese has black spots, is may be too wet.
Try saying the cheese well, then begin a 6% salt wash every three days, to establish a desirable surface. Do not use vinegar, because it will stop good molds from establishing. You can typically save the cheese, by washing everything off with brine, and starting over with a wash every three days.
Related Supplies
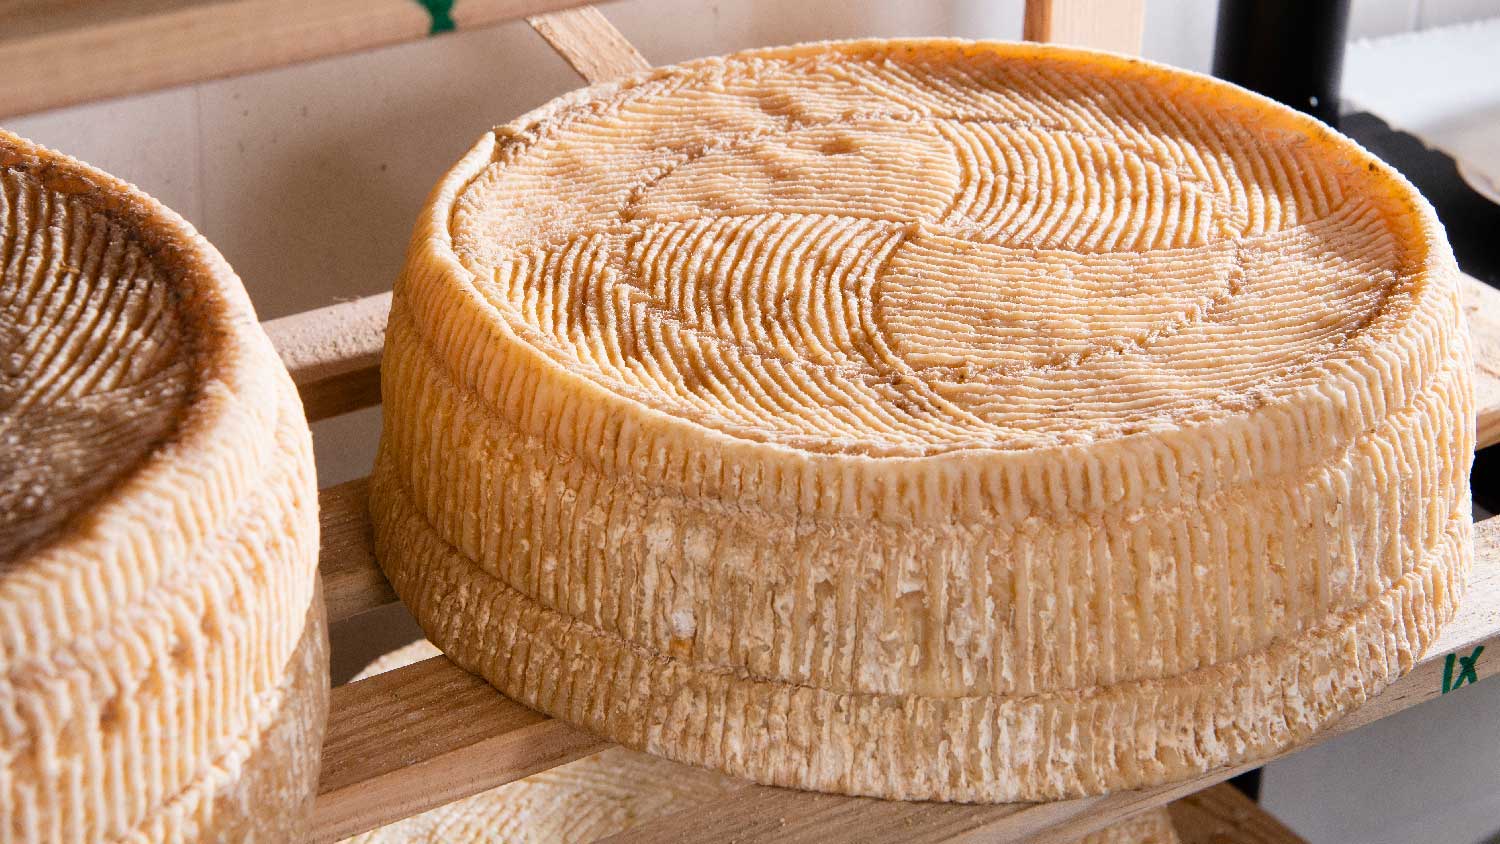
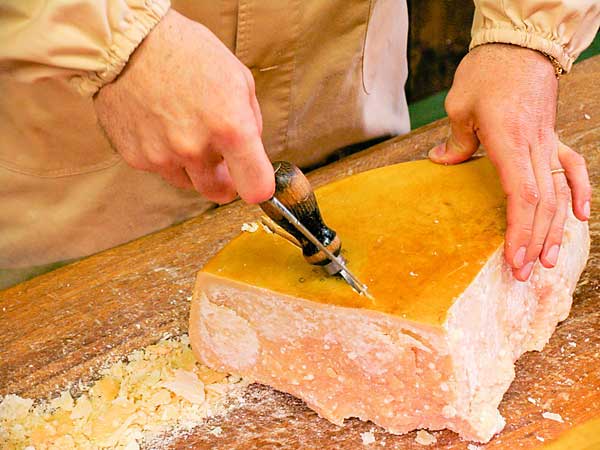
Bandage Wrapped Cheddar
Wrapping Cheddar
A traditional method for aging Cheddar is to bandage wrap and let natural mold growth surround to wrap. Once you have pressed the curds and removed finished cheddar from the cheese mold, it can be bandaged. Visit our guide on Bandage Wrapping Chedar for information on how to apply the wrap.
Cloth Became Loose
If the cloth becomes loose, the cheese will not be protected while aging. To fix this, remove the wrap and try to get most of the mold off the cheese surface, scrape stubborn bits. Then wash the cheese with full brine and either re-wrap with lard and cloth or wax the cheese.
When bandaging with lard, we recommend soaking the cloth in melted lard, then pull it through two fingers to squeegee off any excess. Smooth the cloth as best you can, making sure the top and sides overlap. Do the top and bottom first and then press. Then, do the sides and press again. The next day, repeat it. It usually takes 4-5 days for pressing and bandaging. When you do this, the cloth actually imprints into the cheese. We usually do a two layer bandage and the molds at bay.
Mold Growth
Mold Under the Bandage
If you see mold forming under the bandage it can be problematic. If mold has grown underneath, you will need to remove all cloth and brush or scrub all of the mold off. Then, when it is clean, try waxing the cheese.
Mold Over the Bandage
Mold can grow as it likes on the outside of the bandaged cheese, but if it gets too heavy, simply brush it off. When the cheese is ripe, pull the cloth off and enjoy. Bandage wrapped cheddar will become quite furry and multi-color molds will grow at certain points while aging, this is all normal. The advantage of bandaging is breathability. Mold will still grow on the exterior of the bandage. Wax does not breathe as well but has no mold growth. Both methods will still need to be turned once a week or so.
Related Supplies
Natural Rind
Good Natural Rind
The key to a natural rind is to properly dry the cheese after salting and before aging. You may need to spend more time in the beginning with them, but after a month or so, wiping them down every other week should be enough.
How to Label Natural Rind Cheese
To label cheese, you can use a prismatic style water color pencil while the cheese is still moist. The pencil mark will remain only on the surface of the cheese.
Cheese Softening While Aging
Softening of the cheese, after 7-14 days of aging, is a result of the ripening process. After brining, the cheese becomes tough. As the salt migrates to the center of the cheese, the outer texture softens substantially.
As the cheese continues to age, turn it and wipe mold off with a dry cloth as you see it. If the mold gets away from you, use a cloth dampened with a light salt water solution, and scrub it off.
Mold Growth
If there is a lot of mold on your cheese, grab a cloth soaked in brine and knock that mold out of there. The excessive mold growth could be from too much moisture in the cheese or aging location.
If the rind is too moist, the mold could work its way into the rind, producing off flavors in the cheese. We would scrub the cheese well with a brush and brine and if needed, use the edge of a sharp knife to off scrape stubborn dark spots. Then air dry the cheese for 2-3 days. Watch for the rind to darken and toughen up slightly before moving back to the aging area.
The amount of mold on your cheese depends a lot on how you would like them to develop. Cleaner rinds make a more appealing presentation but involve more work.
Related Supplies
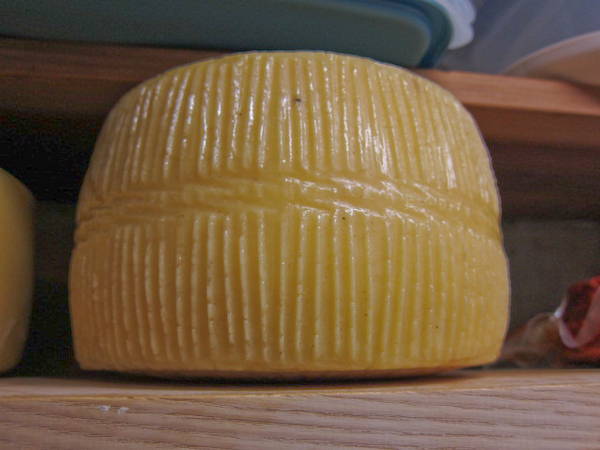
Waxed Cheese
Use Caution Heating Wax
All wax is highly flammable. Read the instructions well and never walk away from the pot when it is over the flame. Do not use a microwave to heat your wax.
Do Not Use Pure Paraffin Wax
Paraffin is very brittle and does not come off easily after the cheese is aged. It cracks and leaves small pieces all over the surface of the cheese that need to be cut away.
When we started off making cheese in 1978, paraffin was all that was available, so that is what we used. However, the results were disappointing. Next, we tried to mix paraffin wax with vegetable oil in a 50/50 ratio. This was a little better, but still very crumbly. Then we found actual cheese wax, from a large scale commercial location, we were amazed. It was soft and pliable and easily peeled off the finished cheese. We melted, strained and reused it over and over again.
Beeswax
You can use beeswax for aging cheese. The drawback to beeswax is the price, and it can be brittle. We suggest adding a small amount of vegetable shortening, to the wax, when melting.
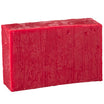
What Color Wax to Use
Red wax is seen most often and is commonly used on Dutch cheese. Our clear wax has no color added, so if you are concerned about colorants, this is a good option. Using a lighter color also makes it easier to see if any mold growth occurs under the wax, while aging.
Most home cheese makers simply use the color they prefer.
When Cheese is Ready for Wax
Before waxing, air dry the cheese until the surface darkens slightly and there is no free moisture underneath. The surface should take on a matte finish when it is ready to wax. A small fan can help dry the cheese properly. It is always best to stay ahead of any mold development before waxing and to air dry in a cool location around 52-56F.
Temperature for Melting Wax
To help prevent mold growth, wax needs to reach a temperature of 225-240F and the cheese needs to be dipped in the wax for 6 seconds.
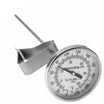
Use caution when heating wax, if the temperature gets too high it can reach a flash point and catch on fire. To melt wax we use a heavy pot with a candy thermometer and control the temperature very carefully.
How Much Wax is Needed
A one pound block of cheese wax will coat 10-12 two pound cheeses, when applying the wax with a brush.
When dipping cheese into the waxy a five pound block of wax works best, so the wax is deep enough. Although if using a very wide melting pot the wax still might not be deep enough.
We Recommend Double Dipping
We recommend double or even triple dipping to be sure there are no pinholes. When applying the second coat, wax can cool to about 160F, to avoid melting off the first coat of wax.
Sampling and Re-Waxing
You can sample the cheese before it is finished aging. After removing a sample, wipe the surface of the cheese with cider vinegar, let it dry and then re-wax. This can also be done if you accidentally break a piece of cheese off the wheel. Make a clean slice across the break and re-wax the area.
Section the Wheel After Aging
When aging the larger the cheese is, the better it ages. So, we always recommend waxing and aging the whole wheel of cheese in one piece.
After aging, you can divide the cheese into two halves or even quarters and re-wax them separately, in order to enjoy part of the cheese early on while the remaining cheese continues to age.
Waxing Store Bought Cheese
You can wax store bought cheese. But, the moisture content will affect the aging potential. A very dry cheese can age for many years, while a cheese will simply get old. A dry English style Cheddar can be aged 2-5+ years. Most American Cheddar is made to be consumed when released for retail.
Fluids Building up Around Waxed Cheese
If your cheese is building up fluids and leaking, there is late acid production. Too much whey may have been left in the curds before transferring into the cheese molds. The lactose within the moist curds then converted to lactic acid, while aging. This acidification caused the cheese to squeeze out the whey. The result will be a very acidic and brittle cheese.
To resolve this in the future, watch the time and temperature when cooking the curds, and do not let the curds mat together, keep them moving in the pot. You may also need to raise the temperature a few degrees, but do not go above 102F. If your temperature is already as high as it can go, cut the curds into smaller pieces and stir them a little longer.
Mold Growing on Waxed Cheese
Mold is everywhere, if given the opportunity, it will live on cheese and grow nicely. If mold has started to grow on a waxed cheese, either the wax was not hot enough, when applied, 225-240F. Or, a small pinhole was left for the mold to enter.
This mold should be taken care of by removing the wax, brushing or scraping the mold from the surface, and giving the cheese a good wiping or scrubbing with salt brine. Allow the cheese to dry, then re-wax it. We recommend always doing a double dip when waxing; dip, cool and dip again.
Oil Leaking From Waxed Cheese
Oil from the cheese will come through the was if the aging temperature is too high. This is butterfat. Make sure you are aging around 52-56F.st
White Mold on Recently Cut Cheese
White mold growing on recently cut cheese could be either a fine white mold developing on exposure to air or lactate crystals that sometimes find their way to the surface. Either way, it is not dangerous. Simply wipe the surface with brine carefully.


