


Cheese Making Recipe of the Month
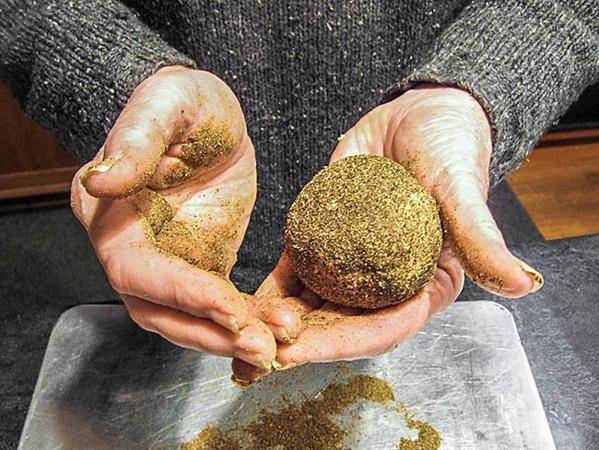
Belper Knolle - A Tiny Cheese with a Huge Taste
It may not be pretty, but this little gem from Belp, Switzerland has a great personality! Jim first tasted it in Italy at a Slow Foods Cheese Festival in Bra.
When you make it (and you must!) you will add fresh garlic and salt to the drained curds. Then, you will shape it into little balls. You will roll the balls in peppercorns which have been toasted in a hot pan and then ground to a fine powder.
After 4-6 weeks, when the cheese is ready, you will serve it by slicing it like a truffle. Then, you will e-mail us about the incredible flavor. Have you started yet?
Cheese Making Questions & Answers
Cast Iron or Stainless Steel?
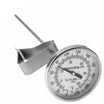
Q. I am having trouble heating my milk for cheese and yogurt making. I use an enamel cast iron pot which seems to burn on the bottom when I heat milk. This happens even when I heat on a low temperature and the cheese has a burnt flavor. I don't have this problem when I use my stainless steel pot with a copper bottom. The problem is the stainless only holds one half gallon of milk, so my batches are all halved.
A. Proteins in milk will scorch quite easily. The cast iron does become a problem once it heats up. We would suggest warming the pot prior to adding the milk and then use a lower flame in heating with continuous stirring. Also, turn it off several degrees before it reaches the final temperature and let it coast. A good stainless pot with a thick bottom (often aluminum) is going to be more milk-friendly plus easier to keep clean and sanitize.
Irradiated Herbs?
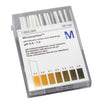
Q. Why are "non-irradiated" herbs desirable? Do herbs become radioactive when irradiated?
A. Although food items are not radioactive following irradiation, there is much confusion about what this does and the effects on the food. We choose to avoid this confusion by carrying non-irradiated products.
Essentially irradiation is done to make food more shelf stable during an extended stay in the retail food chain. This is not something that we feel benefits the consumer.
Waxing Store Bought Cheese
Q. I'm getting conflicting information on waxing store bought cheese. For example: the less expensive brands sealed in plastic - can these be waxed and last long periods of time? How long after the pre-stamped expiration date? Do they have to dry out first, and for how long?
A. We have been getting a lot of questions on this in the past few years, along with the statement "no one seems to know much about how long I can store it and which cheeses I should do." There does seem to be some good info online on waxing, but they miss the primary issue. Essentially it goes like this:
Cheese is made for a particular target aging time. Once it has reached that point, it is placed on store shelves ready to eat. Now, aging this cheese will simply produce an old cheese.
This all has to do with moisture and other aspects. If we want to make a young cheddar with mild flavor, we start with a high moisture cheese that will age quickly. If it is a cheese that has stronger flavor and more character, we make the cheese with less moisture to be aged longer. This allows the proteins in the cheese to break down in a very different way.
Now, if you take a high moisture cheese that is ready to eat from the store shelf and wax it for long preservation, the results will not be the same. The high moisture accelerates the ripening process and when you open this up in a year or two, you will find that most of the cheese-like qualities are gone and some strong smells, tastes, and perhaps a very runny liquid will be present.
Cheese is a fermentation process in which very complex proteins break down to much simpler ones. If we mess with the process or allow it to go on too long, we miss our final target.
Storage is really about proper aging. Depending on the cheese and how it was made, it will be ready when it reaches it's maximum flavor character. After that, it will just become an old cheese and not as good. I have tasted many cheeses that have been aged 5, 8, 15, even 25 years and some are aged much longer. Most of these are not very pleasant to eat. They would have reached their peaks many years earlier.
If you want to try making your own cheese, you will have the choice as to how long the cheese will age for and how complex the final flavor becomes. Then, waxing for a year or so is certainly an option.
If you would still like to try this, please see our waxing page in the "How-To" section of our website.
Lumpy Yogurt
Q. I used a fresh Y3 culture with organic pasteurized milk and my yogurt turned out lumpy when I started scooping it into the strainer. Is this normal for homemade yogurt?
One thing I forgot to do was to allow the powder to sit on the milk that had been cooled to 110F for a couple of minutes before stirring. Would this have made an impact?
I am also using a dehydrator, not a yogotherm. The temperature was set for 112F and it didn't set until about 9 hrs, then I cooled it in the refrigerator.
A. The lumps are usually associated with too long a ripening time and the yogurt develops too much acid. This is also accompanied by a lot of whey running off when stirred.
We find that 4-6 hours is plenty of time for our yogurt here. It is important to be sure that the heat is even in the incubating chamber. Uneven heat will result in a very big variance in culture activity throughout the container.
Using Creme Fraiche in Ganache
Q. I am a pastry chef opening a French macaroon business and want to use creme fraiche, instead of whole cream in my ganache fillings. Ganache is generally equal parts melted chocolate to cream. Creme Fraiche used to be used in ganaches.
My question is: If I make the creme fraiche, I need it to be a more liquid consistency, rather than firm If I use organic half and half, rather than heavy cream, would this produce this?
A. Creme fraiche is simply a cultured cream. The consistency can be simply controlled by:
- How long you allow it to ripen before chilling
- How much moisture you retain by controlling the drainage time
You should be able to find the perfect texture for your needs by using these two controls.
Using half and half simply moves it away from the butterfat end of the spectrum. Essentially, it is all cultured dairy but the flavor and texture increases as the butterfat increases.
Have a cheese making question, we're here for you: info@cheesemaking.com
Meet a Fellow Cheese Maker
Freda Peisley from Rochester, NY
You can count Freda Peisley in when you're talking about the "back to basics" lifestyle! She spins, weaves, dries her own vegetables, herbs and fruits and makes her own cheese.
When it comes to her cheese, she keeps it very simple- she uses the Farmhouse Cheddar recipe from our book, Home Cheese Making, and adds dill to it. She then waxes it and gives it to her friends as gifts.
Freda bought her first cheese making books in 1976 at the Genesee Country Village and Museum where she volunteers. The cook there gave her some papers about making cheese and she followed through. Eventually, for awhile she demonstrated the art of making cheese at the museum. Now, the cooks make the cheese and Freda teaches weaving.
News From Fellow Cheese Makers
Marcus Miller (14) - Plymouth, Indiana
Marcus made cheese for years with his mother and now he can make mozzarella completely by himself. He sent us this essay about his experiences for our giveaway:*
Cheese making is a valuable skill that local small communities can benefit from. I live in a small semi-rural community that could use some good cheese making skills. Some people at my local school even think of cheese making as something that can only be done in a factory! Just having conversations about food in health class can be surprising (about how little people know about food production). I don't think that's right.
My family sells nursery products at the local farmer's market, and I think I could try to do a mozzarella making demonstration there to educate people on how cheese is made. The demonstration would explain and show how cheese is made. It also would show how cheese making is more nutritious than store-bought cheese, and how cheese making can be easy to do. After all, if a kid could do it, why couldn't an adult make cheese? It also just might inspire someone to venture out and try it for themselves!
I was introduced to cheese making four years ago when the family milking goats started to produce milk for the first time. We had never had our own dairy goats before, so we were excited to be able to make our own fresh cheese. At first, we just made small batches of soft, spreadable cheese. At the time, I just watched.
Time went on as we became more interested in making different types of cheeses, such as Parmesan, Caerphilly, and many more. Our “cheese cave” (a modified refrigerator with it's thermostat set at around 50F) was filling up with aging cheese. It wasn't until two years ago that I made my first batch.
My first cheese that I had ever made was ricotta. My mom had just made a batch of mozzarella, and had to go work on something else. She had given me instructions on how to make ricotta out of mozzarella whey. I was a bit nervous, being my first batch, but I tried. Even though I ended up burning the cheese, it still tasted good. Cheese making is a valuable skill to have. It's fun to do, and it can be educational.
Update from DeShawn (11)
In the December, 2014 issue, we featured DeShawn Blade as our Junior Spotlight. He is in the 6th grade in South Jordan, Utah and he was working on a science fair project about pasteurization.
We recently heard from his mother that DeShawn received an honorable mention at the fair. We think his abstract (below) is very well written. (An abstract is an abbreviated version of the project.) Congratulations, DeShawn!
Pasteurization
By DeShawn Blade
I chose to learn how to make goat cheese because my mom is lactose intolerant. Cheese made with goat's milk contains less lactose (milk sugar) than cow's milk. "Goat's Milk vs. Cow's Milk" (6/19/14)
If you, too, are lactose intolerant, this project might be right up your alley. In order to make cheese from milk, you have to remove the bacteria from the animal's milk. Pasteurization is the science in which bacteria is removed from a substance.
There are many different processes to make cheese, I chose chevre. Chevre is French for goat cheese and you are able to make many different flavors like I did at the end of my science project. I seasoned my cheese with spices.
I had a lot of questions; how long will it take and will it be fun or difficult? The problem with raw milk is that you cannot drink it until the bacteria is removed. It ended up taking two days to make cheese. A full day just to remove the bacteria from the milk. You remove the bacteria from milk by heating it up then cooling it back down and leaving it at a certain temperature for almost 20 hours.
I separated the whey, excess protein, from the milk using cheese cloths. We had to decide if cheese curds would form left at room temperature or if we would have to cool it down. It was fun, I had four different types of cheese to sample after I was done.
This is a new section we have added as part of our mission to encourage young people to learn the art of cheese making. If you are 18 or less, we would love to hear from you about your experiences and your goals for the future.
Send to moosletter@cheesemaking.com
She Loves Schiz!
Just wanted to share my success with making Schiz recently. I had first seen Jim's recipe for Schiz in a newsletter nearly two years ago and was instantly intrigued by this cheese that can be fried without melting! I have only dabbled in cheese making off and on, with varying levels of success making mozzarella and a few aged cheeses.
After a year-long lull, I recently connected with a local source of raw milk and decided to give cheese making another shot. Scanning the recipes on your website, I came across Schiz again and just had to try it. The instructions were great, and it worked beautifully!
As if cheese isn't good enough, fried cheese is an extra tasty treat. I even served it over polenta for the full traditional experience as shared by Jim. Loved it
Thanks for all you do to share your love of cheese and inspire beginner cheese makers!
Ivy Ivers, New Washington, Indiana
White Crystals and Mold
This letter came in response to a couple of the questions and answers in our February Moosletter:
As usual, your newsletter is very informative. I always enjoy reading it. I am moved to comment on a couple items:
1. As for the white crystals on the surface of cheddar cheese: In addition to tyrosine, another source of the white crystals is calcium lactate - click here
These white crystals have always been a bit controversial. My advisor at the University of Minnesota in the early seventies, Howard Morris, swore by the tyrosine theory. However, a professor at the University of Wisconsin held firm to the calcium lactate theory. Both are probably correct.
2. As for the question of mold: In addition to the humidity question, I wonder if they are aging on wood. Wood, being very porous, can harbor mold spores. In any case, it is a good idea to really clean out the age room and use a mold inhibitor. Once the hair appears on the surface, mold has already impacted the flavor of the cheese (musty off-flavors), as mold takes root long before the hair appears.
Ron Schmidt, Professor Emeritus, University of Florida
A Master Home Cheese Maker
This update came to us from Larry Todd who we interviewed for our blog in 2010, click here:
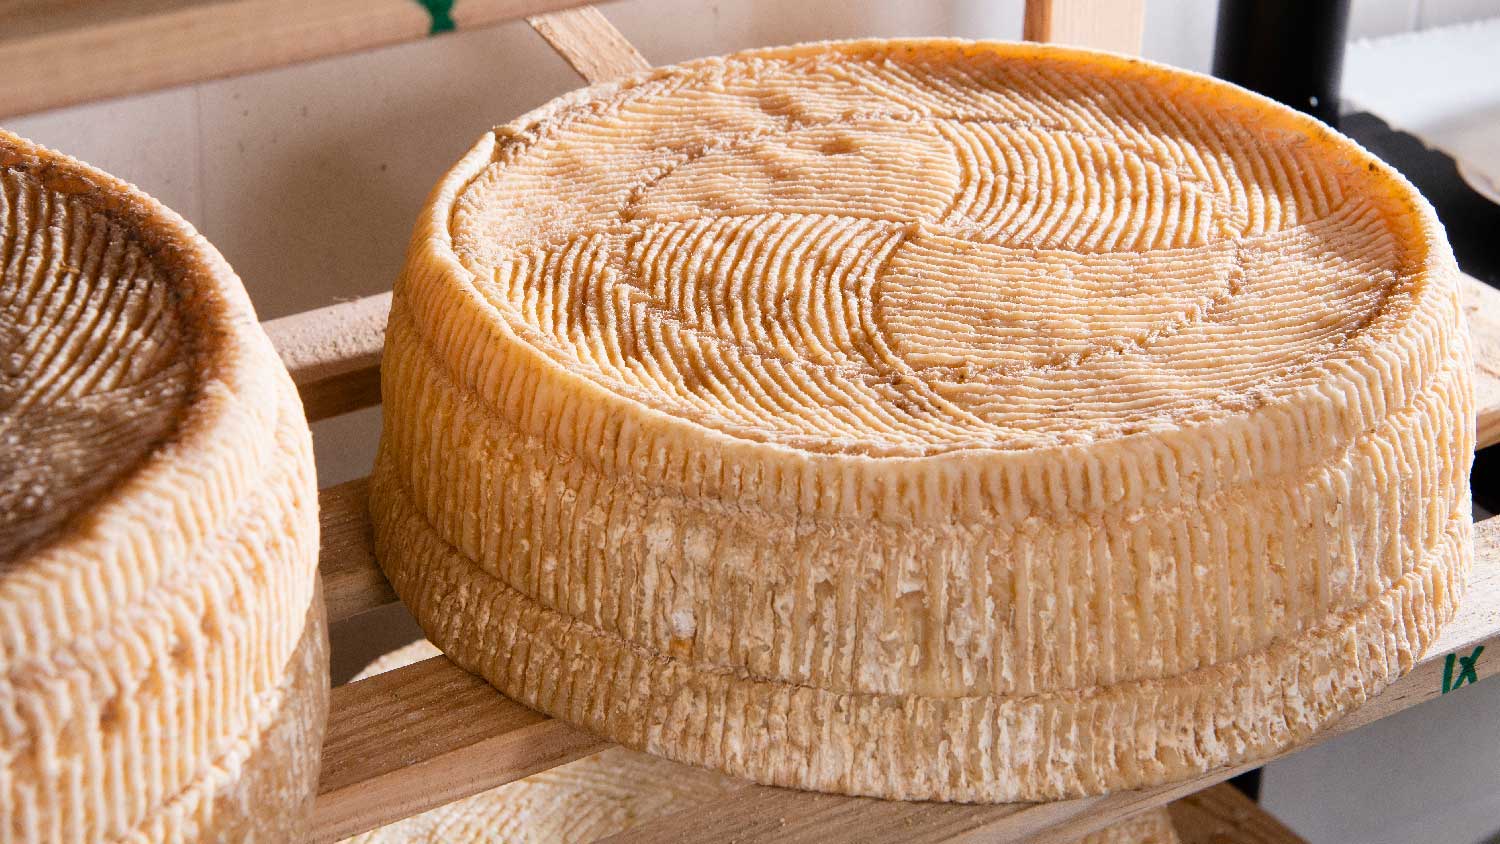
I just opened a Parmesan I made in December, 2013, aged 13 months. I modified the 2 new recipes to fit 7 gallons. It's on the mild side and not granular, but it tastes good. Here are some pics:
Here is my cheese cave from last winter (lower left). I haven't made any this fall yet. My friends are pushing for me to get started. Probably get started in February. From top left: Manchego, Homestead, Havarti, Emmental, Gouda, Parma, Manchego.
I make the labels in MS Word and use the "insert shape" feature for the circle & "word art" feature to design the name. Then regular fonts to put on dates, etc. I use an ink jet printer and print on white paper and cut them around the circle with scissors.
When waxing, I put on one layer of wax, then stick the label on before the wax hardens. Once stuck (they only slightly stick), wax again over the label. The label shows through the wax.
Once you make a label then save it, the next time it takes no time at all to make it.
By the way, the last picture is Emmental, a special request from Connie. It turned out to be many people's favorite cheese. She says I have to make more of it next time, since she had to share so much of it.
Larry Todd, Billings, Montana
Please send your cheese making news & photos to: moosletter@cheesemaking.com


