


Blue Cheese Recipe (A Spanish Blue)
-

Yield
3 Pounds
-

Aging Time
~6 Months
-

Skill Level
Advanced
-

Author
Jim Wallace


Ingredients
Total price for selected items: Total price:

Instructions
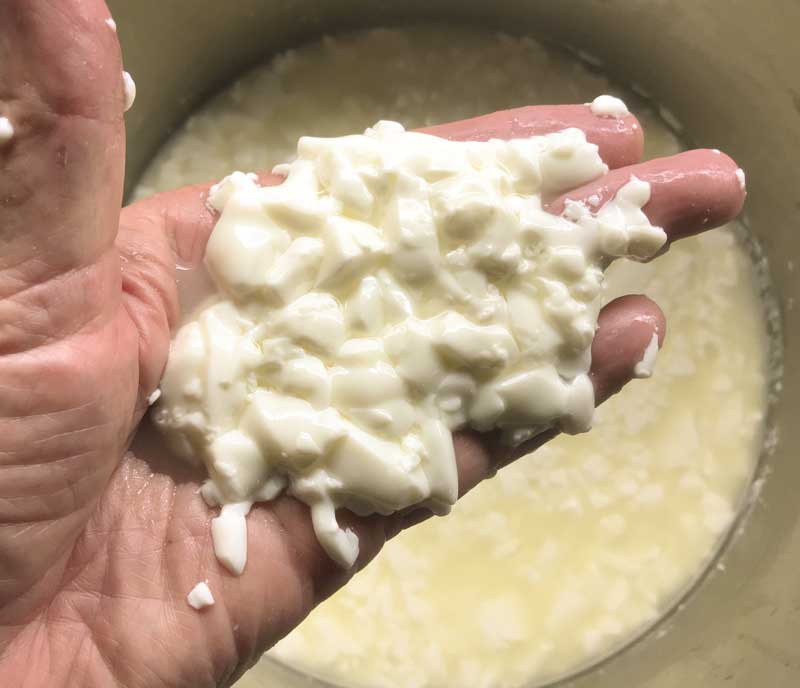
The most vital stage in this cheesemaking process is so important. The initial curds have a high moisture content, and therefore are very soft with a tendency to compact into a solid mass when they settle in a mold. Yet the culture for a blue cheese demands an airy, porous interior to flourish; a network of small openings and veins between the curds.
To get around this, the cheesemaker must drain the curds by hand, judging by feel alone when the curds are “just right,” having high moisture as well as enough structure to build the air pockets necessary for a blue cheese.
Because this “feel” for curds can only be developed through trial and error, this cheese is best undertaken by experienced cheesemakers, who have made several blue cheeses before.
-
Heat and Acidify Milk
If using pasteurized milk, add calcium chloride.
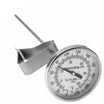
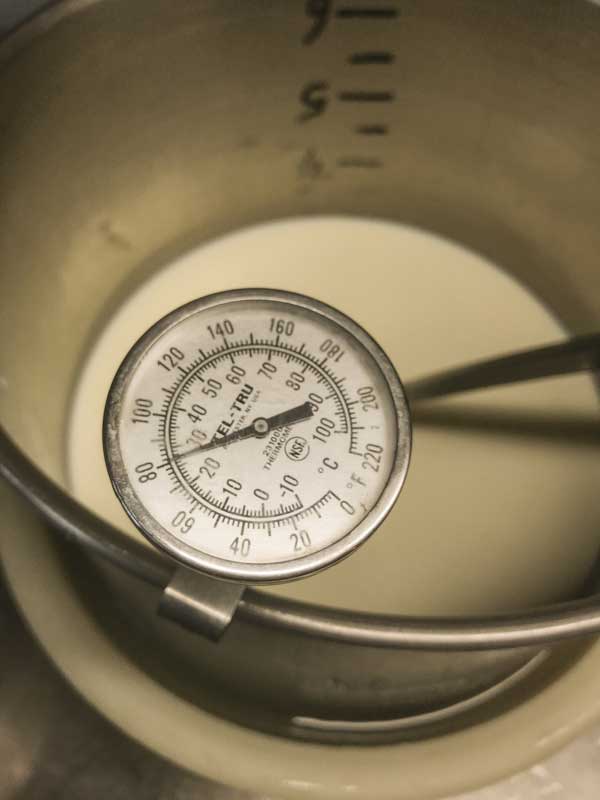
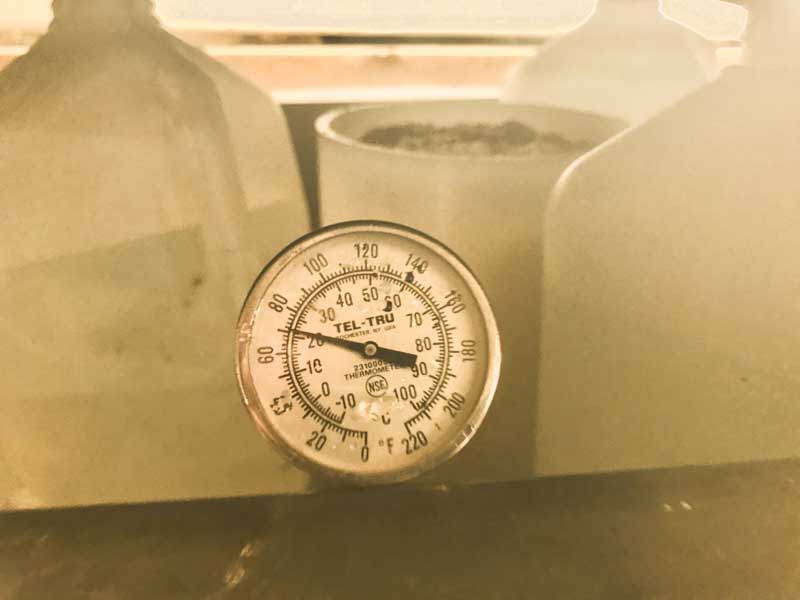
Heat the milk to 80F (see note below). As the milk is heating, add the blue mold to about 2 oz of cool water to begin hydrating.
Once the milk is at temperature, add the MA4002 and hydrated PJ-Blue mold.
Hold the milk with cultures quiet for the next 90 minutes to allow the culture to begin doing its work.
Note: This small amount of culture is less than one might expect for 3 gallons of milk. The lower temperature and culture additions are intended to focus on the longer conversion profile from lactose to lactic acid and to prevent the cheese from becoming too acidic.
-
Coagulate with Rennet
Add single strength liquid rennet.
Hold the milk with cultures and rennet quiet for an additional 90 minutes while the culture continues to work and the rennet coagulates the curd.
The milk will begin to thicken at about 15-20 minutes, but allow it to coagulate to firmness for the full 90 minutes.
After 90 minutes, check for a firm coagulation. If it does not seem firm enough, you can allow it to set up to 50% longer (in this case, up to 45 additional minutes.)
Make a note of this in your notebook, and the next time you make this cheese, adjust the amount of rennet if needed. (more rennet for a quicker set).
Note: The temperature of this milk might drop a few degrees during this long coagulation., but this is ok. You can heat it back to temp after cutting.
-
Cut Curd
Once you have determined that the milk has set well, it is time to cut the curds smaller. This is the first step in reducing the curd moisture.
Cut the curd mass vertically only, and as evenly as possible to about 3/4” pieces (like a checkerboard)
Then allow the cut curd to rest for 5 minutes, so that the cut curd surfaces can heal.
Then make the horizontal cuts to end with curds about the size of a hazelnut.
Rest quiet for about 5 min while the new surfaces heal.
-
Stiring Curd
Now it is time to begin drying out the curds. The goal is to partially remove whey while leaving a moist curd to transfer.
For this process, it is the acidity developing as well as the physical movement in the warm whey which tends to dry the curds.
Stir carefully for only 10-15 minutes.
Stir carefully from bottom to top, keeping the entire curd herd moving in the warm whey.
If the temperature of the curds has dropped, bring it back to 80F during this time.
Note: When firm, the curds can be allowed to settle under the whey in preparation for transfer to the draining surface.
-
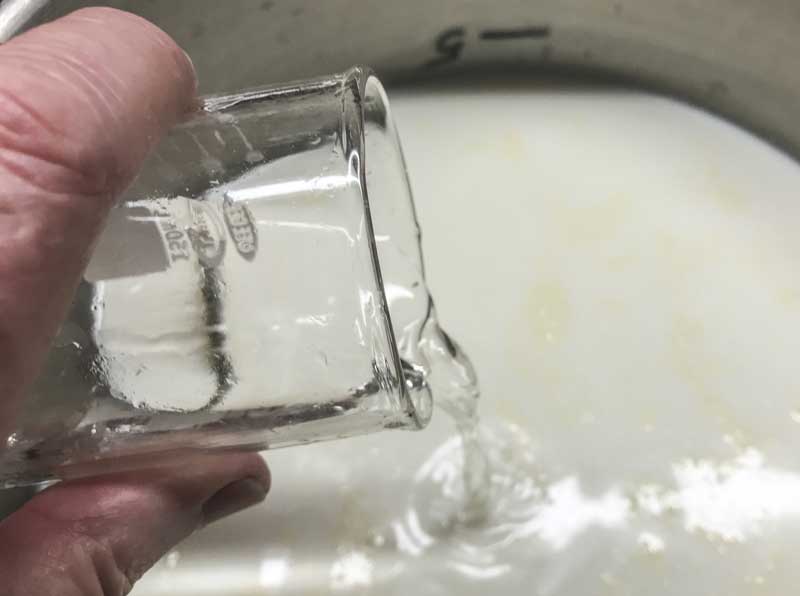
Transfer Curds to Draining Surface
The trick to this blue cheese is to keep the high moisture in the curd, but to cool and aerate before transferring the curds to the mold. This firms up the surfaces of the individual curds enough to keep them from collapsing together when placed in the mold. Instead, a network of air gaps and crevices will form between the curds; exactly what a blue needs to develop.
This delicate internal structure is achieved by carefully draining the curds on a separate surface to allow the whey to run off, while physically separating the curds. How much draining is needed at this stage is something that can only be determined by feel. (This is one of the reasons why we recommend this recipe to experienced cheesemakers.)
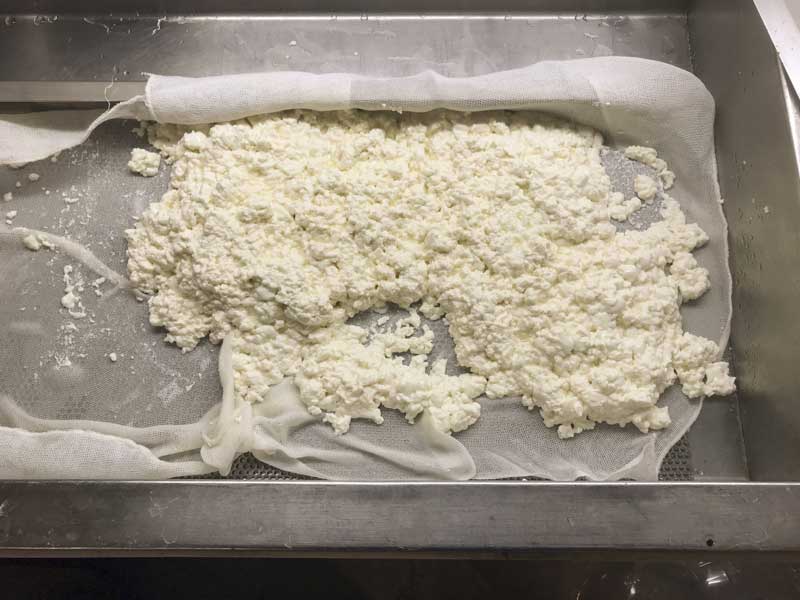
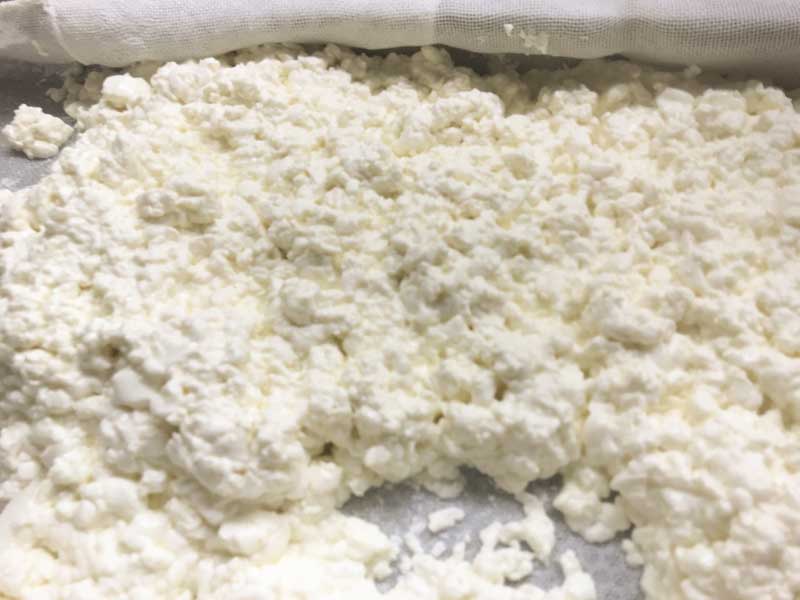
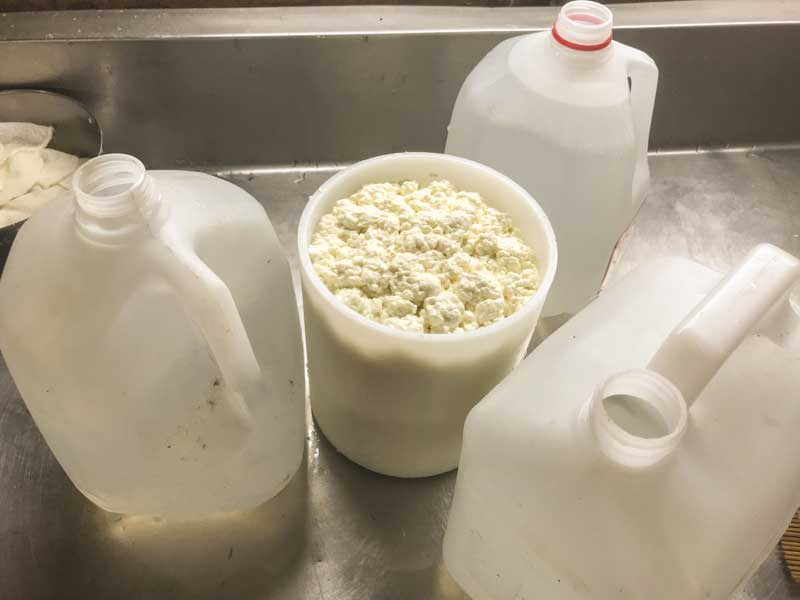
Transfer the curds to a draining surface.
Note: The draining surface can be anything from a large colander to a cloth on a flat draining table (as pictured here.) What is important is that the whey can drain and the curds can be tossed or separated.
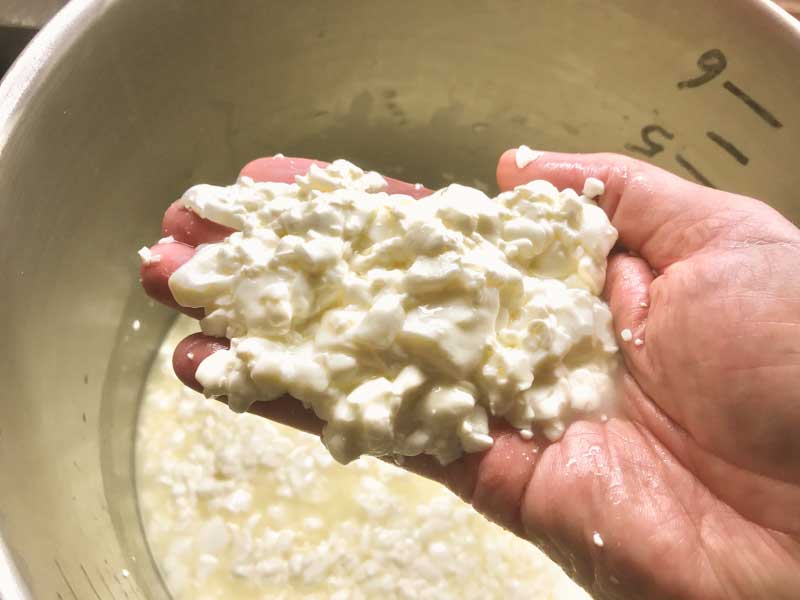
Lightly shake and toss the curds for separation.
Look for signs that most of the free whey has drained out of the curds, and the curds are not clinging together as much. (If the curds become too dry, they will not consolidate in the form well enough .. if too wet or not firmed enough they will collapse in the form and blue development will not go well.)
This agitation process requires a light touch to not break or squash the curds. This can be as simple as a light hand shaking the curds as you move them around the cloth, or using a small flat paddle or scoop.
Note: This step should take about 10-15 minutes for a 3 gallon batch. (20+ minutes for a 6 gallon batch)
-
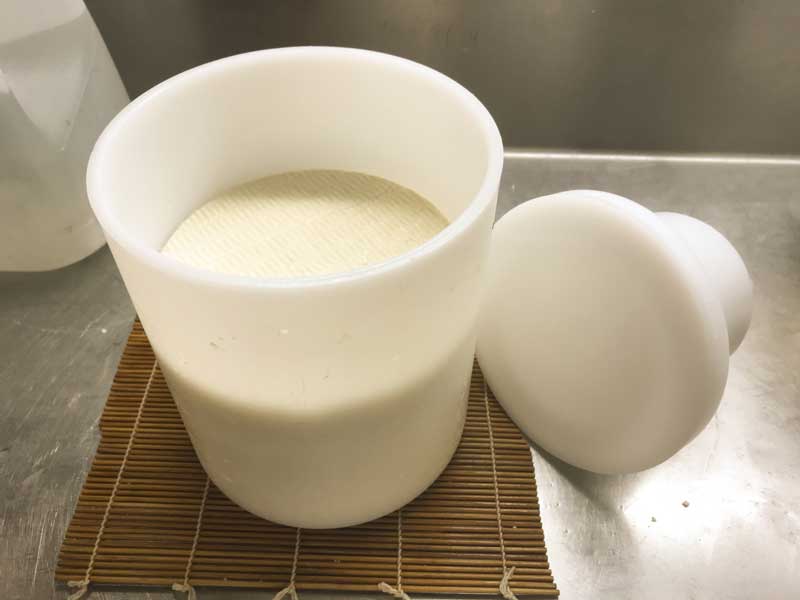


Transfer Curds to Molds
As you fill the mold with carefully drained curds, you begin a 4 day process of forming and salting. The freshly drained curds are still warm enough to continue developing acidity and need this time to reach their final acid profile.
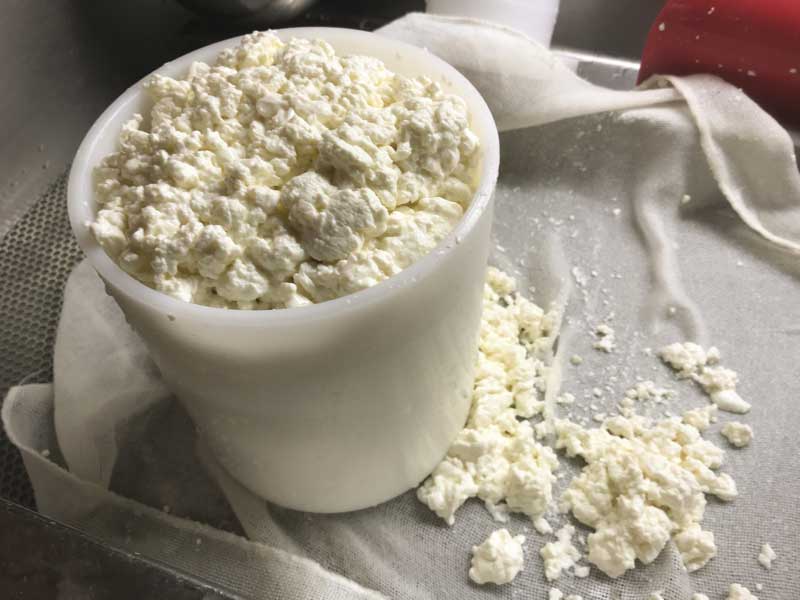
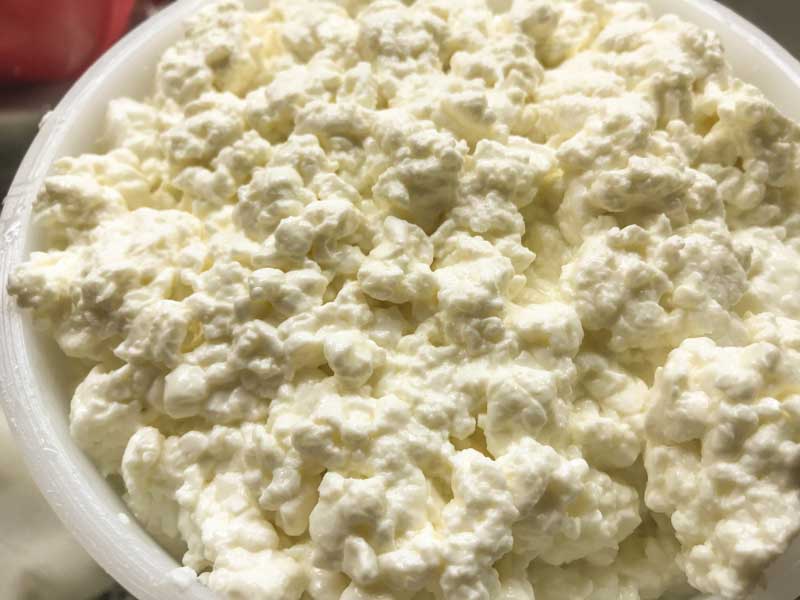
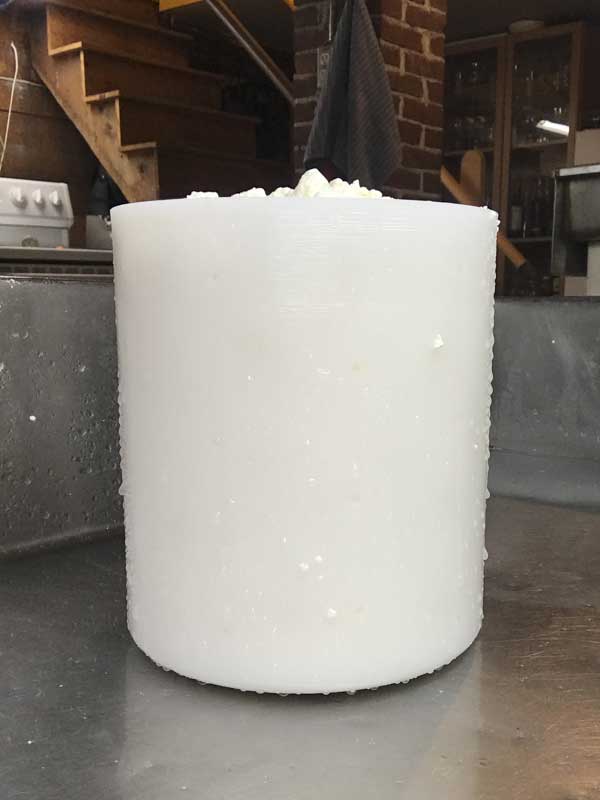
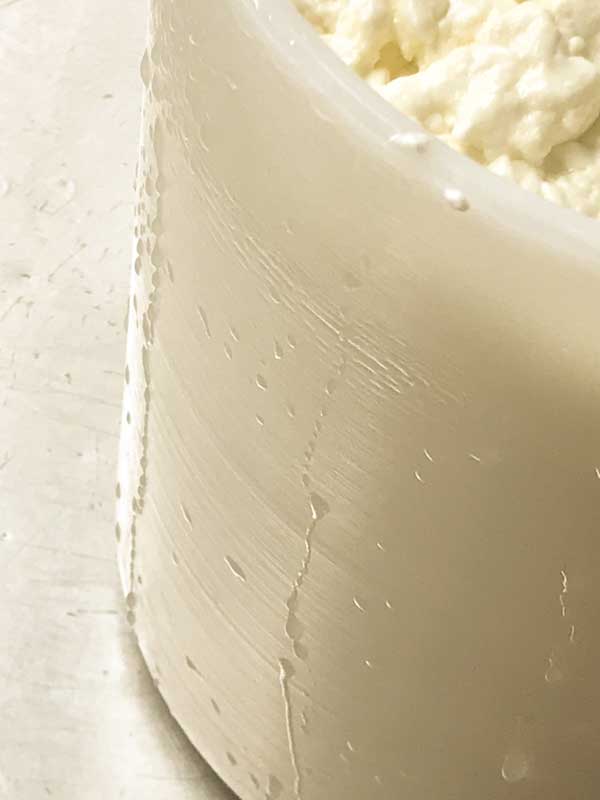
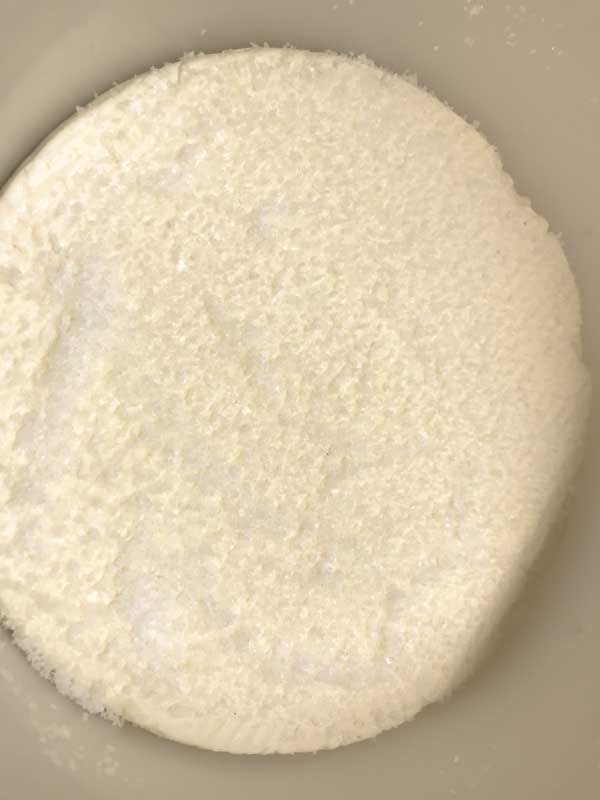
Fill the mold with freshly drained curds on the morning of day 1. No weight should be added to the form! Doing so would collapse the small cavities you have worked so hard to create. (See pic above for tears of whey running from the mold)
Note: I find that if I fill to the top of the M28, and still have a handful of curds left on the cloth, I have preserved the moisture I want in the curds. In 5 minutes the curd mass settles enough to add the rest.
Keep the curds warm at 70-75F until they have formed well and are ready to transition to a cooler salting space. (Assuming you have filled the mold on the morning of day 1, they should be ready that evening.)
Note: This is easily done in warmer weather, but during cooler times they need help to keep going. I use bottles of warm water and an insulation layer above during the cold months.
Move the cheese to a cooler space at around 62F and 80% humidity, and let it sit overnight to slow acidification before salting.
Turn the curds at least twice a day over these 4 days. Over the course of this period the cheese is finishing its acid development and the cheese body is developing; hopefully with that internal structure of veins and small cavities.
Note: My simple test for this internal structure is to give the cheese a light slap of the hand, and listen to the sound. Just as you might tap a loaf of bread to hear if it needs more time in the oven, listen for a slight hollowness in your cheese.
-
Salting
Salting does not begin until day 2, at least 24 hours after the form has been filled. By then the curds will have consolidated well into their final form.
Maintain an environment of 62F and 80% humidity until the cheese is ready to begin aging, and make sure to turn the cheese twice a day.
Weigh your cheese to determine the optimum amount of cheese salt. (3% of your cheese’s body weight in salt should suffice, but experienced cheesemakers will understand this is a rule-o-thumb.) Divide this salt into 3 equal parts.
Leaving the cheese in the form, cover the top surface of the cheese with 1/3 of your salt. Let the salt dissolve into a brine as it pulls moisture from the cheese. Some of the salt will run off.
Leave the cheese overnight.
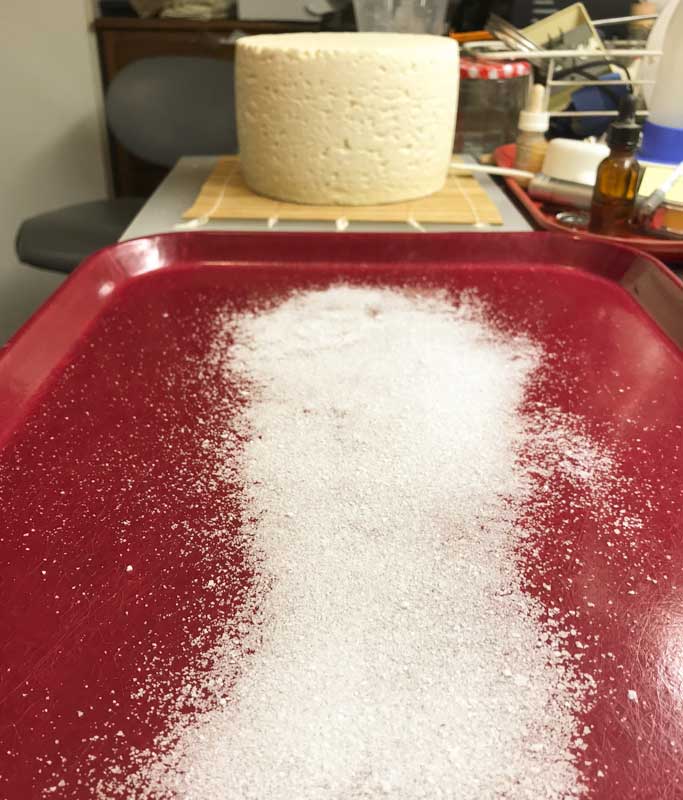
On the morning of day 3, remove the cheese from the mold and salt the sides of the cheese with 1/3 of your salt. (Make sure all the salt from the previous day’s salting has already been absorbed.)
Note: I find it easiest to lay the salt out on a tray and roll the cheese in it until the salt is absorbed (see pic) Allow the salt to absorb the cheese moisture and soak into the cheese, then return to the mold.
On the evening of day 3, remove the cheese from the mold, and use your remaining 1/3 of salt on your cheese’s unsalted bottom surface.
Having finished salting, continue to turn the cheese through day 4. This will be a stabilizing time as the salt slowly works its way into the cheese.
Note: This stabilizing time may need to be extended to 8-10 days depending on surface moisture
-

Aging
Aging this cheese is done in two stages.
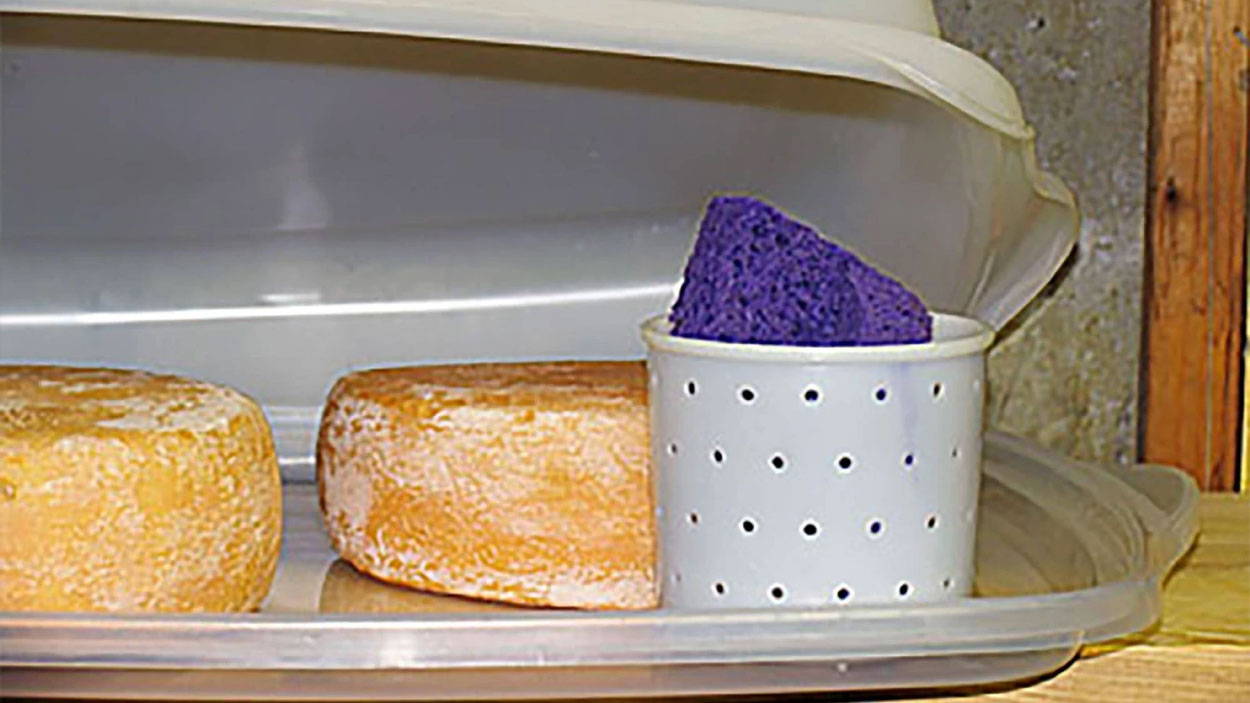
For the initial aging, the cheese will need a space with 52-53F 80% moisture and fresh air exchange at least once or twice a day.
Turn daily for 21 days
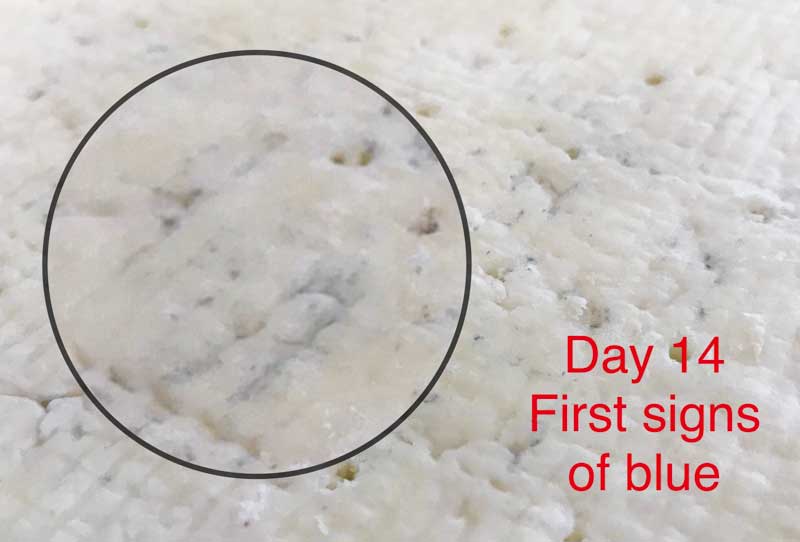
Around day 8, look for the first hints of blue developing (see pic)
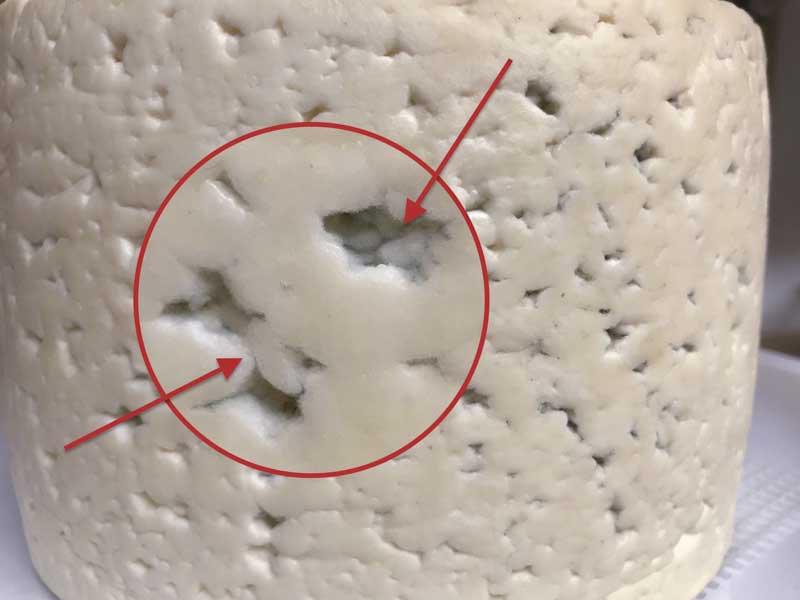
3 days later (around day 11 in this pic) look for a respectable amount of blue. Once you see this surface blue developing, the cheese needs to be aerated. As this blue mold will only grow in the presence of air.
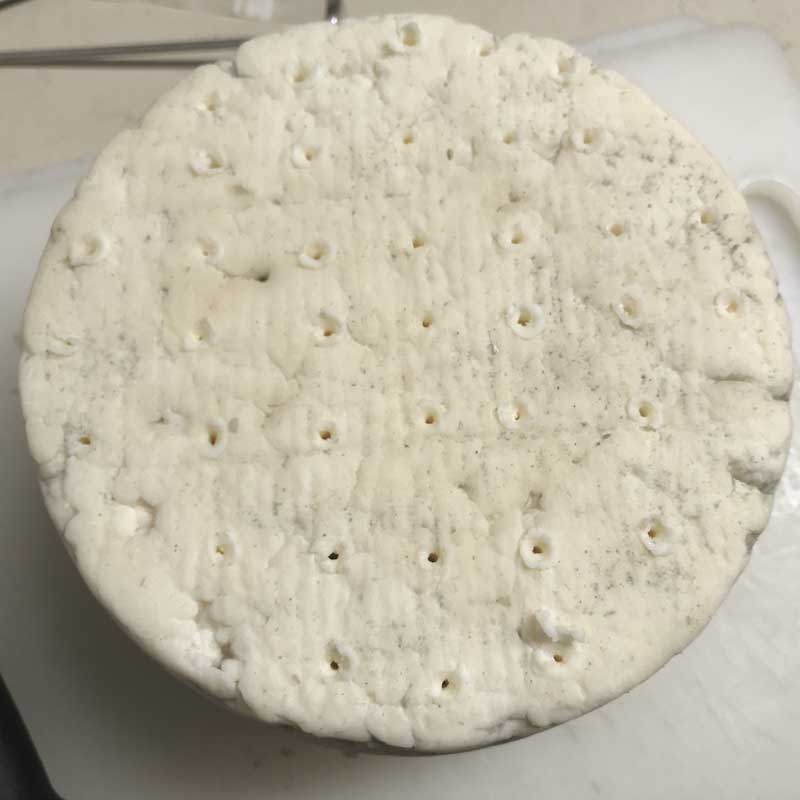
Aerate the cheese by poking it with a stainless steel skewer. Poke a pattern of holes into the top surface spaced about 3/4”-1” apart, and about 2/3 of the way into the cheese. Then, flip the cheese over and repeat on the opposite side.
After about 3 weeks the cheese should show signs and smell of good blue development, indicating it is time to move to final aging.
Note: During the initial aging, the surface should begin to show a greasy or slippery surface and perhaps a rosy color to the surface. This is the result of ambient yeast and bacteria. They do survive the high surface salt and love the moisture . Science refers to it as a ‘Slime layer’ or ‘Mucosa’. Wipe this surface away with cool water and a soft brush or cloth before proceeding to final aging
For the final aging, the cheese will need a cave at 42-43F and 90% humidity for another 2-5 months. This period develops the final blue flavor for this cheese. The longer it ages, the stronger the flavor.
During the ripening, the body of the cheese is transformed from a semi acid condition to a much sweeter flavor as the enzymes do their work on the protein and fat components.
After the mucosa that formed during the initial aging has been wiped down, wrap the cheese in the CWF-18” foil wrap. Like a traditional wrapping of sycamore leaves, this parchment-backed foil wrapping will slow the blue’s development, and allow the blue’s enzymes to work on maturing the cheese.
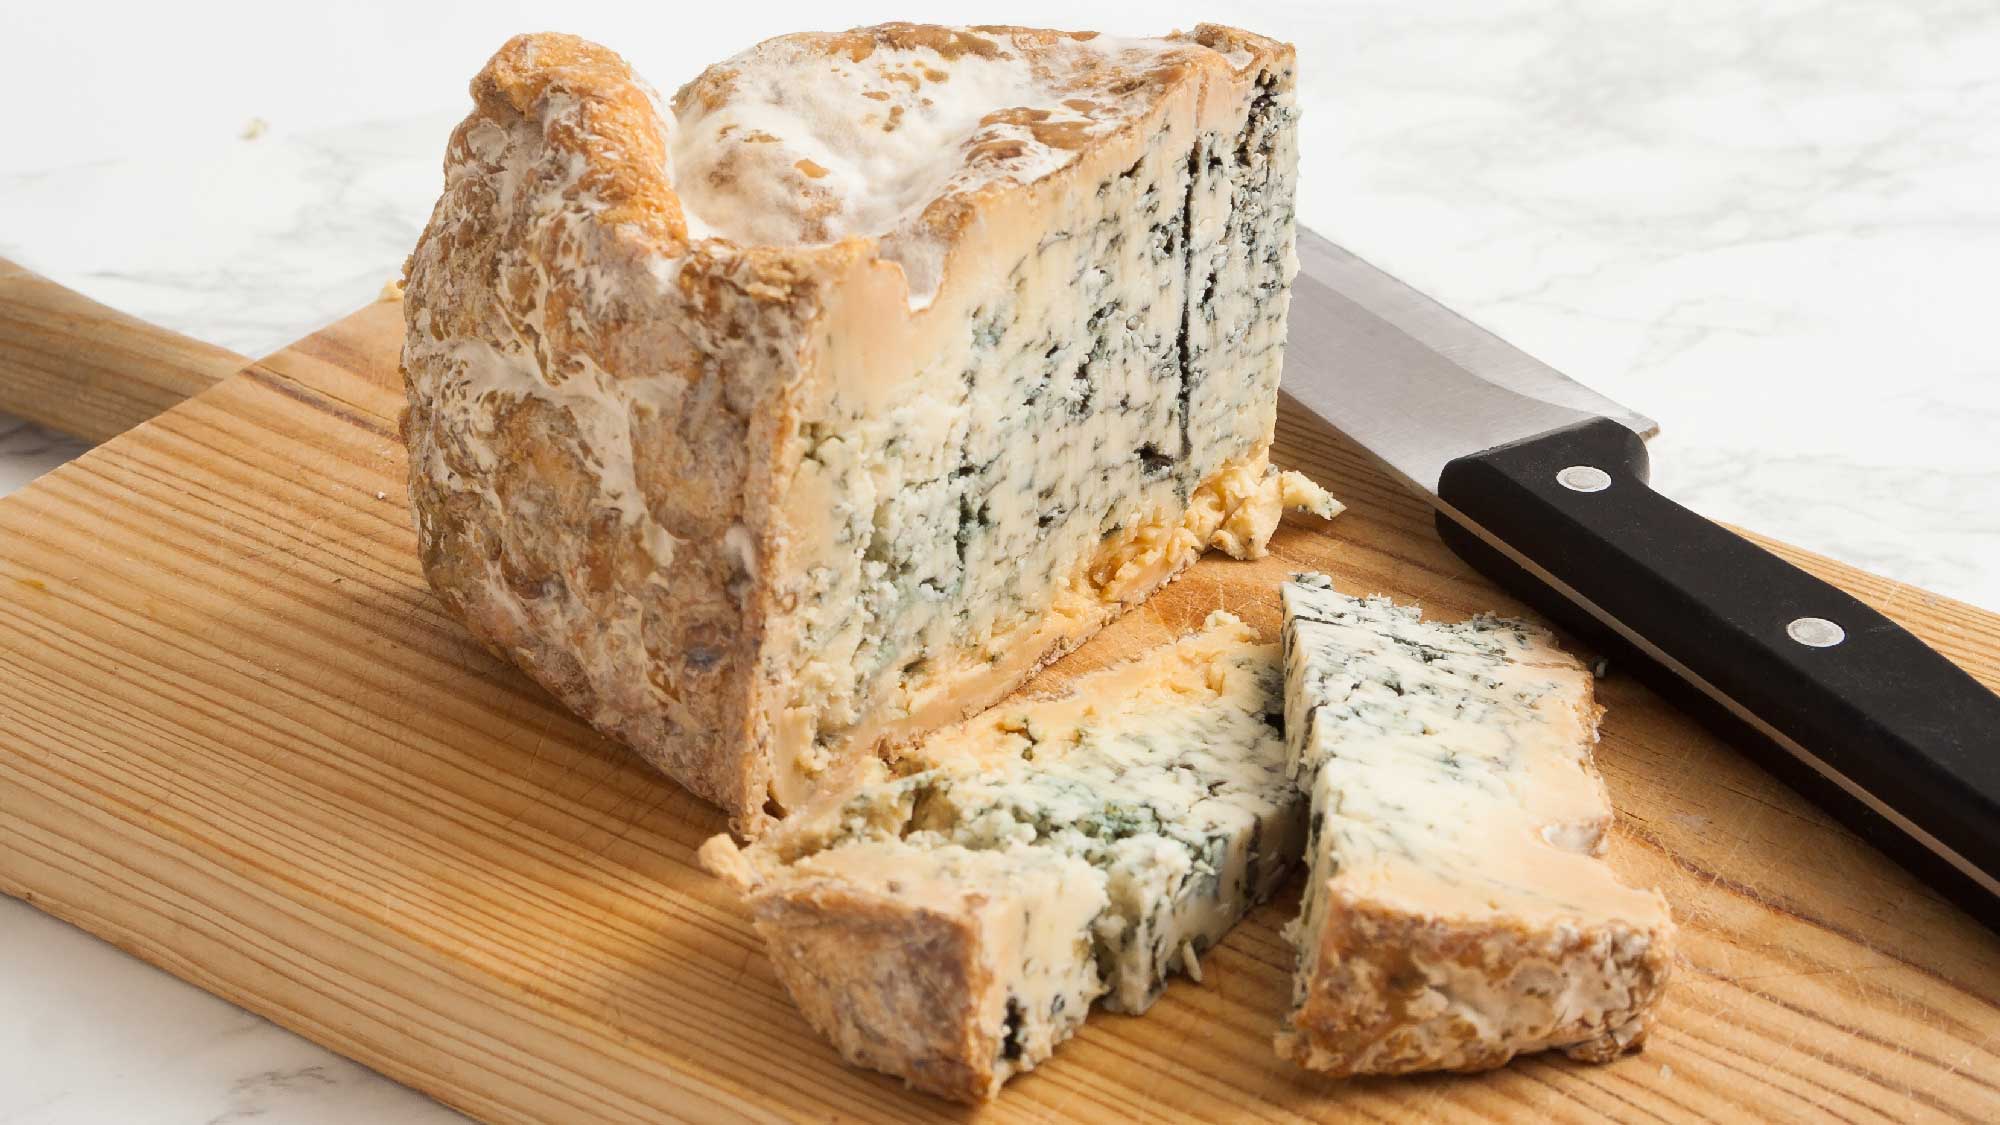
The final cheese rind may be moist with a rosy tinge to it, or perhaps yellowish grey with a drier feel. The flesh is smooth, white, and compact, with streaks and patches of teal-coloured veins and a powerful, slightly spicy flavour.
Cheese Making Supplies
Popular Products
Cheese Making Recipes
Recommended Recipes
Learn how to make a cheese cave right at home. If you want your cheese to ripen properly you have to make them a good home and take care of them like little bambinos.