


Monte Rosso Cheese Making Recipe
This is a relatively easy cheese to make, with little time standing over the pot of milk and curd. But a careful eye will be required during the ripening process to develop the rosy surface layer.
-

Yield
2 Pounds
-

Aging Time
~2 Months
-

Skill Level
Intermediate
-

Author
Jim Wallace


Ingredients
Total price for selected items: Total price:

Instructions
-
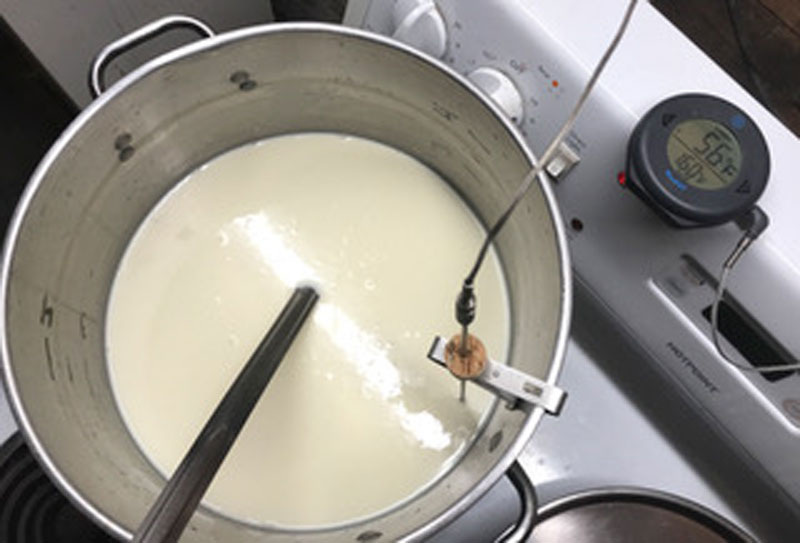
Acidify & Heat Milk
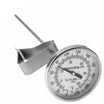
Begin by heating the milk to 86F (30C). If using pasteurized milk, add 1/2 tsp calcium chloride (diluted in 1/2 cup non-chlorinated water) to the milk as it comes to temperature.
Once the milk reaches 86F add the culture. To prevent it from caking and sinking to the bottom, sprinkle the culture over the milk’s surface and wait 2 minutes for it to re-hydrate before stirring in.
Now let the milk rest quietly for 60 minutes as the culture converts lactose to lactic acid.
Choice of Cultures: If unavailable you can substitute ¼ tsp MA 4002 for ¼ tsp MM 100 or ¼ tsp Aroma B, although the texture will be slightly better when using MA 4002. If needed, you can also substitute 1/64 tsp GEO17 with 1/32 tsp PLA Brevibacterium.
Tip: To heat, place your pot of milk in a larger pot or sink of very warm water, or directly on the stove, and stir gently while heating at a rate of 2F/minute.
Note: You may notice the culture working very slowly initially, but it will soon become much more active.
-
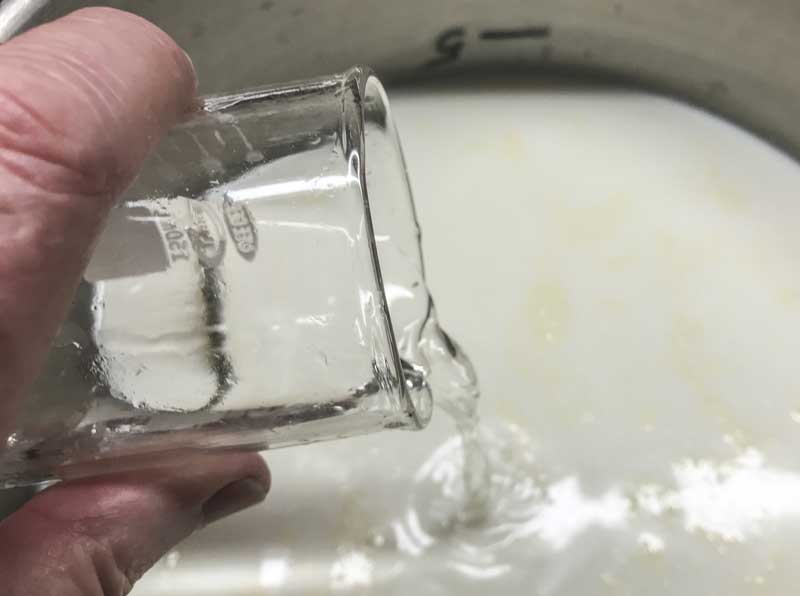
Add Rennet
Next, add the single strength liquid rennet, diluted in 1/2 cup non-chlorinated water, to the milk. Stir with an up and down motion for 1 minute, then let the milk rest quietly for an additional 40 - 45 minutes.
The milk will begin to thicken after about 10 - 12 minutes, but allow it to coagulate to proper firmness for the full time.
Check for a firm coagulation, if it seems to need more time allow it to go as much as 50% longer. If needed, the next time you make this cheese, adjust the rennet amount (more rennet for a quicker set).
The thermal mass of the milk should keep it warm while it sets, but it’s ok if the temperature drops a few degrees during this time, you can heat it back to temperature after cutting the curd.
Note: At this time, heat another pot of non-chlorinated water to 125F. You will use this later to cook the curds in step 4.
-
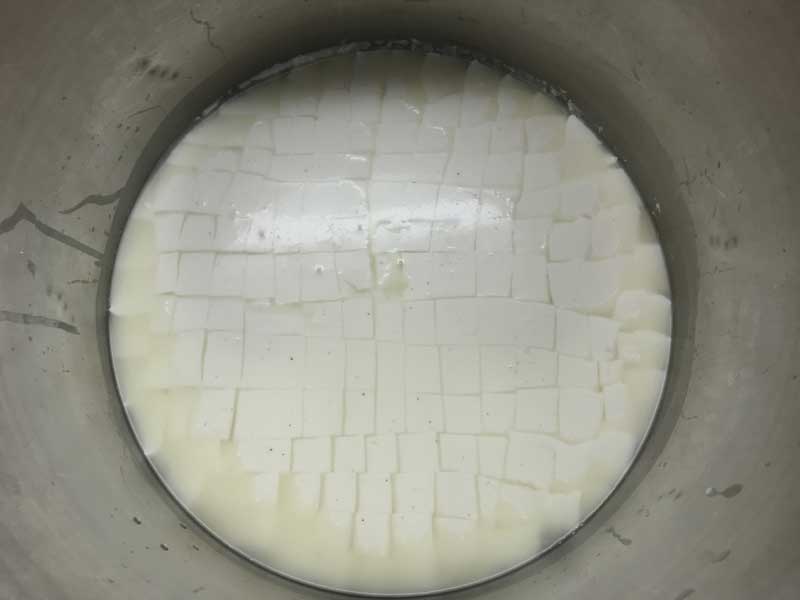
Cut Curd
Once the milk has set well, it’s time to cut the curd mass. This is the first step in reducing the curd moisture.
Begin by cutting vertically into a 1” checkerboard pattern, then allow the cut curd to rest for 5 minutes so the cut curd surfaces can heal.
Next, cut the curd mass as evenly as possible into 3/8” - 1/2” pieces over 10 minutes, then allow the cut curd to rest for another 5 minutes.
After resting, stir slowly for 7 minutes to help the curd surfaces firm up more. Then allow curds to settle in the vat.
Note: The rest and stir periods are important to prepare for the cooking phase that comes next. Without them, the curds may break further and lose too much moisture.
-
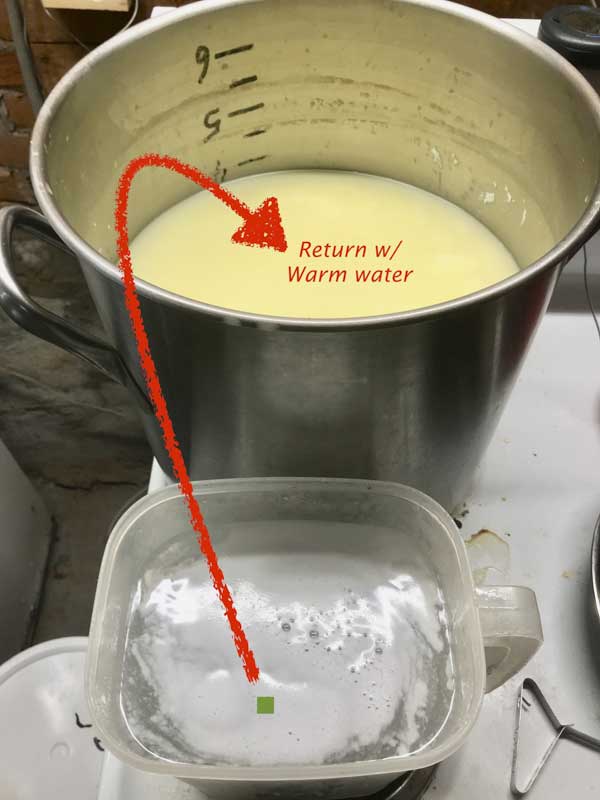
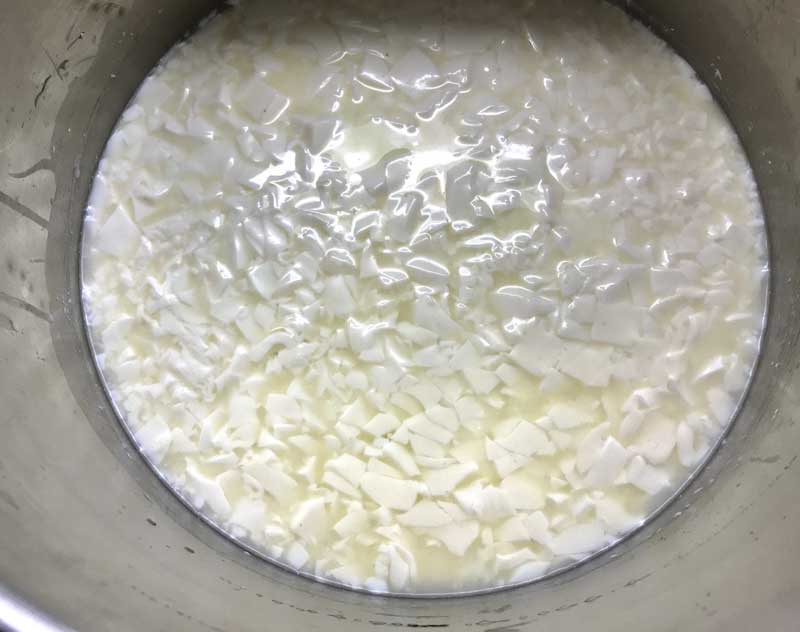
Wash Curds
After the curds have settled to the bottom of the vat they are ready to be washed.
In this Dutch method, the curds are heated in a two phase process where the whey is withdrawn and then replaced with warm water.
With the curds settled at the bottom use a strainer and ladle to remove 30% of the whey (2.4 qts for a 2 gallon batch). Removing the bacteria’s food supply, residual lactose in the whey, will cause the culture activity to slow down, leading to less acid production and a sweeter cheese.
Over the next 7 - 10 minutes slowly stir the curds while adding an equivalent amount of 125F, non-chlorinated water you heated in step 2 (2.4 qts for a 2 gallon batch).
Once the curd temperatures reached 96F, continue to stir slowly for an additional 7 - 10 minutes. The warm water plus the final stirring will help release moisture.
-
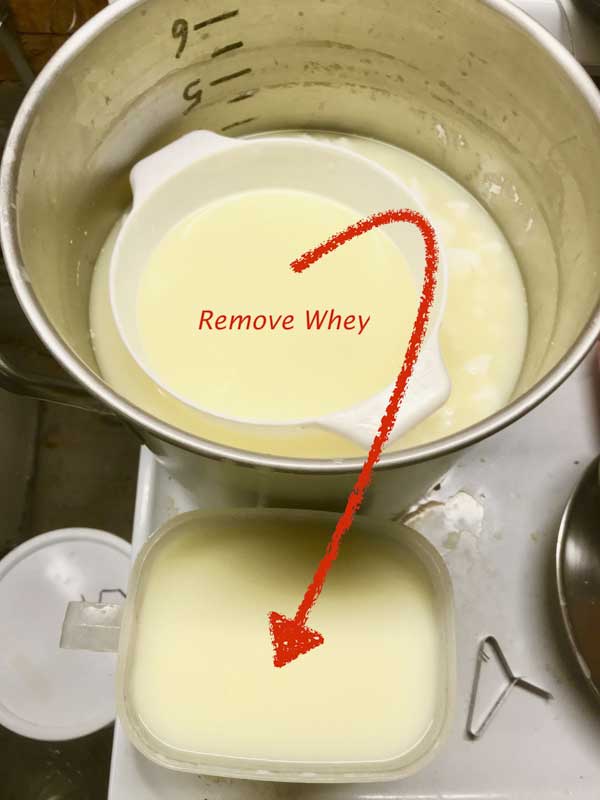
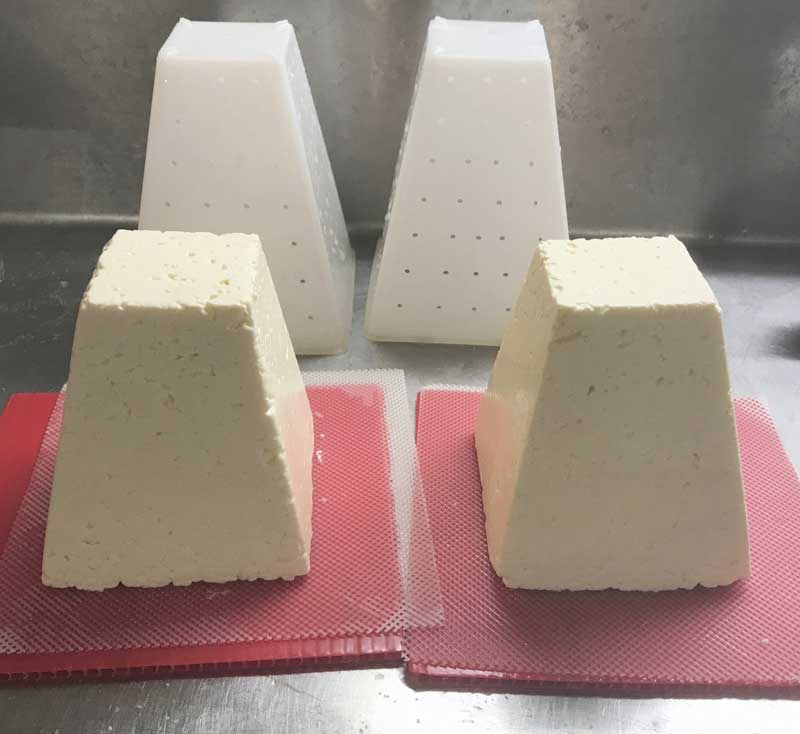
Transfer Curds
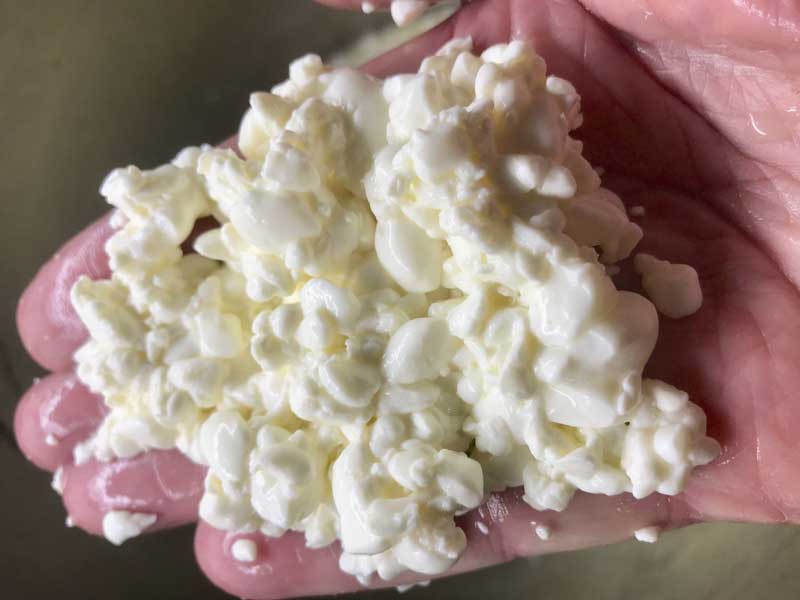
Give the curds a final stir to loosen them up, then allow them to settle to the bottom of the pot.
Note the final curd development during this final stir. The curds will be ready to transfer into molds when they hold their shape well but still have a shiny surface. Do not let them mat together. The final curd should be drier then a bloomy rind cheese such as Brie or Camembert, but not dry enough that it loses its shiny surface.
When ready, remove the whey to about 1” above the curds, then transfer them loosely into pyramid shaped cheese molds. The curds can be piled over the top and be allowed to settle over time.
-
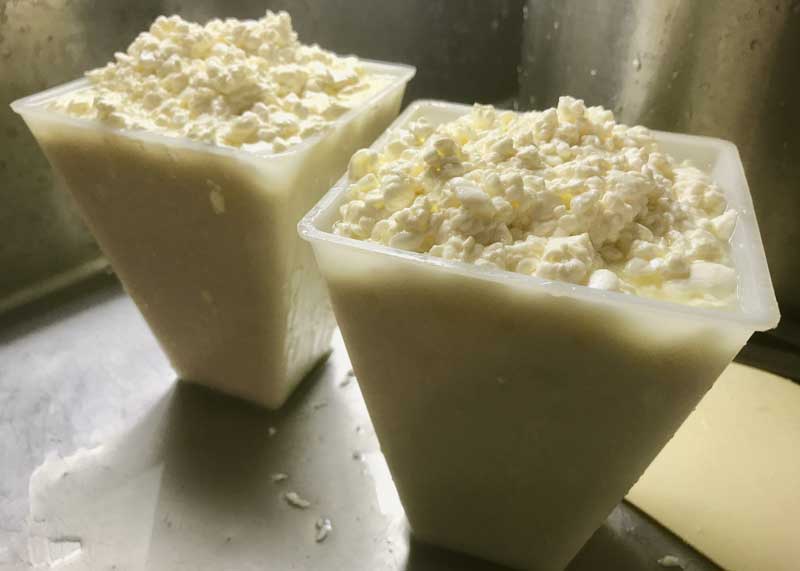

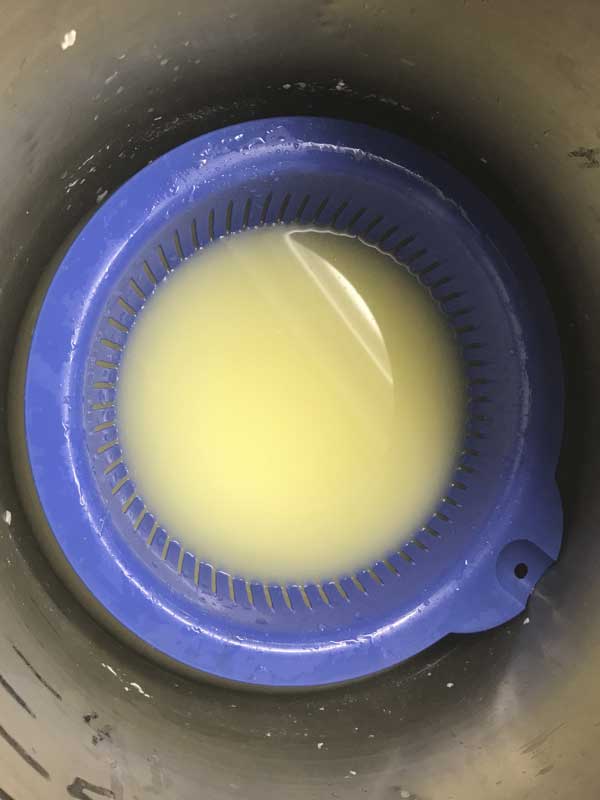
Drain Curds
There is no need to press the curds, but as they drain an occasional medium to light hand pressing at the top will help to consolidate
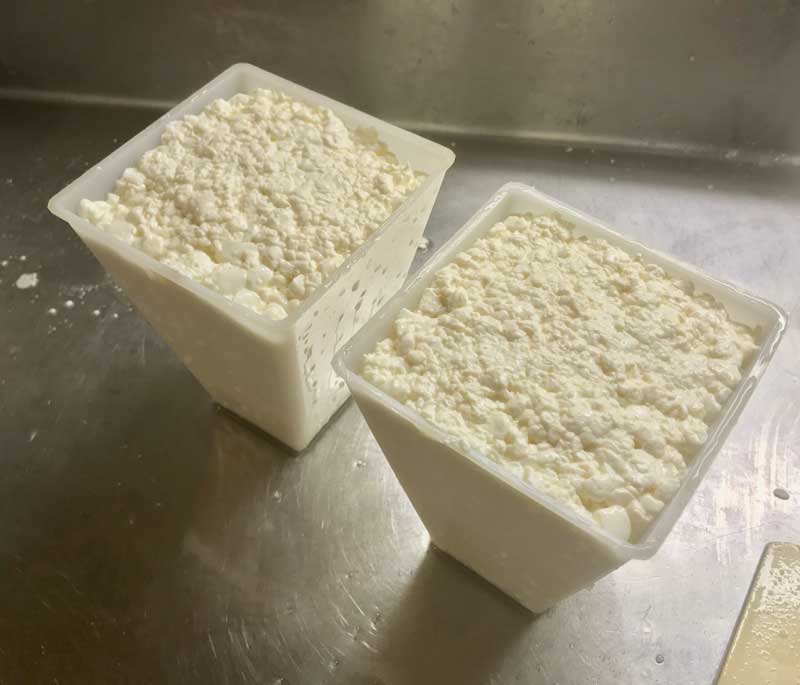
Set the filled pyramid molds in an 85F area where the draining whey can run off. Using anything from heavy towels to warm bottles of water will help to maintain a warm temperature for this draining period.
Let the curds drain for 10 - 15 minutes so they can settle below the edges of the molds.
Next, turn the mold over onto a drain mat to allow the broad base to set. Allow the curds to rest for another 10 - 15 minutes.
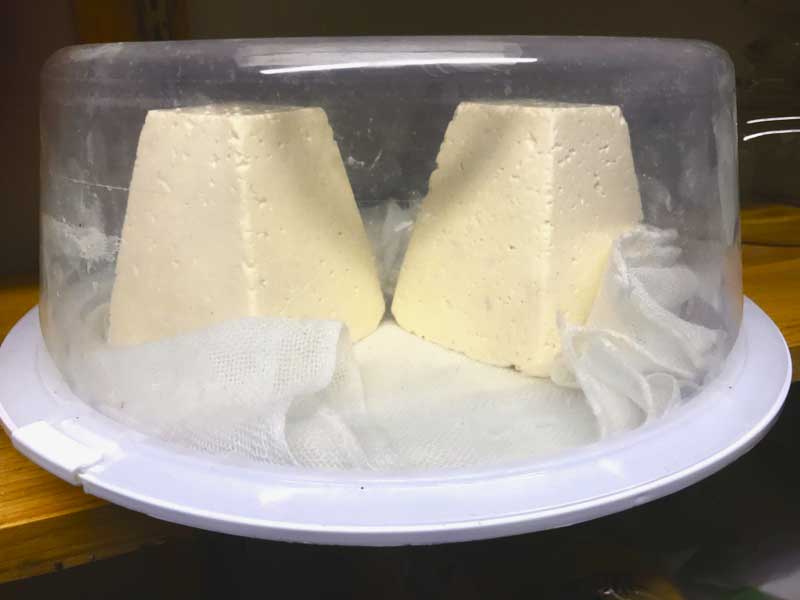
Then turn the form back over onto the narrow base of the mold to set the pyramid shape, and let it rest for another 5 - 8 hours, allowing the temperature to drop to about 70F while the ripening continues.
Finally, move the molds into a cool space overnight, 50F is ideal. The cooler temperature will prevent the curd from developing excess acid.
Tip: This is a great cheese to make in the summer, or any day with warm days and cool nights.
Note: Prepare a saturated brine, and store at 50F alongside the ripening cheese for use the next day. More details in step 7.
-
Brining
This cheese requires a saturated brine. Prepare one in advance with the ingredients below. Keep this brine at 50 - 52F for the brine time and the same or cooler for storage. More details can be found here.
A simple brine formula is: 1 Gallon of water, 2.25 lb of Salt, 1 tbs Calcium Chloride (30% solution), and 1 tsp white vinegar.
After the cool overnight period, un-mold the cheese and place into the prepared saturated brine for about 2 hours per lb of cheese. In this case, with a 1 - 1¼ lb cheese, the cheese should rest in the brine for 2 - 2½ hours.
The cheese will float above the brine surface so sprinkle another teaspoon or two of salt on the exposed surface of the cheese.
While brining, turn the cheese onto a new angled side and re-salt the surface every 20-30 minutes. This will help to evenly salt the cheese and prevent gravity from deforming the pyramid shape.
At the end of the brine bath, wipe down the cheese surface and allow it to surface dry for a day in a warmer area (65 - 70F) with free movement of air.
Allow the cheese to rest for 3 - 6 days at 65 - 70F. During this time the ambient yeast will begin to develop on the surface. You should notice the cheese begin to develop a slight slime from the yeast and the surface culture initially added to the milk. After 3 days, and once you note these surface changes, proceed to the next step.
Note: Do not let the cheese darken excessively or begin to crack.
-
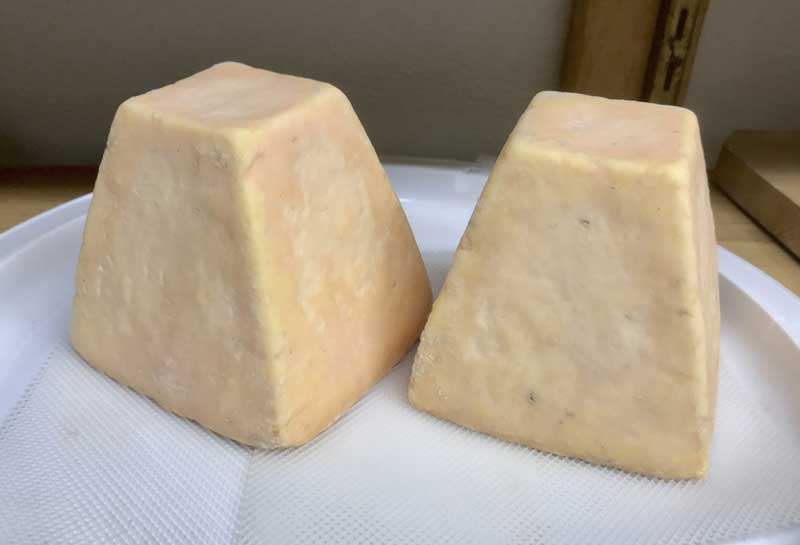
Aging & Washing Rind
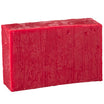
Now that the cheese has shown some surface activity in the days after brining, it is ready for washing and a cool aging phase. This process will take about 6 weeks and you will see the development take place right before your eyes. Within 10 days of beginning washing you should notice a slight pinkish/orange surface beginning to develop. When done properly, no blue, dark or fuzzy mold should grow.
As the ripening continues, the aroma will develop and the curd texture will change and soften as the surface enzymes move towards the center. This is known as centripetal ripening.
Prepare Brine Wash | 1 - 2 days before the cheese finishes the post brine rest prepare a light 6% brine wash by mixing 1 cup non-chlorinated water with 1 tbsp non-iodized salt. Store this brine in a sealed jar in the fridge when not in use.
Wash Rind | To remove some of the greasy surface, after the post-brine rest period, wipe the surface with the 6% brine wash then let it dry off overnight. This light rehydration will help the surface acclimate to a higher humidity in the aging space.
After this initial wash, add 1 pinch GEO17 Geotrichum Candidum and 1 pinch Bacteria Linens to the 6% brine wash and mix in well. Then wash the cheese with the cultured brine wash.
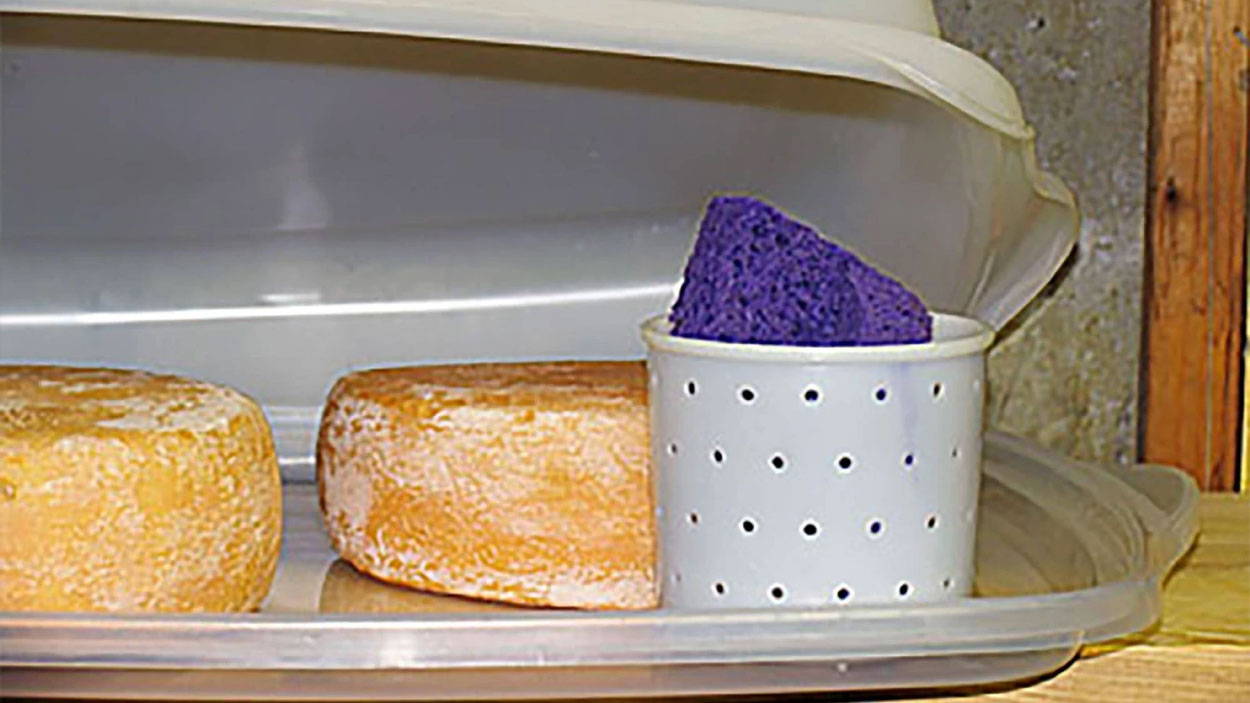
In a covered plastic container place the washed cheese on a small aging board, with a draining mat for good air circulation. Bring the container back to a cool area, ideally 52F with 96% humidity.
Wipe the surface of the cheese with the cultured brine wash every 2 days for 1 week.
Then, wipe the cheese with the cultured brine wash every 3 days for an additional week.
Finally, wash the cheese a newly prepared plain 6% brine wash every 3 - 5 days as needed for desired character, or much longer, we recommend 4 weeks.
During this aging period the surface should remain damp and tacky but should not become swampy or wet, nor excessively dry. You may see a white film of mold developing.
Note: Don't wash your aging boards with detergent; simply scrub them with hot water and dry in the sun. Over time, aging boards will harbor cheese-friendly communities of washed rind culture that help support desired strains to out-compete unwanted molds.
-
Finished Cheese
The amount of time this cheese is aged for depends on the character you want. It’s really up to you as the judge to decide when it’s ready to put it on the table. We recommend continuing the plain brine wash for about 4 weeks.
By ripening longer the cheese will undergo more transformation as the body changes to a translucent, spreadable paste working from surface to center during the ripening. But too much surface aroma will compete with the sweet flavor of the cheese. For a first attempt at this cheese, we suggest a conservative ripening unless you truly prefer a robust flavor.
For extended maturation without heavy surface development, move the cheese to an even cooler space (40-45F) for about 2-3 weeks. Again you can go much longer, depending on the desired character.
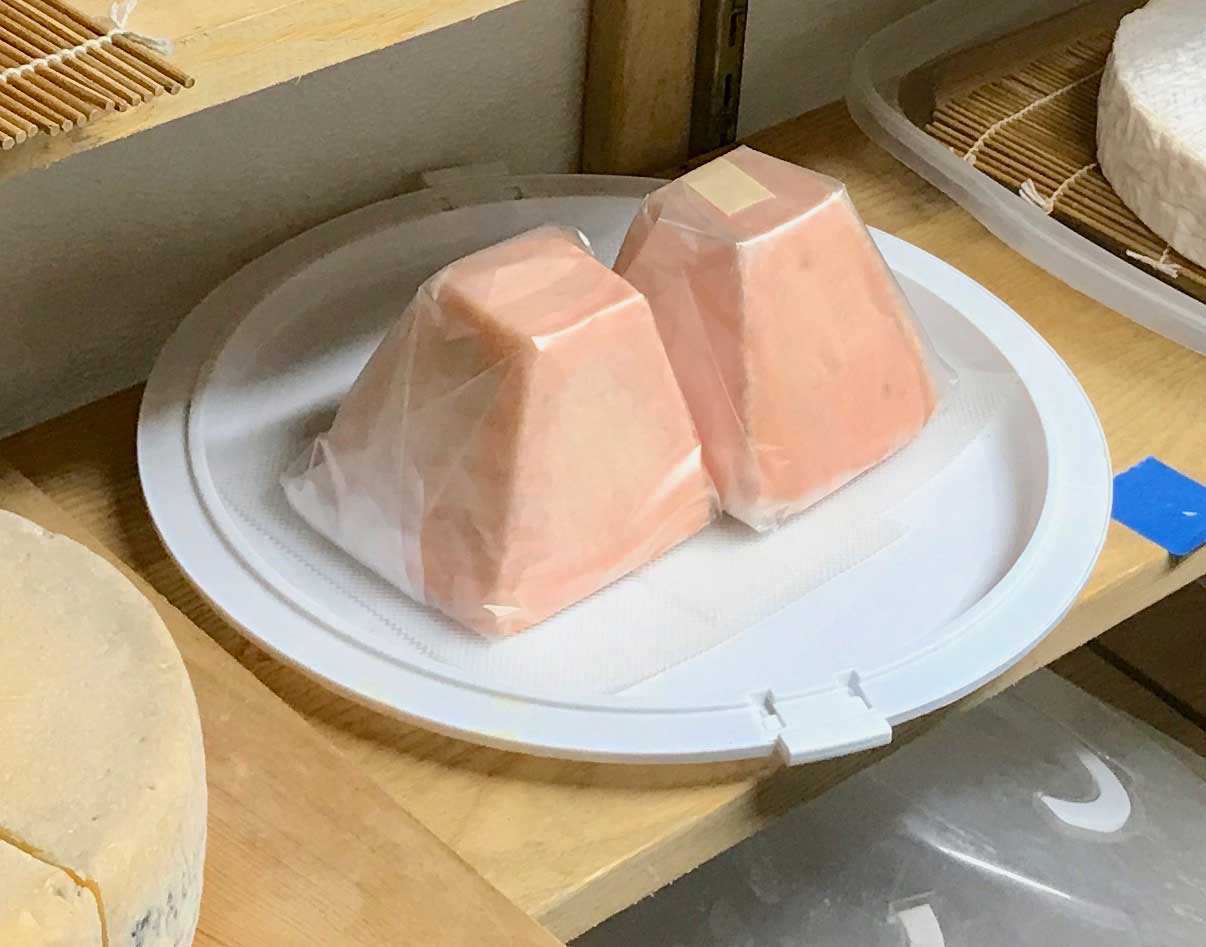
Optional: While the cheese can stay uncovered, you can also use a 2 ply washed rind cheese wrap to help retain the perfect moisture. The dual layer acts as a stabilizing buffer, releasing excess moisture while still retaining needed moisture if the surface begins to dry.
How to Wrap a pyramid shaped cheese
How to cut a Pyramid cheese | Using a thin narrow blade cut the cheese into quarters or eighths. Then, cut these strips into slices of decreasing thickness from top to bottom so each slice is about equal in mass.
Cheese Making Supplies
Popular Products
Cheese Making Recipes
Recommended Recipes
Learn how to make a cheese cave right at home. If you want your cheese to ripen properly you have to make them a good home and take care of them like little bambinos.